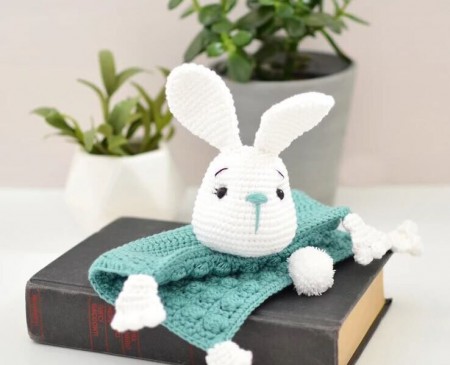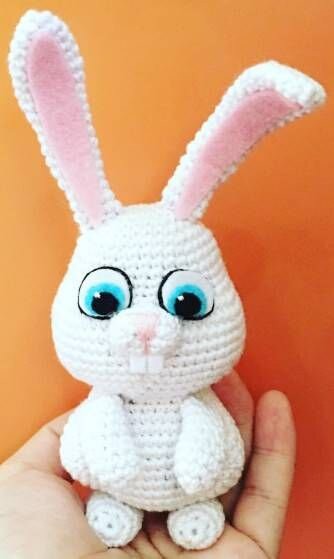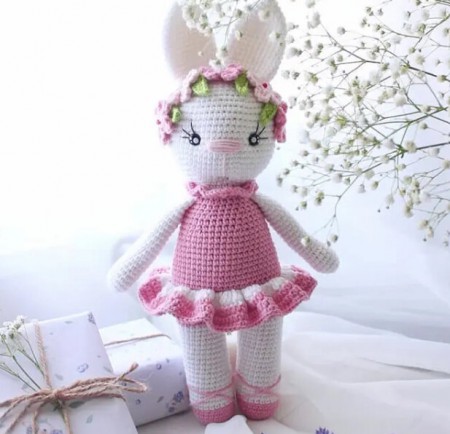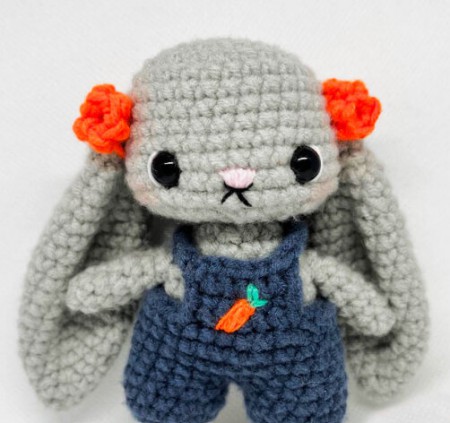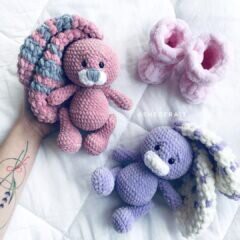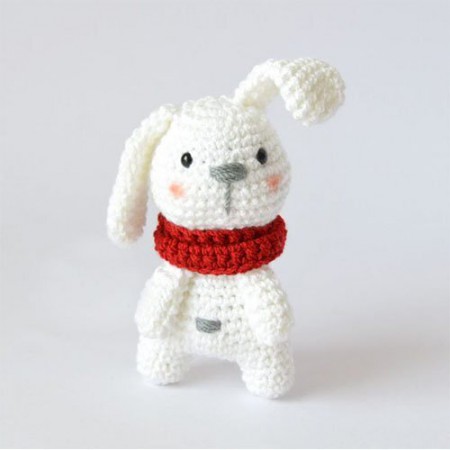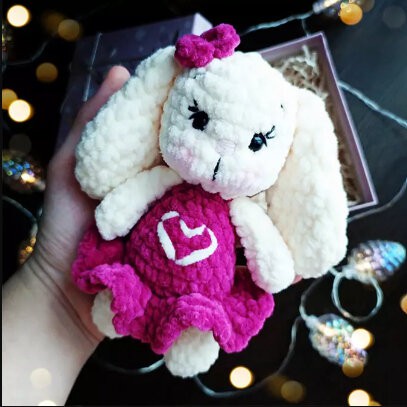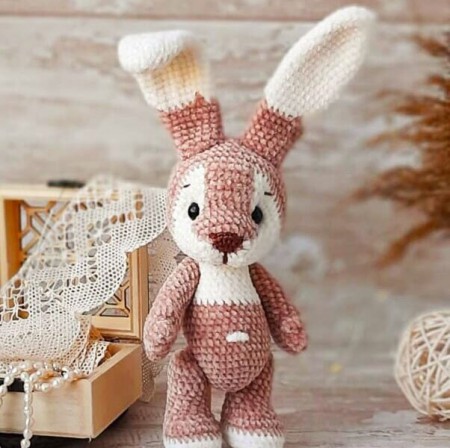
Amigurumi Baby Bunny Free Pattern
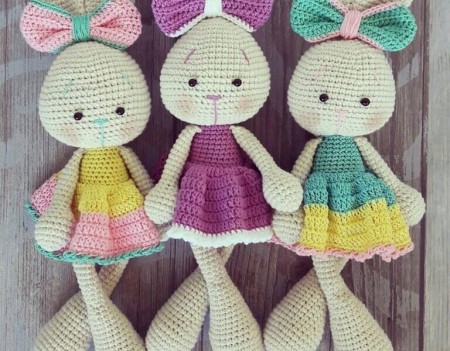
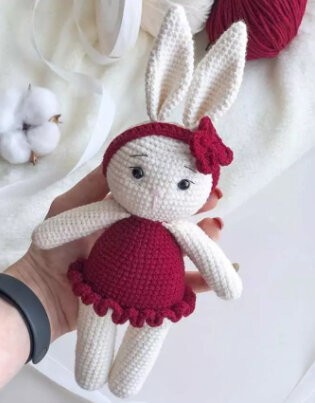
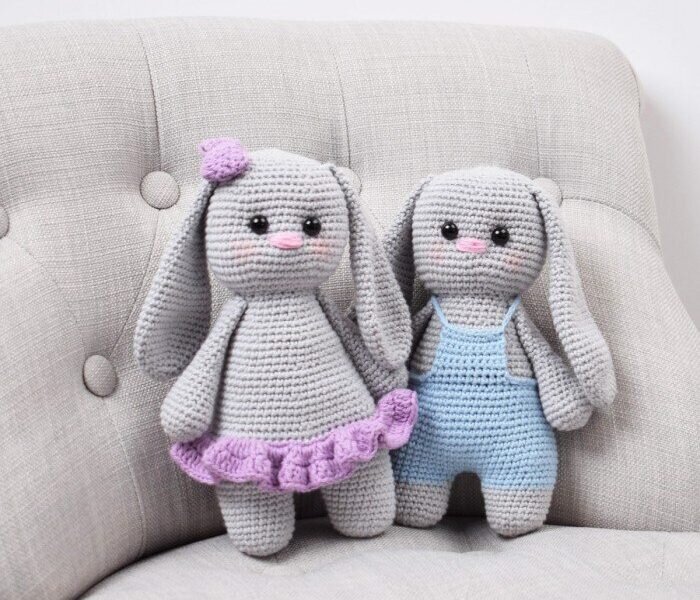
Hello dear Amigurumi enthusiasts! Today I would like to share with you a free Amigurumi Bunny pattern and construction instructions. Amigurumi has become a popular hobby in the world of craftsmanship, and in this article I will present you a great Amigurumi Bunny design. Trust your imagination while doing amigurumi. And dare to create your own unique designs. Welcome to the Amigurumi world, enjoy fun handicraft projects.
Materials:
Rainbow 8/4
Crochet hook, 2.5 mm
1 pair of safety eyes (9 mm)
Stuffing
Measurements: ~19 cm tall
Yarn usage:
Col. A: ~55g
Col. B: ~15g
A tiny bit of pink for the nose.
Abbreviations:
st(s): stitches
sc: single crochet
MR: magic ring
ch: chain stitch
tog: together
tbl: through back loop
sl st: slip stitch
dc: double crochet
hdc: half double crochet
Pattern instructions – Guide with pictures can be found below:
Legs: Make 2 pcs in col. A
- Make a MR and work 6 sc into the ring. (6)
- 2 sc in every st of the round. (12)
- * 1 sc in the first st, 2 sc in the next st *. Repeat between ** until end of round. (18)
- * 1 sc in the first 2 sts, 2 sc in the next st *. Repeat between ** until end of round. (24)
5.-11. Sc in every st of the round. (24).
Cut the yarn and weave in the end.
Make another leg in the same manner, but to not cut yarn and weave in end, as you are to work on from this leg.
Body:
1. Working on from the last leg, ch 3, then sc into every st of the other leg. (24)
Sc into the 3 ch sts from the beginning of the round, then sc into every st of the last leg. (24)
Sc into the other side of the 3 ch sts. (54)
2. Work * 1 sc into the first 8 sts, then 2 sc into the next *. Repeat between ** until end of round. (60)
3. – 9. Sc in every st until end of round. (60)
10. Sc tbl of every st of the round. (60)
Work * 1 sc into the first 8 sts, then sc 2 tog *. Repeat between ** until end of round. (54)
11. -14. Sc in every st until end of round. (54)
15. Work * 1 sc into the first 7 sts, then sc 2 tog *. Repeat between ** until end of round. (48)
16. -17. Sc in every st until end of round. (48)
18. Work * 1 sc into the first 6 sts, then sc 2 tog *. Repeat between ** until end of round. (42)
19. -20. Sc in every st until end of round. (42)
21. Work * 1 sc into the first 5 sts, then sc 2 tog *. Repeat between ** until end of round. (36)
22. -23. Sc in every st until end of round. (36)
24. Work * 1 sc into the first 4 sts, then sc 2 tog *. Repeat between ** until end of round. (30)
25. -26. Sc in every st until end of round. (30)
27. Work * 1 sc into the first 3 sts, then sc 2 tog *. Repeat between ** until end of round. (24)
28. Sc in every st until end of round. (24) Fill the body and legs with stuffing.
Now, the head is made.
Head:
- Make 2 sc in every st until end of round. (48)
30. Work * 1 sc into the first 7 sts, then 2 sc into the next *. Repeat between ** until end of round.(54)
31. Work * 1 sc into the first 8 sts, then 2 sc into the next *. Repeat between ** until end of round.(60)
32. – 41. Sc in every st until end of round. (60)
42. Work * 1 sc into the first 8 sts, then sc 2 tog *. Repeat between ** until end of round. (54)
43. Sc in every st until end of round. (54)
44. Work * 1 sc into the first 7 sts, then sc 2 tog *. Repeat between ** until end of round. (48)
45. Work * 1 sc into the first 6 sts, then sc 2 tog *. Repeat between ** until end of round. (42) Place the eyes between rounds 37 and 38 with 6-7 sts inbetween.
46. Work * 1 sc into the first 5 sts, then sc 2 tog *. Repeat between ** until end of round. (36)
47. Work * 1 sc into the first 4 sts, then sc 2 tog *. Repeat between ** until end of round. (30)
48. Work * 1 sc into the first 3 sts, then sc 2 tog *. Repeat between ** until end of round. (24) Fill the
head with stuffing and make sure to stuff well before the hole is completely closed up.
49. Work * 1 sc into the first 2 sts, then sc 2 tog *. Repeat between ** until end of round. (18)
50. Work * 1 sc into the first st, then sc 2 tog *. Repeat between ** until end of round. (12)
51. Sc 2 tog over every st of the round. (6) Sew up the hole and weave in the end.
Dips and snout
- Using the same color as the body, pull a thread through the head and out on the right side of the eye.
- Thread the needle back into the head on the left side of the eye and tighten lightly.
- Pull slightly so that a small dip is created behind the eye.
- Now, pull the thread up on the right side of the other eye.
- And down again on the left side.
- Tighten slightly so that the eyes are pulled in a bit and gives the bunny a cute look.
- Embroider the snout as shown in the picture above. It was done over 4-5 sts.
Skirt: Using col. B
- Turn the bunny so that the head is towards you. Pull a loop of the yarn through the line of sts where you worked tbl. Make 1 sc in every st around the belly of the bunny and join the round with a sl st into the first st. (60)
- Ch 1, then work 2 dc in every st of the round. Join the round with a sl st into the first st. (120)
- Ch 1, then * 1 dc into the first st, 2 dc into the next *. Repeat between ** until end of round. Join round with a sl st into the first st. (180)
Cut the yarn and weave in ends.
- Turn the bunny so that its head is towards you.
- Pull a loop of the yarn through the line of sts where you worked tbl.
- Make 1 sc in every st around the belly of the bunny and join the round with a sl st.
- Ch 1, then work 2 dc in every st of the round. Join the round with a sl st.
- Ch 1, then * 1 dc into the first st, 2 dc into the next *. Repeat between ** until end of round. Join round with a sl st into the first st.
- Like so. Cut the yarn and weave in ends.
Arms: Make 2 pcs in col A
- Make a MR and work 6 sc into the ring. (6)
- 2 sc in every st of the round. (12)
- Work * 1 sc into the first st, then 2 sc into the next *. Repeat between ** until end of round. (18)
- Work * 1 sc into the first 2 sts, then 2 sc into the next *. Repeat between ** until end of round. (24)
- Sc in every st until end of round. (24)
- Sc in every st until end of round. (24)
- Work * 1 sc into the first 2 sts, then sc 2 tog *. Repeat between ** until end of round. (18)
- Sc in every st until end of round. (18)
- Sc in every st until end of round. (18)
- Work * 1 sc into the first 4 sts, then sc 2 tog *. Repeat between ** until end of round. (15)
- Sc in every st until end of round. (15)
- Sc in every st until end of round. (15)
- Work * 1 sc into the first 3 sts, then sc 2 tog *. Repeat between ** until end of round. (12)
- – 24. Sc in every st until end of round. (12)
Fill a bit of stuffing into the hand and arm. Fold the top of the arm flat and crochet it closed with 6sc.
Leave a long tail end to sew it onto the body with.
Now, sew the arms to the body. Cut the yarn and weave in ends.
Ears: Make 2 pcs with col A
- Make a MR and work 6 sc into the ring. (6)
- 2 sc in every st of the round. (12)
- Work * 1 sc into the first st, then 2 sc into the next *. Repeat between ** until end of round. (18)
- Sc in every st of the round. (18)
- Work * 1 sc into the first 2 sts, then 2 sc into the next *. Repeat between ** until end of round. (24)
- Sc in every st until end of round (24)
- Work * 1 sc into the first 3 sts, then 2 sc into the next *. Repeat between ** until end of round. (30)
- Sc in every st until end of round. (30)
Sc in every st until end of round. (30) - Sc in every st until end of round. (30)
- Work * 1 sc into the first 8 sts, then sc 2 tog *. Repeat between ** until end of round. (27)
- Sc in every st until end of round. (27)
- Sc in every st until end of round. (27)
- Work * 1 sc into the first 7 sts, then sc 2 tog *. Repeat between ** until end of round. (24)
- Sc in every st until end of round. (24)
- Sc in every st until end of round. (24)
- Work * 1 sc into the first 6 sts, then sc 2 tog *. Repeat between ** until end of round. (21)
- Sc in every st until end of round. (21)
- Sc in every st until end of round. (21)
- Work * 1 sc into the first 5 sts, then sc 2 tog *. Repeat between ** until end of round. (18)
- Sc in every st until end of round. (18)
- Work * 1 sc into the first 4 sts, then sc 2 tog *. Repeat between ** until end of round. (15)
- Sc in every st until end of round. (15)
- Work * 1 sc into the first 3 sts, then sc 2 tog *. Repeat between ** until end of round. (12)
- -33. Sc in every st until end of round. (12)
Fold the ear flat and crochet it closed with 6 sc. Leave a long tail end to sew it onto the head with. Sew the ears onto the head, one on either side.
Bow: using col B
- Ch 20. Join into a ring with a sl st. Ch 1 and work 1 hdc into every st of the circle. Join again with a sl st.
- Ch 1 and work 1 hdc into every st of the circle. Join again with a sl st.
- Ch 1 and work 1 hdc into every st of the circle. Join again with a sl st.
Wind a piece of yarn around the middle to create the bow. Sew it onto the head at one of the ears of the bunny.
It's All Finished:


