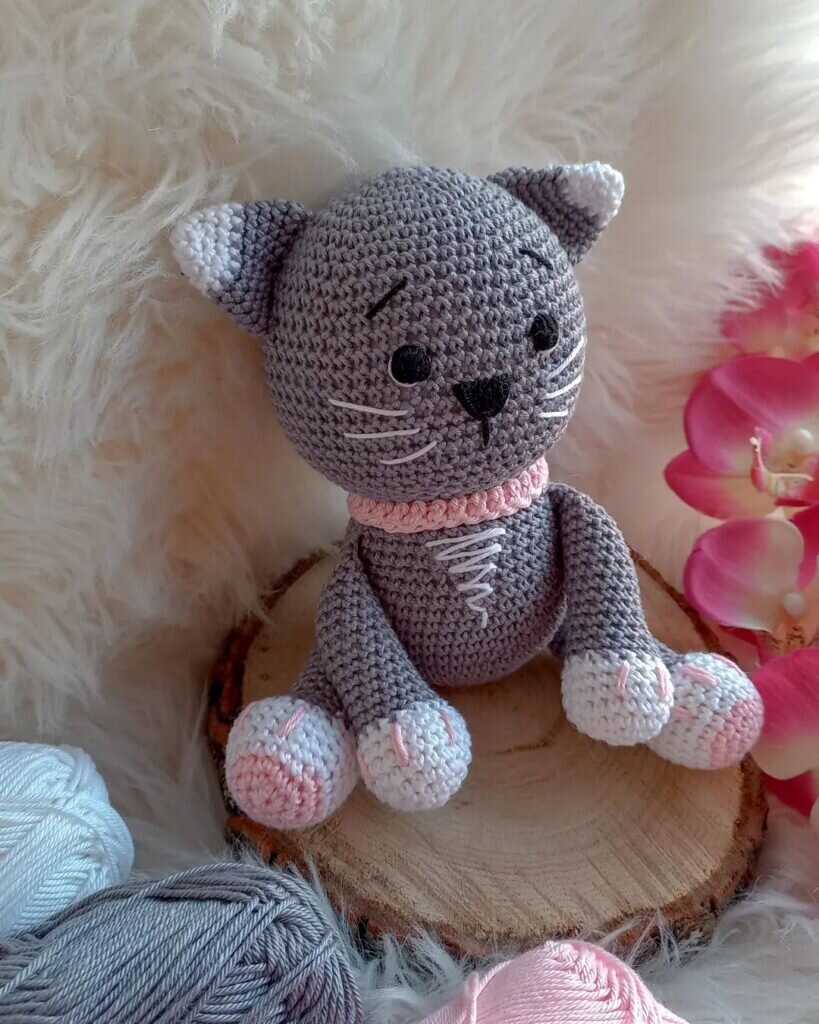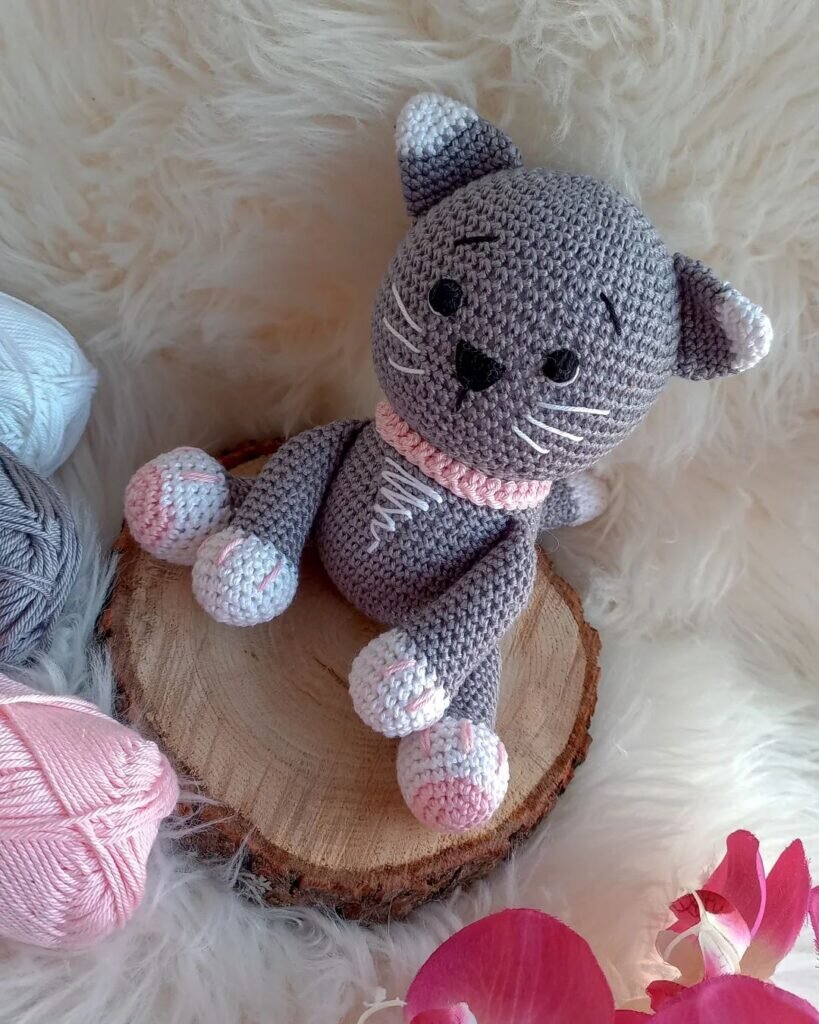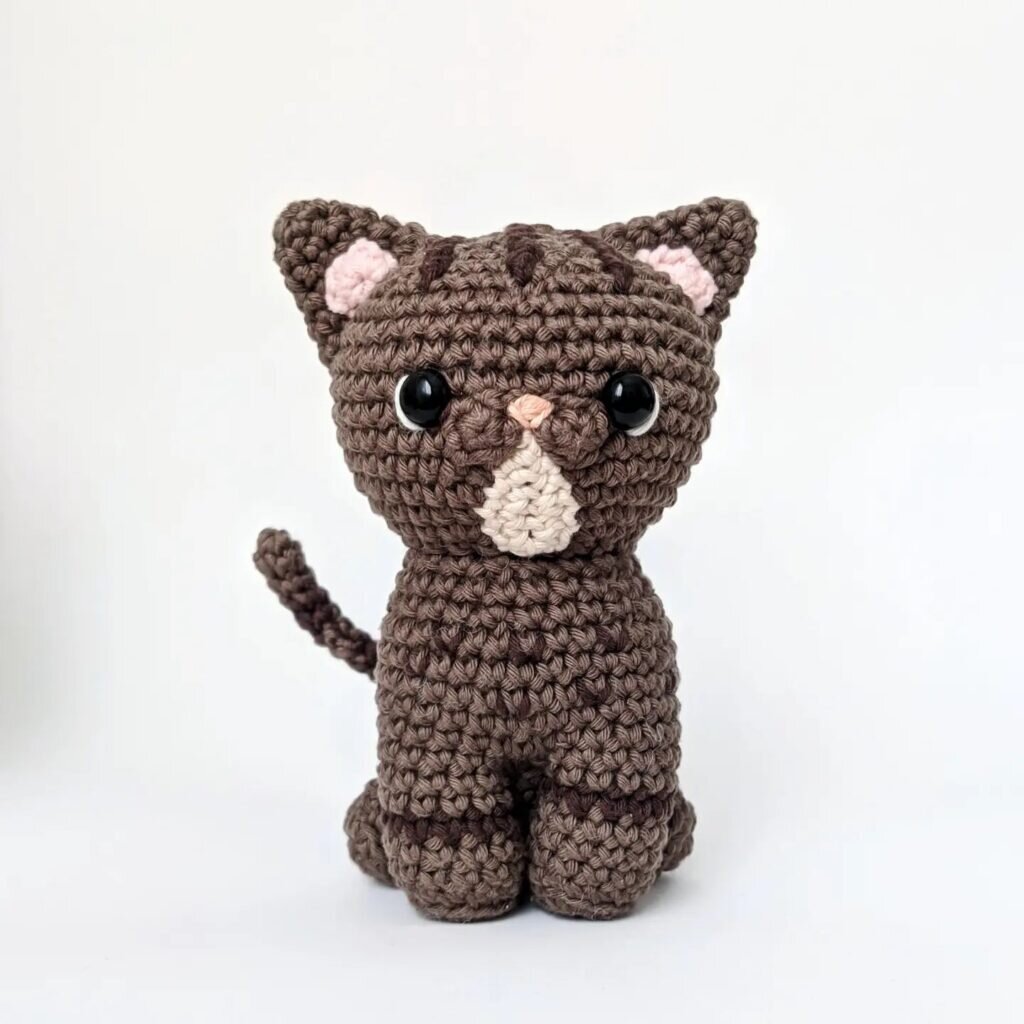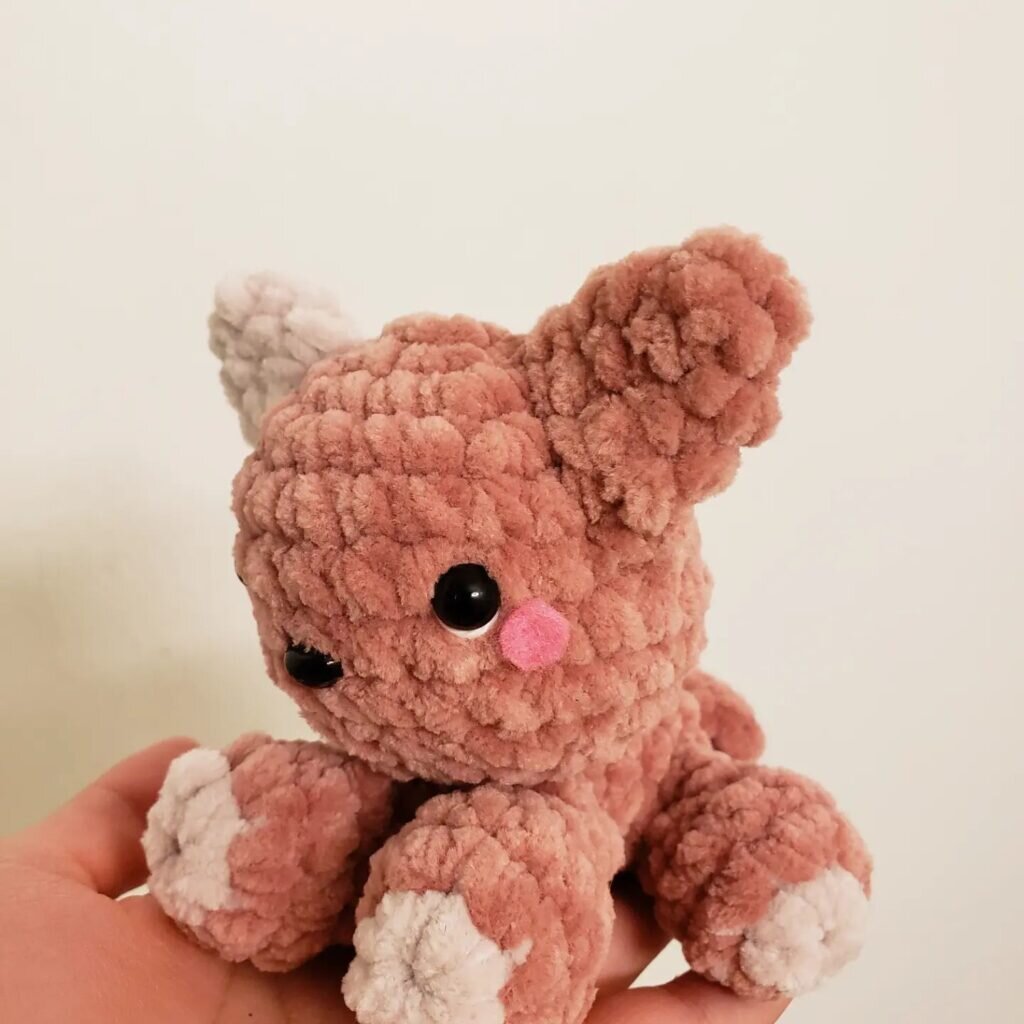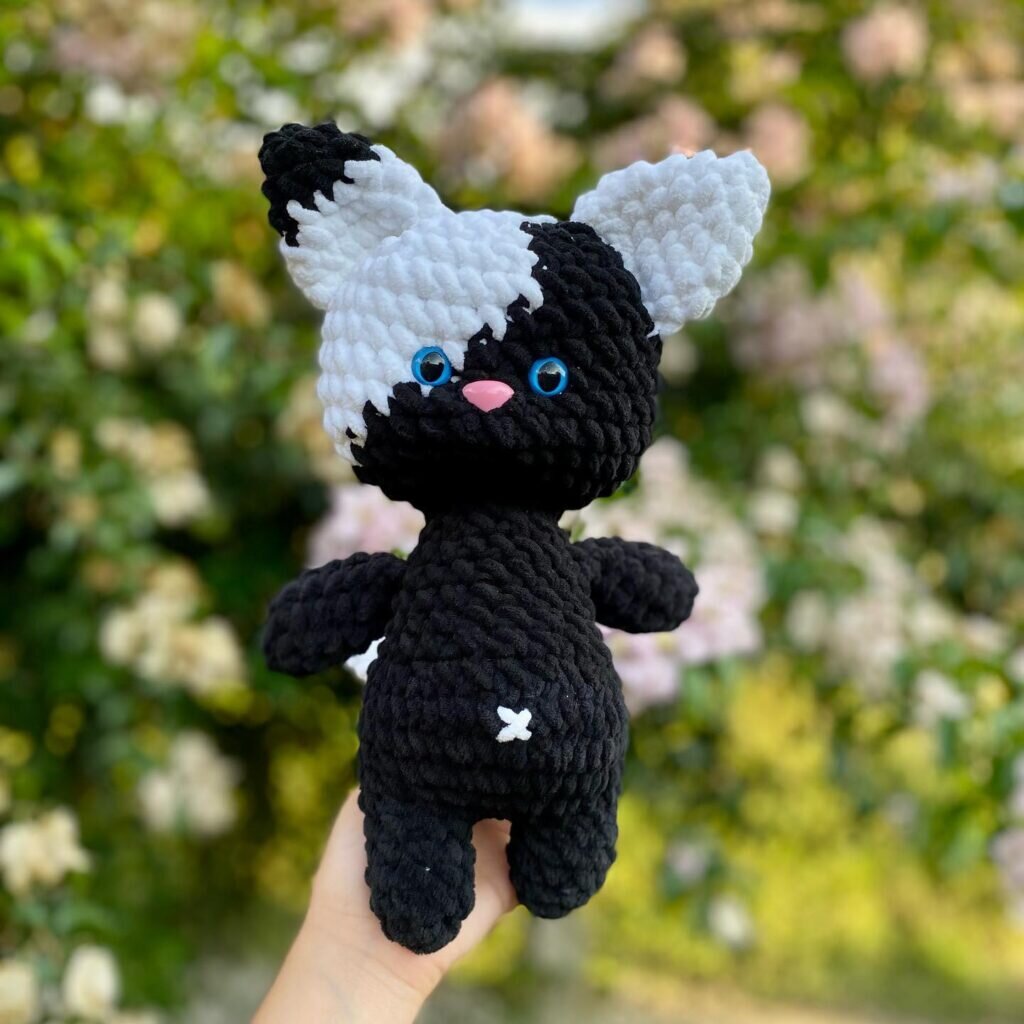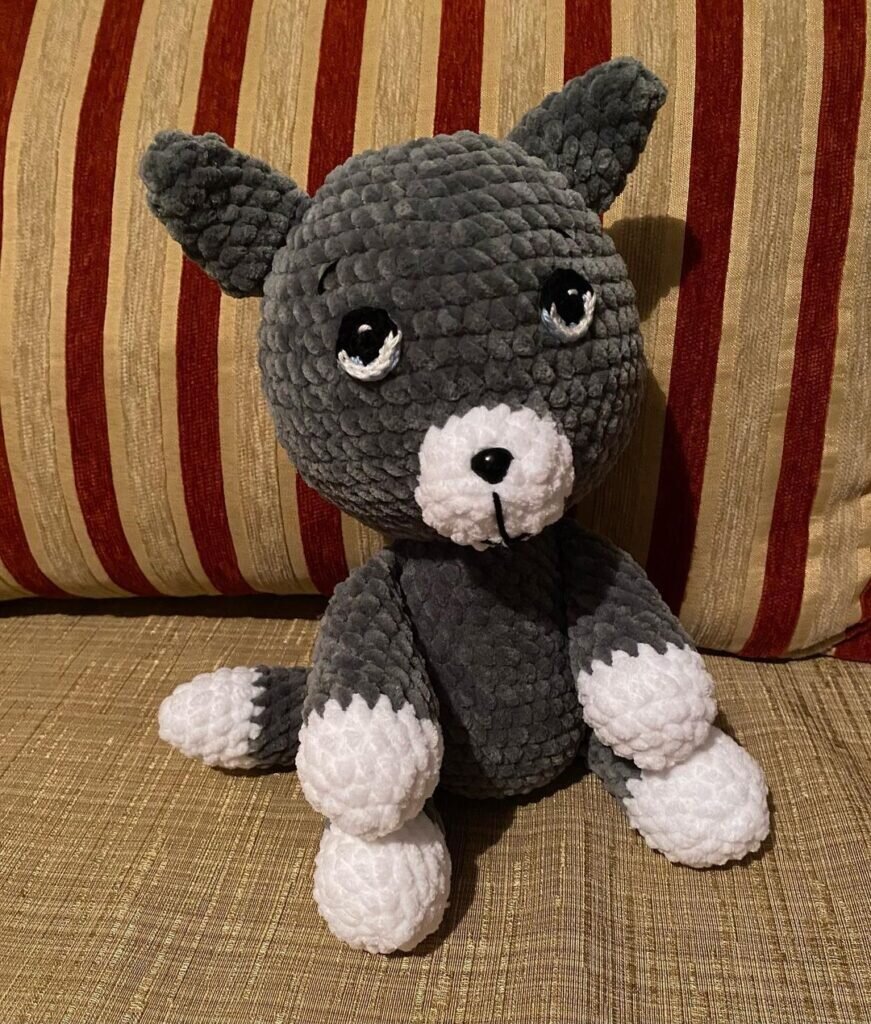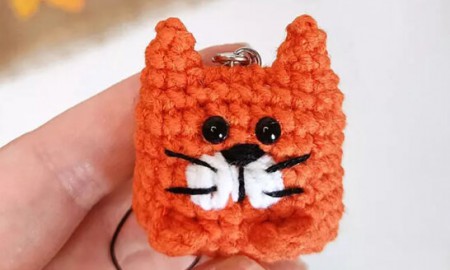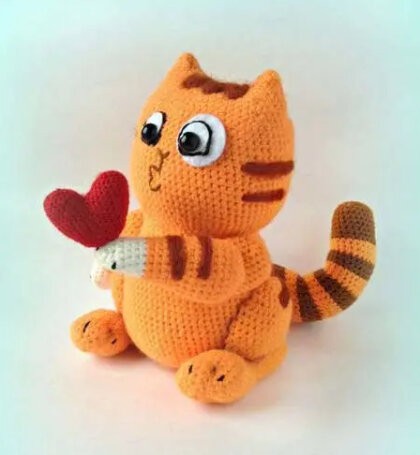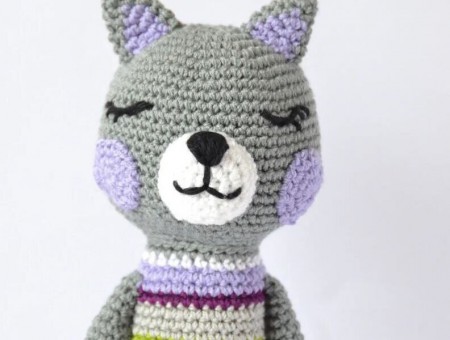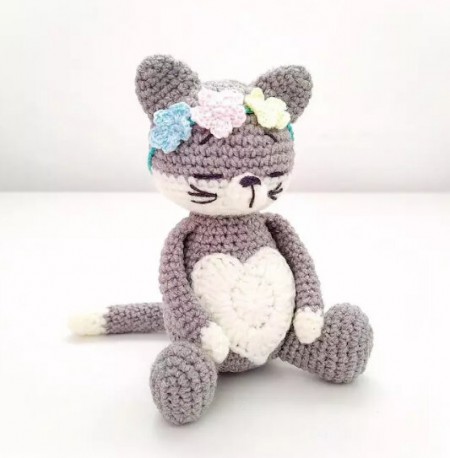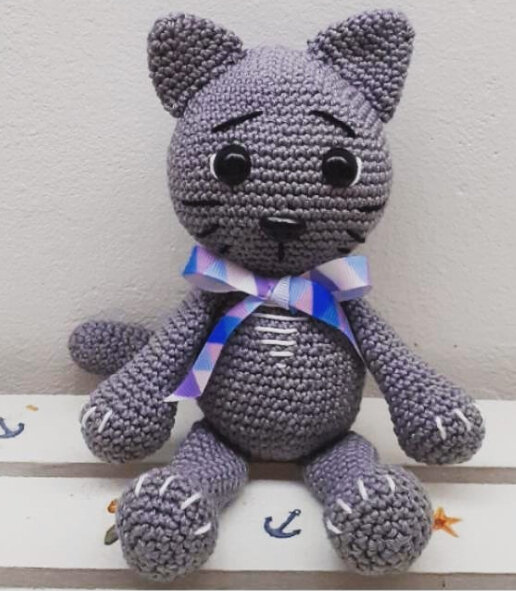
Amigurumi Cat Crochet Pattern
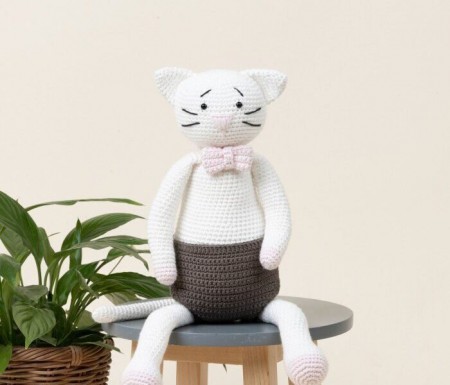
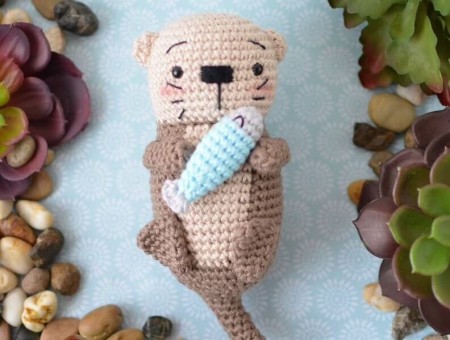
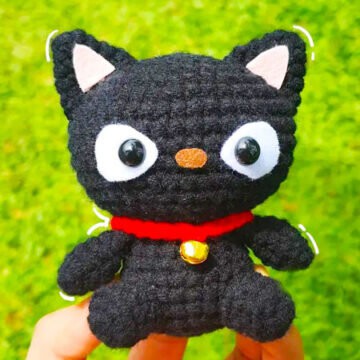
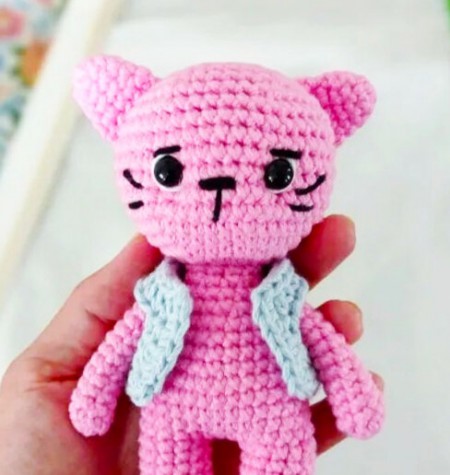
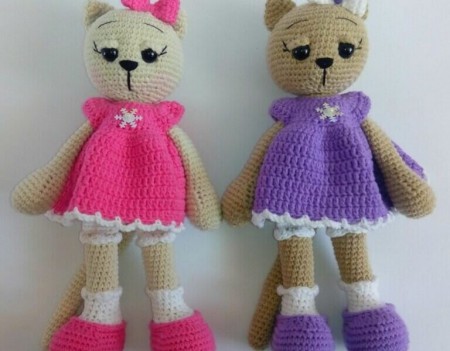
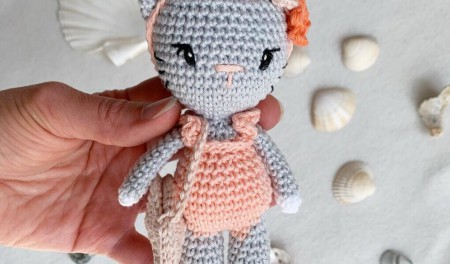
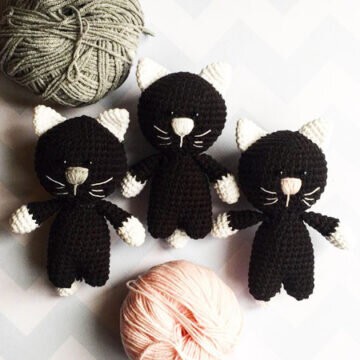
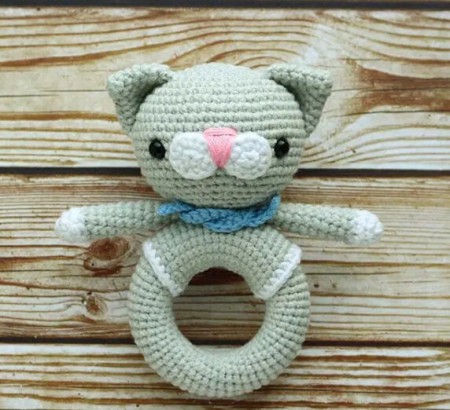
Hello dear Amigurumi enthusiasts! Today I would like to share with you a free Amigurumi Cat pattern and construction instructions. Amigurumi has become a popular hobby in the world of craftsmanship, and in this article I will present you a great Amigurumi Cat design. Trust your imagination while doing amigurumi. And dare to create your own unique designs. Welcome to the Amigurumi world, enjoy fun handicraft projects.
Russian knitting terms
ch: chain (v.p)
mr = Magic ring (KA)
sc: single crochet (sbn)
inc = increase (pr)
dec = decrease (ub)
Legend:
R : Row
Rnd : round
ch: chain
mr = Magic ring
sc: single crochet
inc = increase (2 sc in the next stitch)
dec = decrease (single crochet 2 stitches together)
BLO: Back loop only
FLO: Front loop only
( )* 6 = repeat whatever is between the brackets the number of times stated
Materyals;
amigurumi velvet rope
safe eye
tig 2.5 mm
scissors
pink rope
Lower paws (2 pcs.);
1 row: 6 scв MAGİC RİNG (6)
2 row: 6 ınc (12)
3 row: (1 sc, ınc) * 6 (18)
4th row: (2 sc, ınc) * 6 (24)
5 row: 24 sc (24)
6 row: 6 dec, 12 sc (18)
7 row: 2 sc, 4 dec, 8 sc (14)
8 row: 14 sc (14)
Lightly magic ring
9 row: (5 sc, dec) * 2 (12)
10-13 row: 12 sc, press foot
14 row: (2 sc, dec) * 3 (9)
15 row: close dec
Upper legs (2 pcs.);
1 row: 6 scв MAGİC RİNG (6)
2 row: 6 ınc (12)
3 row: (1 sc, ınc) * 6 (18)
4 row: 4 dec, 10 sc (14)
5 row: 14 sc (14)
6 row: 1 sc, 2 dec, 9 sc (12)
Lightly magic ring
7-10 row: 12 sc (12)
11 row: (2 sc, dec) * 3 (9)
Fill the foot to the end.
12 row: close decav
Tail;
1 row: 6 scв MAGİC RİNG (6)
2-12 row: 6 round
Fold in half and ınc knit 3 sc.
Tie ınc in the body approximately 7-8 rows.
Torso;
1 row: 6 sc in spacecraft (6)
2 row: 6 ınc (12)
3 row: (1 sc, ınc) * 6 (18)
4th row: (2 sc, ınc) * 6 (24)
5 row: (3 sc, ınc) * 6 (30)
6 row: (4 sc, ınc) * 6 (36)
7 row: (5 sc, ınc) * 6 (42)
8-12 row: 42 sc in a circle
13 row: (5 sc, dec) * 6 (36)
14 row: 36 sc
15 row: (4 sc, dec) * 6 (30)
Start stuffing the body.
16 row: (3 sc, dec) * 6 (24)
17 row: (2 sc, dec) * 6 (18)
18 row: (1 sc, dec) * 6 (12)
19 row: 6 dec, fasten and cut the thread.
Hood;
1 row: 6 scв MAGİC RİNG (6)
2 row: 6 ınc (12)
3 row: (1 sc, ınc) * 6 (18)
4th row: (2 sc, ınc) * 6 (24)
5 row: (3 sc, ınc) * 6 (30)
6 row: (4 sc, ınc) * 6 (36)
7 row: (5 sc, ınc) * 6 (42)
8-11 row: 42 round
12 row: (5 sc, dec) * 6 (36)
Ears (2 pcs.);
On the 9th row we knit the ears, the distance between the ears is 5 columns.
Incamo on the hood we type 6 sc, deploy knitting, VP
(air loop), 6 sc, again we unfold the knitting, vp, 3 dec,
U-turn, VP, dec, 1 sc, U-turn, VP, dec.
Fasten and cut the thread.
Muzzle;
Inc. Alize Softy.
1 row: 7 scв MAGİC RİNG (7)
2 row: 7 ınc (14)
3 row: (1 sc, ınc) * 7 (21)
4th row: (4 sc, ınc) * 4, 1 sc (25)
5 row: 25 sc
Head;
1 row: 6 scв MAGİC RİNG (6)
2 row: 6 ınc (12)
3 row: (1 sc, ınc) * 6 (18)
4th row: (2 sc, ınc) * 6 (24)
5 row: (3 sc, ınc) * 6 (30)
6 row: (4 sc, ınc) * 6 (36)
7-9 row: 36 sc in a circle
10 row: (4 sc, dec) * 6 (30)
11 row: 30 sc
12 row: (3 sc, dec) * 6 (24)
Insert the eyes (the author has 10 mm eyes, on the screw mount) in
second row, ınc interval between eyes 2-3 columns. In front of the head
will be where the amigurumi ring is.
13 row: (2 sc, dec) * 6 (18)
Stuff your head tight.
14 row: (1 sc, dec) * 6 (12)
15 row: 6 dec
Fasten and cut the thread.
Decor;
Insert the head into the hood and sew along the edges with threads in tone.
Next, ıncishish the face ıncityk to the eyes.
We embroider the nose with pink threads (or any other color), from
wear a magic ringınc pull down the muzzle thread and pulls a little to
The magic ring was a bit like an infinity sign. Fasten the thread
and ınchere.
Next, we make stitches on the sides of the eyes with a white thread, so the eye will be
more expressive.
We embroider the eyebrows and antennae.
Ready head in the hood ıncish to the body.
As for the legs and handles, we do them on a thread mount.
Take the threads in tone, fix the thread at the top from the inside
legs, then insert the needle into the body, to the place where the leg will be.
And put the needle in the place where the light marker (seen in the photo),
insert the needle into the second marker and withdraw the needle into the body,
repeat twice, then the same thread ınc pull through all
body and fasten the second foot, repeating the same thing. Same
repeat with the upper legs.
We tie a bow around the neck of the cat and, if desired, sew on the belly
buttons or beads.
It's All Finished:
