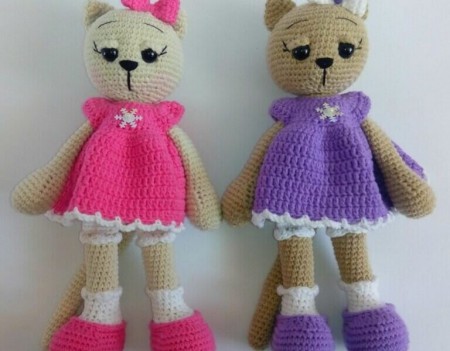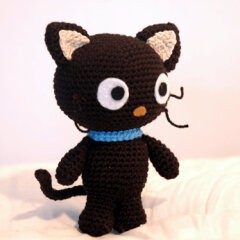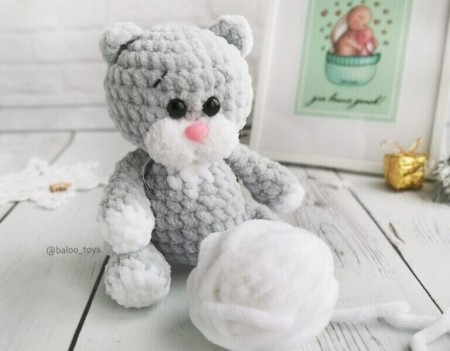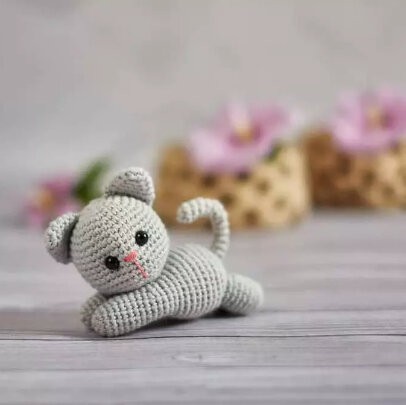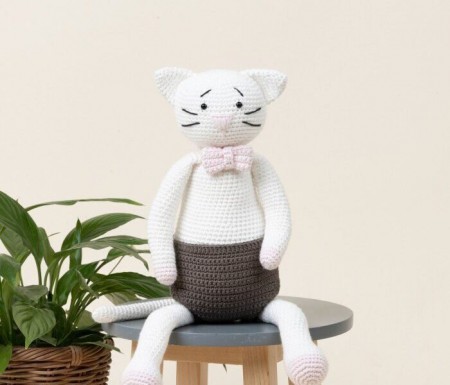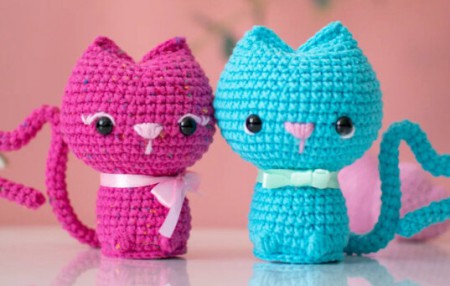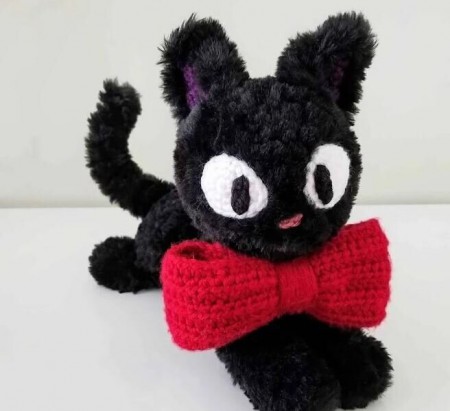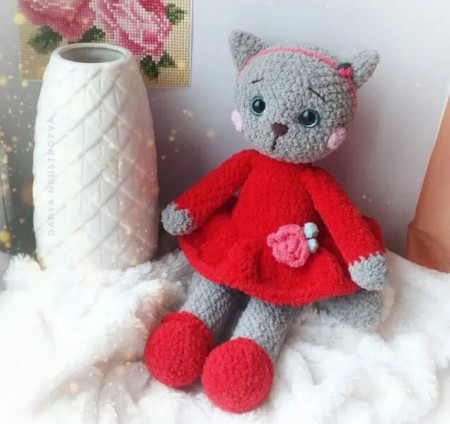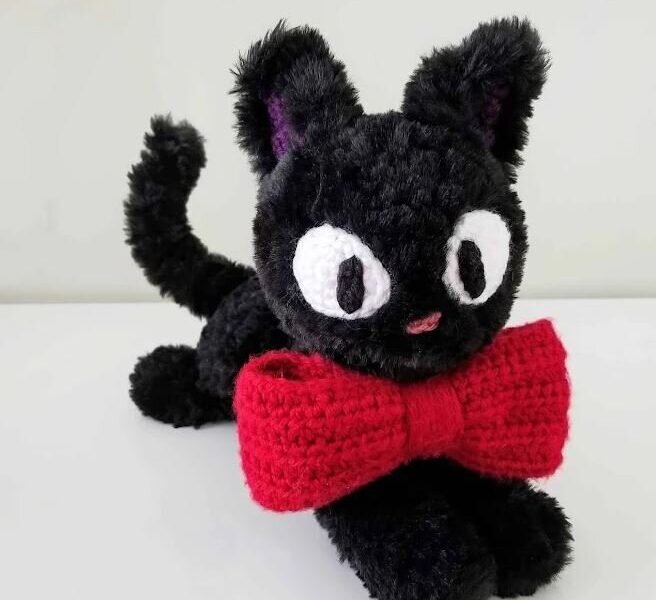
Amigurumi Cat Free Crochet Pattern
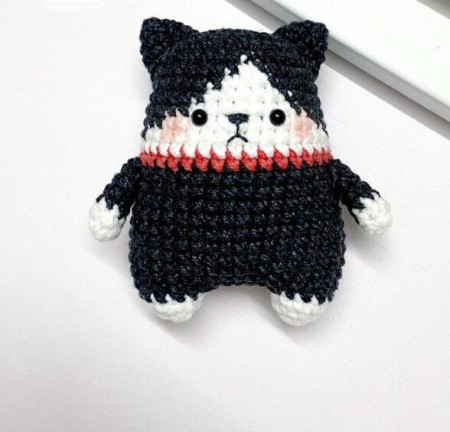
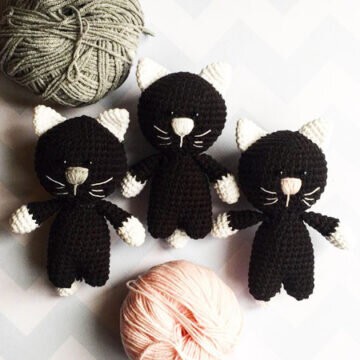
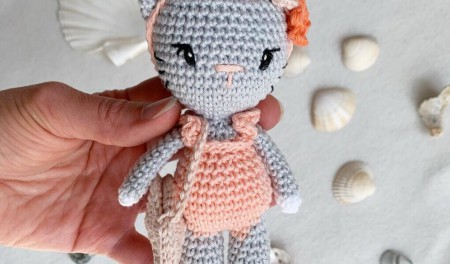
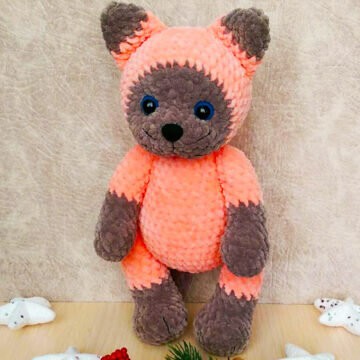
Hello dear Amigurumi enthusiasts! Today I would like to share with you a free Amigurumi Cat pattern and construction instructions. Amigurumi has become a popular hobby in the world of craftsmanship, and in this article I will present you a great Amigurumi Cat design. Trust your imagination while doing amigurumi. And dare to create your own unique designs. Welcome to the Amigurumi world, enjoy fun handicraft projects.
WHAT YOU NEED / MATERIALS
* Two balls of Lion Brand Yarn’s Go For Faux in Black Panther
* Worsted weight yarn in the following colours: white, black, purple, and pink/rose.
* 8 mm Crochet Hook
* 4.5 mm Crochet Hook
* Poly-fil Stuffing
* Small bean bag (optional)
* Scissors
* Yarn Needle
STITCHES & ABBREVIATIONS
st/sts – stitch/stitches
ch – chain
sc – single crochet
sc inc – single crochet increase, 2 single crochet in one stitch
sc dec – single crochet decrease, single crochet 2 together
NOTES
* When using the faux fur yarn, use the 8.0 mm crochet hook
* When using the worsted weight yarn, use the 4.5 mm crochet hook
* The front legs are crocheted along with the body, so make sure you make the front legs before you start on the body.
* Both sides of the fabric that you create using Go For Faux is equally as soft and fiuffy, so it doesn’t really matter which side you decide to use as the outside of your amigurumi
* But as an FYI, I used the “wrong side” to be the outside of my
amigurumi.
* Make all the pieces using Lion Brand’s Go For Faux with an 8.0 mm crochet hook unless otherwise noted.
* Check out my 5 Tips for Crocheting Amigurumi using Faux Fur Yarn to help make your life easier.
* The red bow that you see in some of these photos is actually a headband that I made a while back. I will write up the crochet pattern and post it on the blog soon.
AMIGURUMI CAT FREE PATTERN
Head
Round 1: Magic Circle with a base of 6 sc (6 sts)
Round 2: Sc inc in each st around (12 sts)
Round 3: [Sc, sc inc] x 6 times (18 sts)
Round 4: [Sc 2, sc inc] x 6 times (24 sts)
Round 5-7: Sc in each st around (24 sts)
Round 8: Sc inc x 2, then sc in each st around (26 sts)
Round 9: Sc dec x 3, [Sc, sc dec, sc] x 5 times (18 sts)
Try to stuff his head firmly with stuffing.
Round 10: [Sc, sc dec] x 6 times (12 sts)
Round 11: Sc dec in each st around (6 sts)
Cut and fasten off.
The little bump created in round 8 with the extra 2 increases is meant to be the tip of his nose. After you stuff it with poly-fil stuffing, try to shape the head so that it’s nice and round and have the nose just stick out just a tiny bit as shown in this photo.
Front Legs (Make 2)
Round 1: Magic Ring with a base of 6 sc (6 sts)
Round 2-8: Sc in each st around (6 sts)
Cut and fasten off.
Then make a second one following rounds 2-8 but don’t cut and fasten
off. Instead, follow the instructions below for the remaining part of the
second front leg.
Round 9-10: With the second leg, single crochet around the 8th row of the first leg, and then around the second leg again (12 sts)
Stuff both of the legs.
You can find more photos of how to attach the legs together here.
Body
Note: Make sure you’ve made the front legs before making the body.
Round 1: Magic Ring with a base of 6 sc (6 sts)
Round 2: Sc inc in each st around (12 sts)
Round 3: [Sc, sc inc] x 6 times (18 sts)
Round 4: [Sc 2, sc inc] x 6 times (24 sts)
Round 5-6: Sc in each st around (24 sts)
Round 7: [Sc, sc dec] x 4 times, sc 12 (20 sts)
Round 8: Sc in each st around (20 sts)
If you decide to use a small bean bag to help your cat sit better, here’s a good place to insert it before the opening gets too small and continue crocheting.
Round 9: Sc dec, [sc, sc dec] x 2 times, Sc 12 (17 sts)
Round 10: Sc in each st around (17 sts)
Round 11: [Sc, sc dec] x 2, sc in the next 11 sts (15 sts)
Round 12: Sc in each st around (15 sts)
Round 13: Sc, sc dec, sc in the next 12 sts (14 sts)
Round 14-15: Sc in each st around (14 sts)
This is the part where you’re going to add the front legs to the body.
Round 16: Sc 2, then crochet the body and front legs together with 2 sc sts, and then continue to crochet 10 Sc around the body (14 sts) – Click here for more photos.
Round 17: Sc, sc2tog (one stitch from the body and one stitch from the legs), Sc 8 around the legs, Sc2tog (one stitch from the legs and one stitch from the body), then sc in the next 9 sts (20 sts) – Click here for
more photos.
Round 18: [Sc 2, sc dec] x 5 times (15 sts)
Round 19: [Sc, sc dec] x 5 times (10 sts)
Round 20-21: Sc in each st around (10 sts)
Continue to stuff your black cat amigurumi as you go. Cut and fasten off with a long tail to sew the head to the body.
Hind Legs (Make 2)
Round 1: Magic Ring with a base of 5 sc (5 sts)
Round 2-5: Sc in each st around (5 sts)
Stuff the hind legs. Cut and fasten off with a tail to sew to the body.
Tail
Ch 16,
Row 1: Sc into the second ch from the hook and in each st across (15 sts)
Row 2: Ch 1, turn, sc in each st across (15 sts)
Fasten off with a long tail and then use the tail to stitch the tailpiece length-wise.
Use the remaining yarn tail to attach it to the bottom of the body to form the cat’s tail.
The curl to the tail depends on how tight you gather your stitches at the end.
Ears (Make 2)
Ch 2,
Row 1: Sc 2 into the
It's All Finished:


