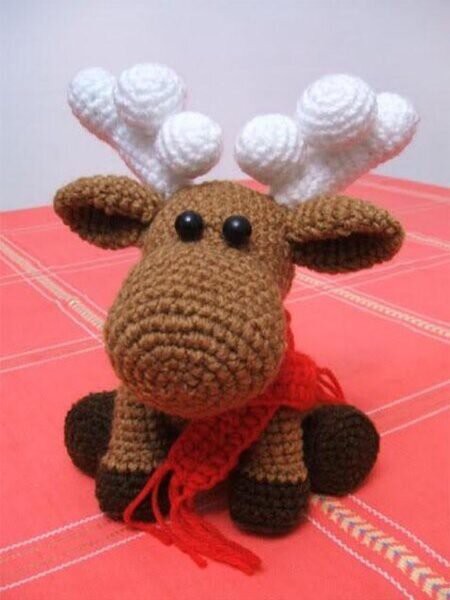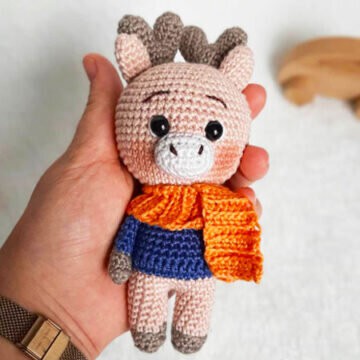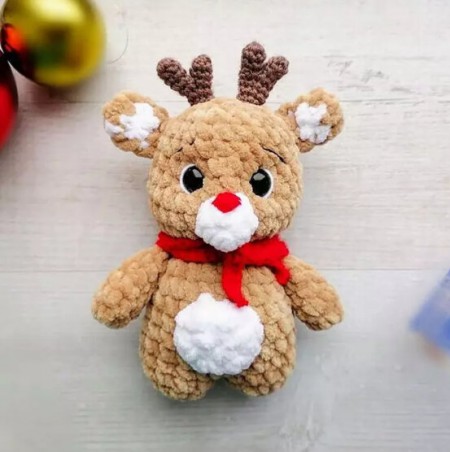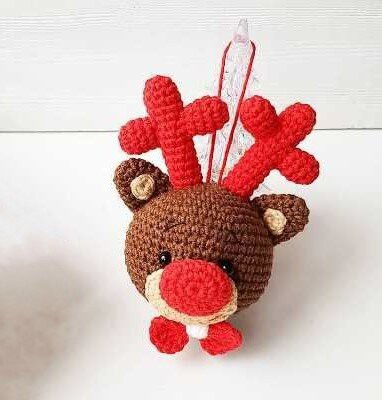
Amigurumi Deer Free Crochet Pattern
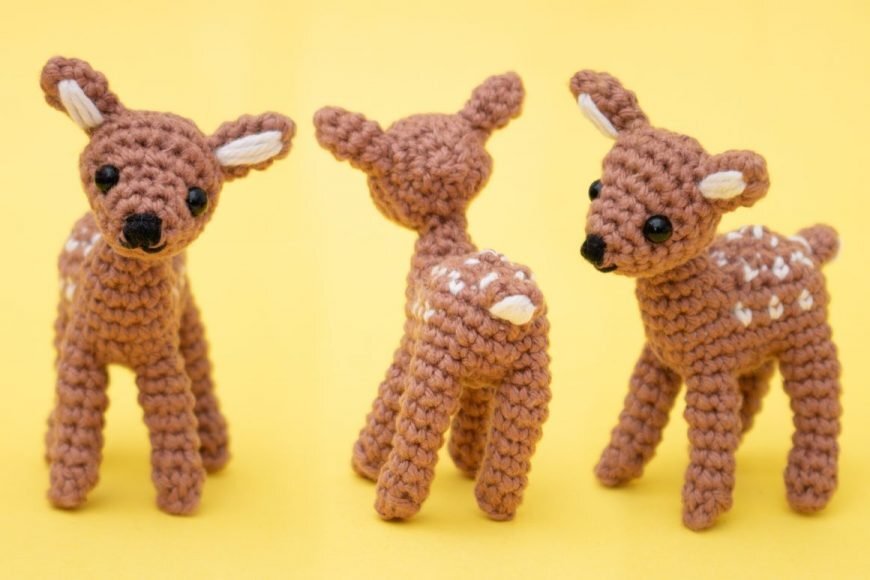
Hello dear Amigurumi enthusiasts! Today I would like to share with you a free Amigurumi Deer pattern and construction instructions. Amigurumi has become a popular hobby in the world of craftsmanship, and in this article I will present you a great Amigurumi Deer design. Trust your imagination while doing amigurumi. And dare to create your own unique designs. Welcome to the Amigurumi world, enjoy fun handicraft projects.
Materials
DK/light worsted weight yarn (I used Paintbox Yarns Cotton DK in Soft Fudge and Champagne White
2.5mm crochet hook / B-1 or C-2
Black embroidery floss
Yarn needle (preferably with a bent tip)
Large eyed sewing needle
5mm safety eyes
Fiberfill
Stitch marker
Sewing pins
Small flat pliers (optional)
Abbreviations
R = row
Rnd = round
St(s) = stitch(es)
Ch = chain
Sc = single crochet
Inc = single crochet 2 in same st
BLO = back loops
Dec = invisible decrease: Insert hook in front loops of next 2 sts, yarn over, pull through both front loops, yarn over, pull through 2 remaining loops
[…] = series of stitches to be repeated
*… = times the series of stitches is to be repeated
(…) = stitch count once round is complete
Instructions for the Amigurumi Deer
Crochet the forelegs in light brown (make 2)
Rnd 1: Sc 6 in magic ring (6)
Rnd 2: In BLO: Sc 6 (6)
Rnd 3 and 4: Sc 6 (6)
Rnd 5: [sc 2, inc 1]*2 (8)
Rnd 6: [sc 2, dec]*2 (6)
Rnd 7: Sc 6 (6)
Crochet the hind legs in light brown (make 2)
Rnd 1: Sc 6 in magic ring (6)
Rnd 2: In BLO: Sc 6 (6)
Rnd 3 to 5: Sc 6 (6)
Rnd 6: [sc 2, inc 1]*2 (8)
Rnd 7 and 8: Sc 8 (8)
Crochet the belly in light brown
Ch 4
Rnd 1: Sc 2 (starting in 2nd ch), sc 4 in last ch, sc 1 in other side of ch, sc 3 in last ch (10)
Rnd 2: Sc 8 around hind leg, sc 3, sc 6 around foreleg, sc 2, sc 6 around foreleg, sc 3, sc 8 around hind leg, sc 2 (38)
Rnd 3: Dec, sc 5, dec, sc 1, dec, sc 4, dec 2, sc 4, dec, sc 1, dec, sc 5, dec 2 (29)
Use the yarn ends to close the little gaps between legs and belly with a few stitches. Close any gaps at the center of the belly. Hide the remaining yarn ends inside the legs.
Rnd 4: Sc 27, dec (28)
Rnd 5: Sc 3, sc 1 changing to white, sc 1 changing to brown, sc 1 changing to white, sc 1 changing to brown, sc 1 changing to white, sc 1 changing to brown, sc 9, sc 1 changing to white, sc 1 changing to brown, sc 1 changing to white, sc 1 changing to brown, sc 1 changing to white, sc 1 changing to brown, sc 4 (28)
Rnd 6: Sc 10, ch 4, sk 8, sc 10 (24)
Continue with the back
Rnd 7: Dec, sc 1 changing to brown, sc 1 changing to white, dec changing to brown, sc 1 changing to white, sc 1 changing to brown, dec changing to white, sc 1 changing to brown, sc 1 changing to white, dec changing to brown, sc 1 changing to white, sc 1 changing to brown, dec changing to white, sc 1 changing to brown, sc 1 changing to white, dec changing to brown, sc 1 changing to white, sc 1 changing to brown (18)
Start filling the body with fiberfill.
Rnd 8: [dec, sc 1]*6 (12)
Rnd 9: [dec changing to white, dec changing to brown]*3 (6)
Fasten off and close the round. Weave in the yarn ends.
Crochet the neck
Rnd 7 and 8: Sc 12 (12) (8 out of sc stitches and 4 out of other side of ch stitches)
Rnd 9: [sc 1, dec]*4 (8)
Rnd 10: Sc 8 (8)
Fasten off leaving a long tail for sewing.
Fill the front of the body and the neck with fiberfill.
Crochet the head in light brown
Rnd 1: Sc 6 in magic ring (6)
Rnd 2: [sc 1, inc 1]*3 (9)
Rnd 3: [sc 2, inc 1]*3 (12)
Rnd 4: Sc 12 (12)
Rnd 5: Sc 3, inc 6, sc 3 (18)
Rnd 6 to 8: Sc 18 (18)
Embroider the nose on round 1 of the head. Insert safety eyes in between round 4 and 5 with 3 to 4 stitches space in between.
Start filling the head.
Rnd 9: [sc 1, dec]*6 (12)
Fill the head more if necessary.
Rnd 10: Dec 6 times (6)
Crochet the ears in light brown (make 2)
Rnd 1: Sc 4 in magic ring (4)
Rnd 2: [sc 1, inc 1]*2 (6)
Rnd 3: Sc 6 (6)
Rnd 4: [sc 1, dec]*2 (4)
Fasten off leaving a long enough end for sewing the ears on. Embroider 3 stitches in white to the bottom of the tail.
Crochet the tail in light brown
Rnd 1: Sc 4 in magic ring (4)
Rnd 2: [sc 1, inc 1]*2 (6)
Fasten off, leaving a long enough end for sewing.
Embroider 5 stitches in white to the bottom of the tail.
Assembly
Sew the tail centered on the backside.
Sew the ears on round 8 of the head with 4 stitches space in between.
Sew the head on the neck and close any small gaps at the front sides.
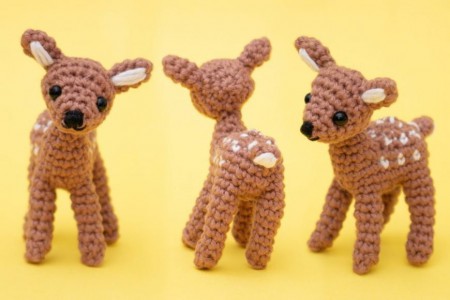
Your little amigurumi deer is now complete!
It's All Finished:


