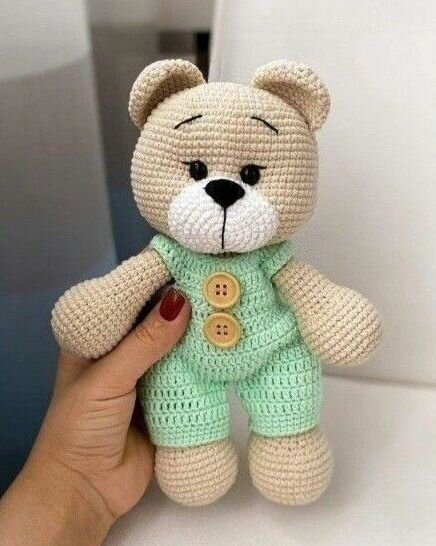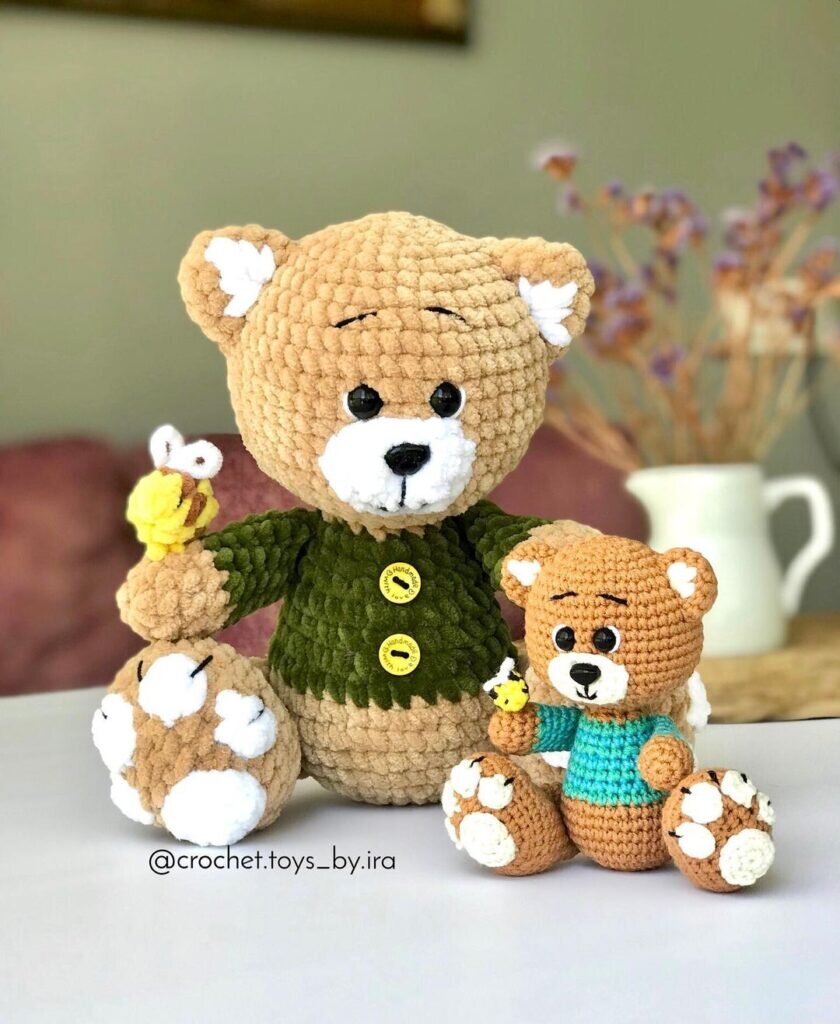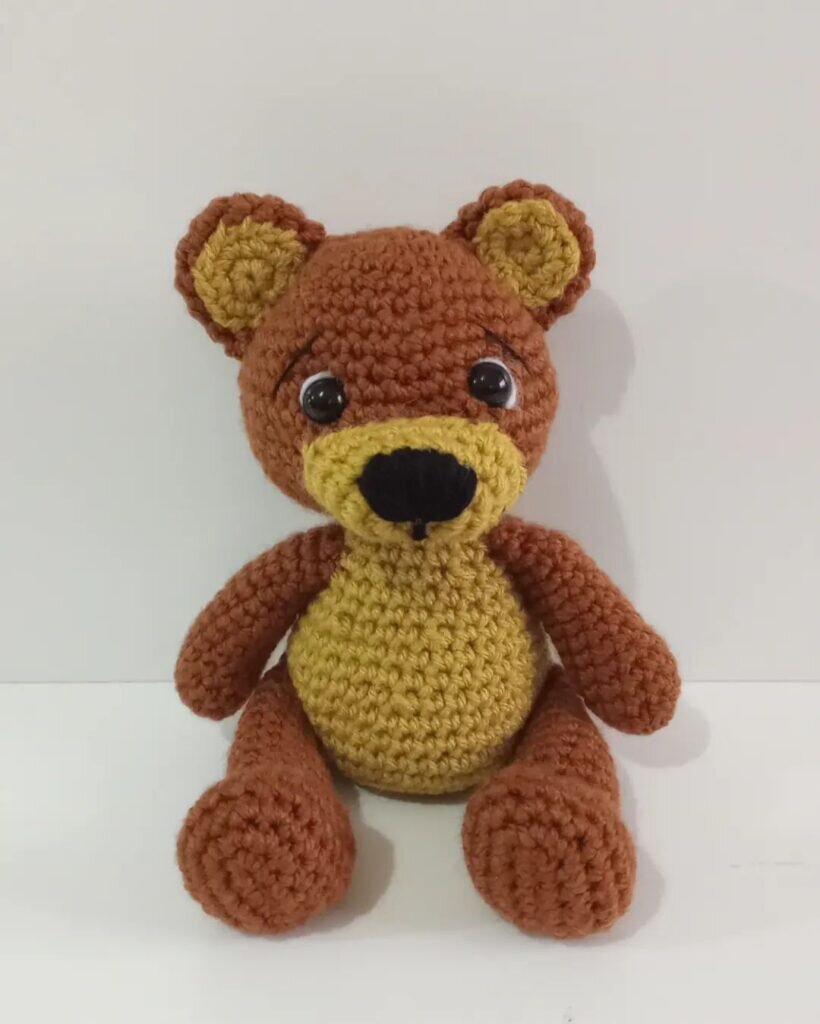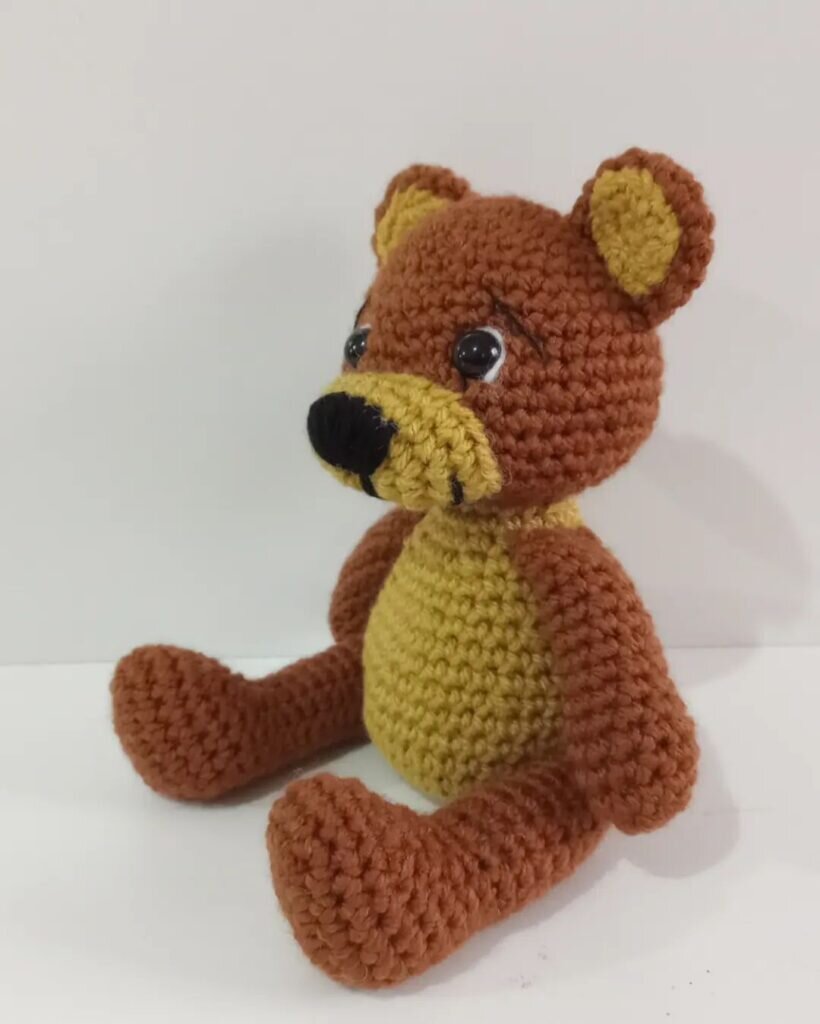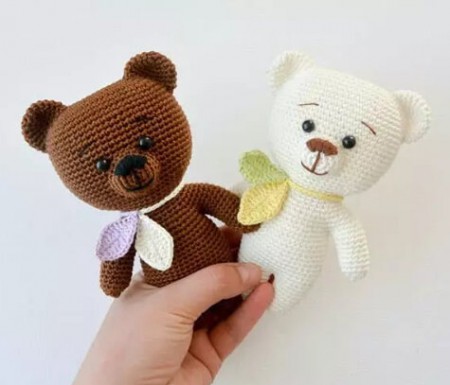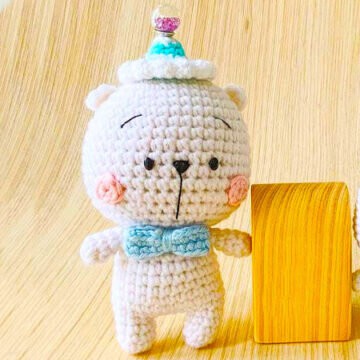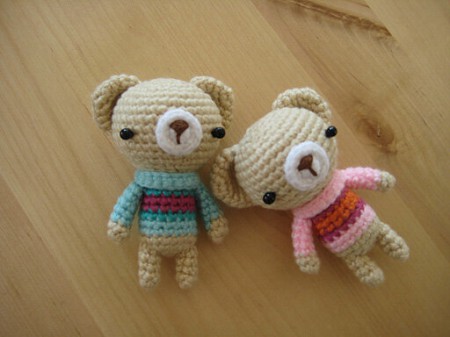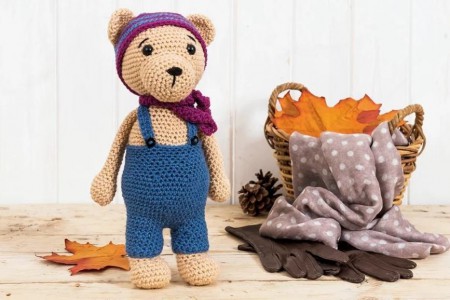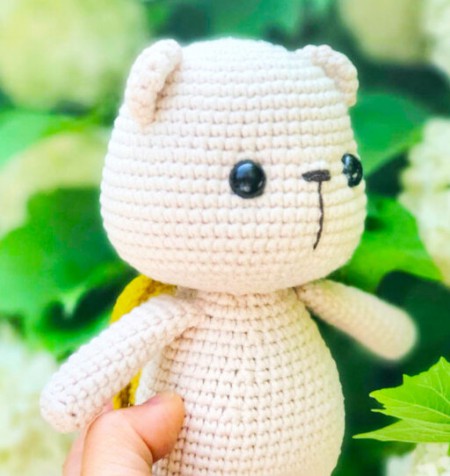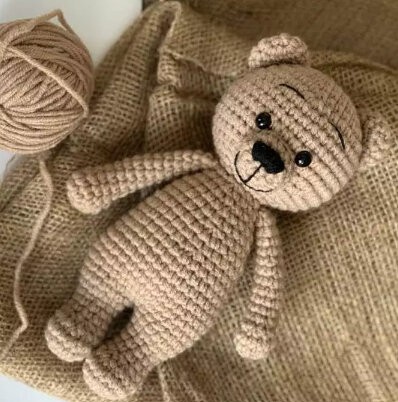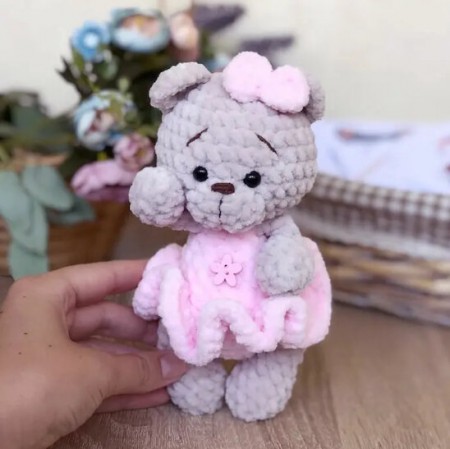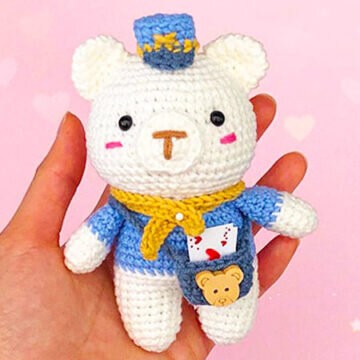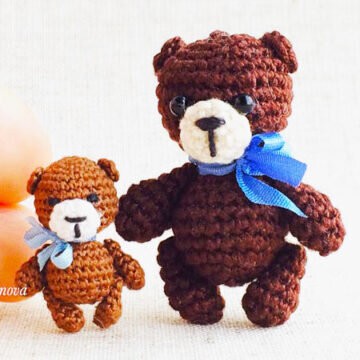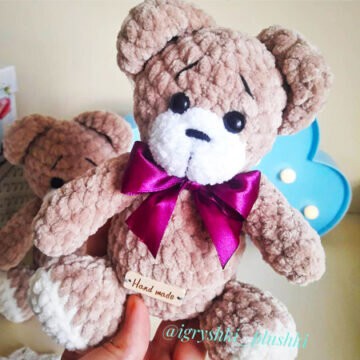
Amigurumi Easy Bear Free Pattern
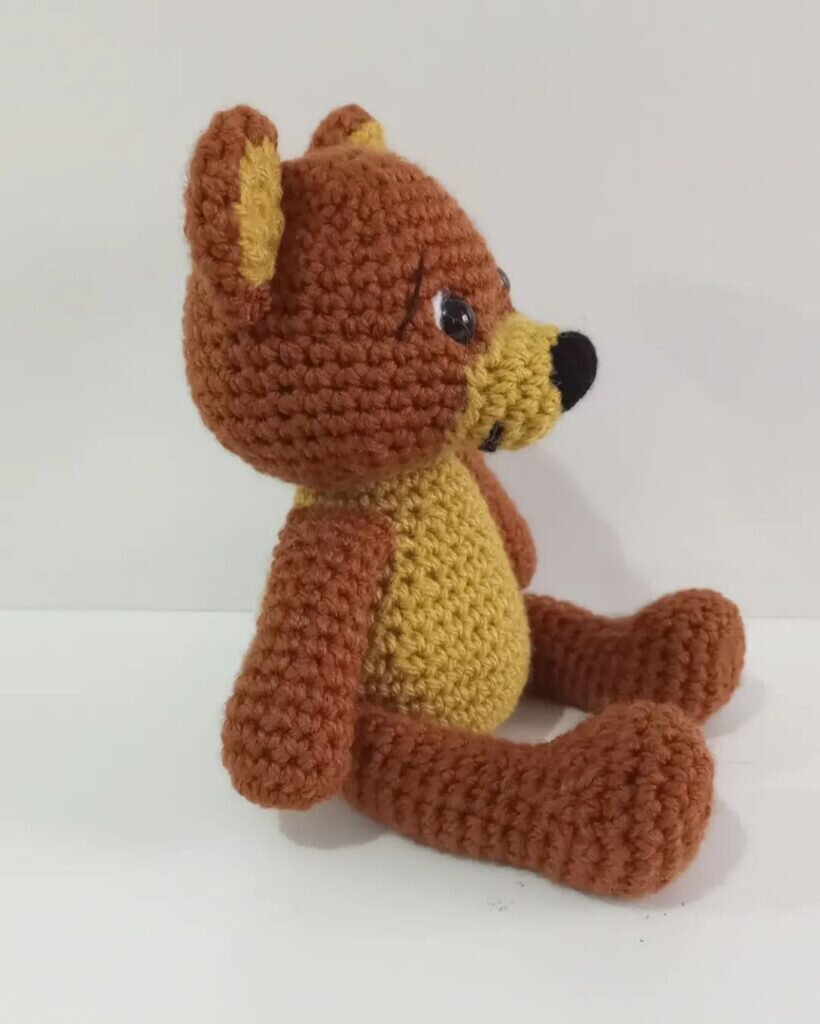
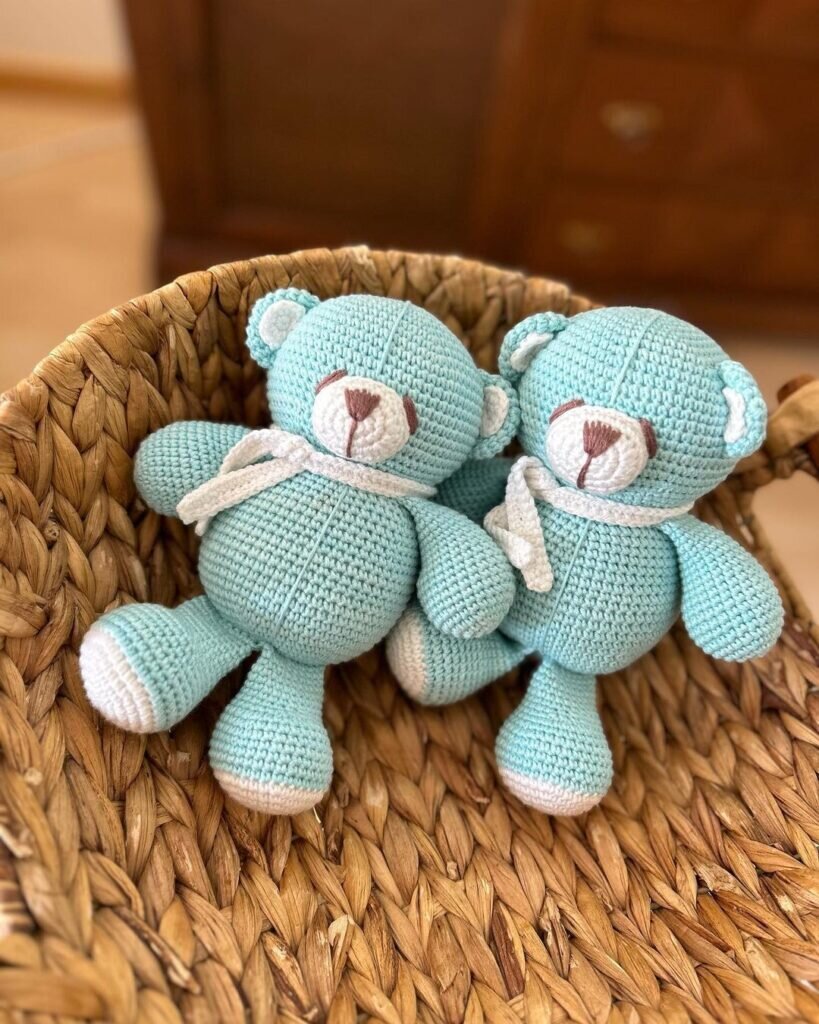
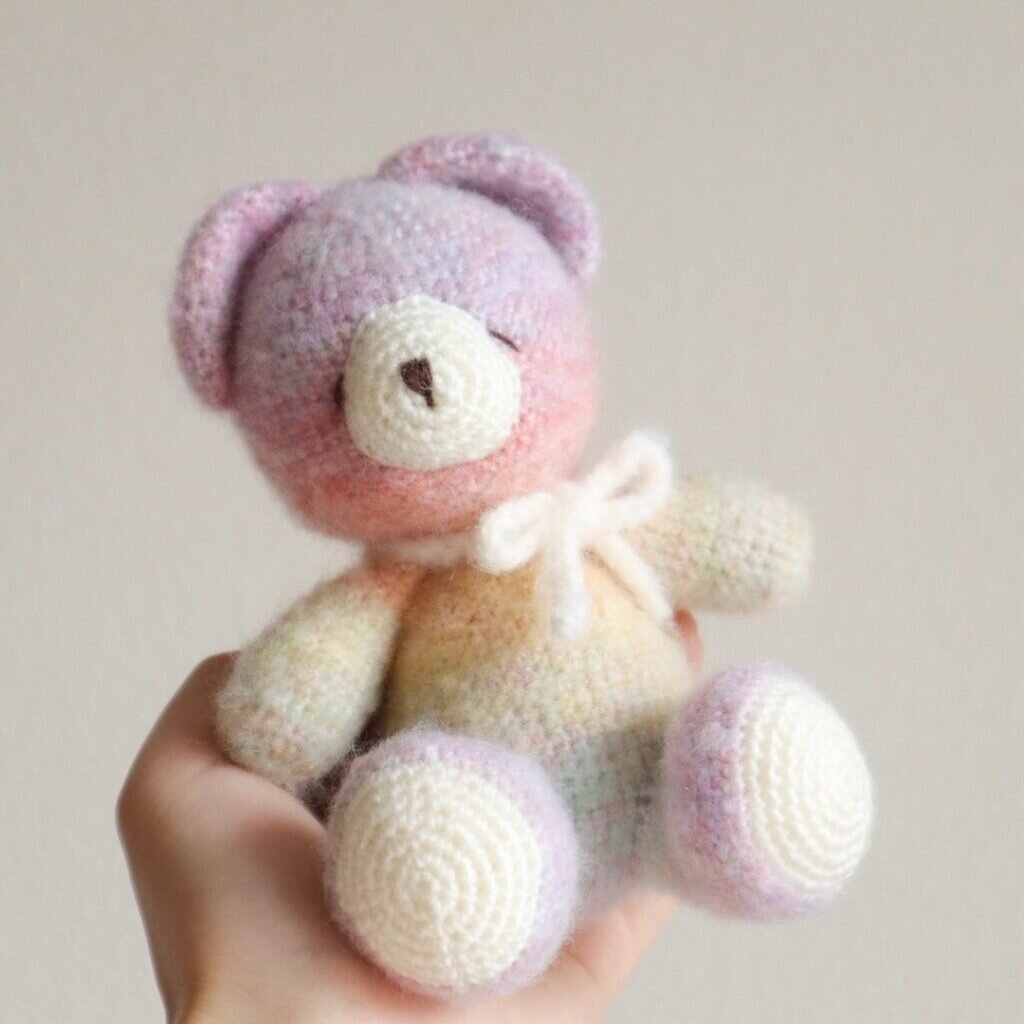
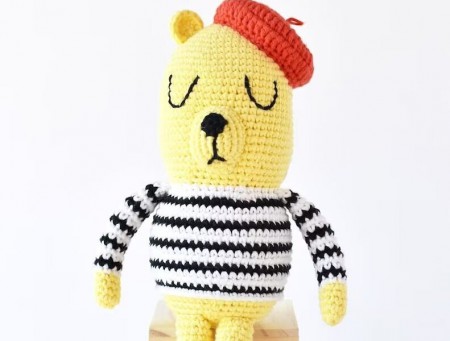
Hello dear Amigurumi enthusiasts! Today I would like to share with you a free Amigurumi Bear pattern and construction instructions. Amigurumi has become a popular hobby in the world of craftsmanship, and in this article I will present you a great Amigurumi Bear design. Trust your imagination while doing amigurumi. And dare to create your own unique designs. Welcome to the Amigurumi world, enjoy fun handicraft projects.
Materials:
Himalayan yarn Dolphin Baby ( 1/2 brown skein and a little white thread ), Alize Softy ( white ) for muzzle
3.5-4.0 mm hook for the Dolphin Baby wire and 2.5 mm for Alize Softy
10 mm safety eyes
Black embroidery thread for muzzle and eyebrows
Satin ribbon for an arc
Sewing needle and scissors
Refund
Abbreviations
( ms ) / ( sc ): greenhouse mesh
( BO ) Hazelnut point
( ml ) / ( ch ): Chainette, Air mesh
( MR ): Magic ring
( dim ) / ( dec ): decrease, decrease, decrease
( augm ) / ( inc ): increase
( M ) / ( st ): Point ( pt ) mesh
( FLO ): work only in the front loops
( BLO ): work only in rear loops
( d-br, dble.b ) / ( tr ): Double flange
( br ) / ( dc ): flange
( dB ) / ( hdc ): half flange
( mc ) / ( sl-st ): casting mesh, small mesh
( db / dbr ) ( dtr ): Double flange
( mct ) / ( tch ): chain meshes to rotate
( 3msm ) / ( sc3tog ): 3 ms in the same mesh
( F.o. ): Stop the wire.
( 3 br ens ): 3 flanges together
Arm ( make 2 )
With brown thread :
R 1: 6 ms in MR ( 6 )
R 2: ( 1 ms, augm ) * 3 ( 9 )
R 3-4: 9 ms ( 2 rows )
R 5: dim, 7 ms ( 8 )
R 6-7: 8 ms ( 2 rows )
fill with padding fiber.
R 8: dim * 4 ( 4 )
F.o. and leave a long tail for sewing.
Legs ( make 2 )
With white thread :
Make 6 ml.
Make an oval from the 2nd ml from the hook, pick on both sides of the chain.
R 1: From the 2nd ml from the hook: 4 ms, 3 ms in the last m, turn and pick on the other side of the chain: 4 ms ( 11 )
R 2: augm, 3 ms, 3 augm, 3 ms, augm ( 16 )
Switch to brown thread:
R 3: BLO 16 ms ( 16 )
R 4: 16 sc
R 5: 4 ms, 4 dim, 4 ms ( 12 )
R 6: 4 ms, 2 dim, 4 ms ( 10 )
R 7: 10 ms ( 10 )
fill with padding fiber.
F.o. and leave a long tail for sewing.
Ears ( make 2 )
With brown thread:
R 1: 6 ms in MR ( 6 )
R 2: augm * 6 ( 12 )
R 3: ( augm, 1 ms ) * 6 ( 18 )
R 4: 18 sc
Do not fill.
Fold the top of the ear flat and 9 ms on both sides.
F.o. and leave a long tail for sewing.
Head
With brown thread:
R 1: 6 ms in MR ( 6 )
R 2: augm * 6 ( 12 )
R 3: ( 1 ms, augm ) * 6 ( 18 )
R 4: ( 2 ms, augm ) * 6 ( 24 )
R 5: ( 3 ms, augm ) * 6 ( 30 )
R 6-8: 30 ms ( 3 rows )
Insert safety eyes between R 7 and R 8.
R 9: ( 3 ms, dim ) * 6 ( 24 )
R 10: ( 2 ms, dim ) * 6 ( 18 )
R 11: ( 1 ms, dim ) * 6 ( 12 )
fill with padding fiber.
R 12: dim * 6 ( 6 )
F.o.
Body
With brown thread:
R 1: 6 ms in MR ( 6 )
R 2: augm * 6 ( 12 )
R 3: ( 1 ms, augm ) * 6 ( 18 )
R 4: ( 2 ms, augm ) * 6 ( 24 )
R 5: ( 3 ms, augm ) * 6 ( 30 )
R 6-8: 30 ms ( 3 rows )
R 9: ( 3 ms, dim ) * 6 ( 24 )
R 10: 9 ms, 3 dim, 9 ms ( 21 )
R 11-12: 21 ms ( 2 rows )
R 13: ( 1 ms, dim ) * 7 ( 14 )
fill with padding fiber.
R 14: dim * 7 ( 7 )
F.o. and leave a long tail for sewing.
Tail
With brown thread:
R 1: 6 ms in MR ( 6 )
R 2: ( 1 ms, augm ) * 3 ( 9 )
R 3: ( 1 ms, dim ) * 3 ( 6 )
F.o. and leave a long tail for sewing.
Muzzle
Alize Softy wire, 2.5 mm hook
R 1: 6 ms in MR ( 6 )
R 2: augm * 6 ( 12 )
R 3: ( 1 ms, augm ) * 6 ( 18 )
R 4: ( 2 ms, augm ) * 6 ( 24 )
R 5: ( 3 ms, augm ) * 6 ( 30 )
F.o. and leave a long tail for sewing.
Assembly
Sew the muzzle on the head. Put some filling inside the muzzle before finishing.
Sew your arms to your body between R 11 and R 12.
Sew the legs to the body between R 6 and R 8.
It's All Finished:
