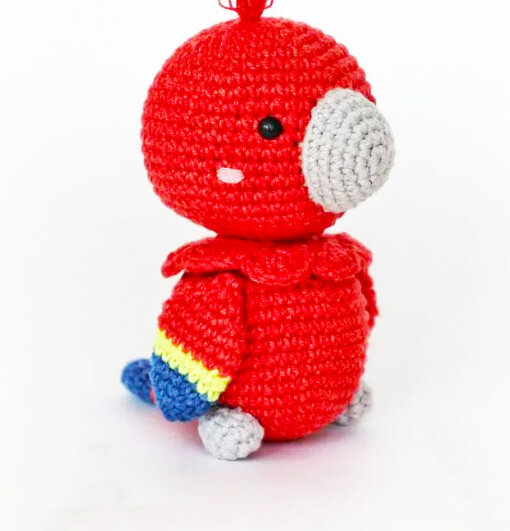
Amigurumi Parrot Free Pattern
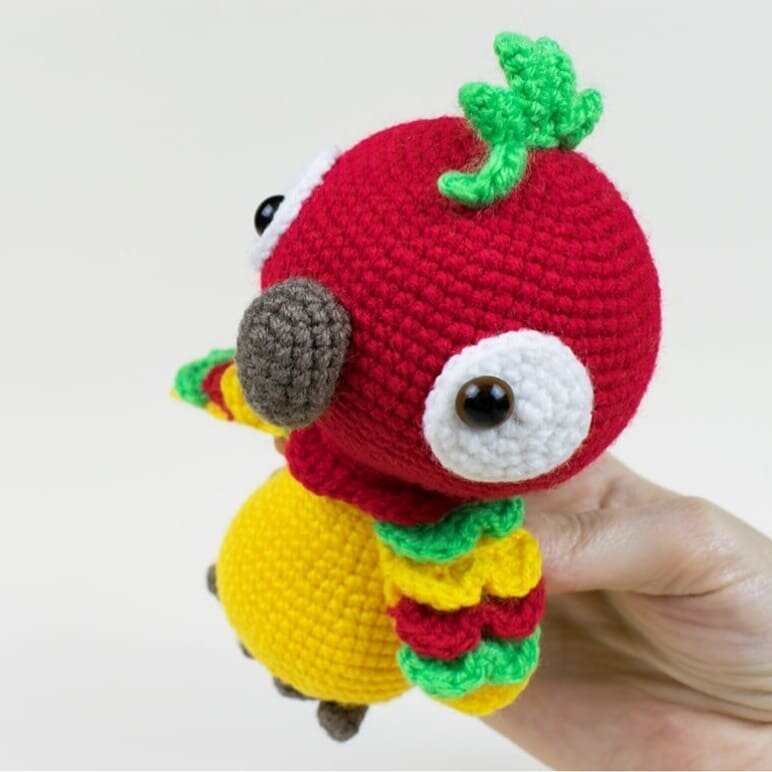
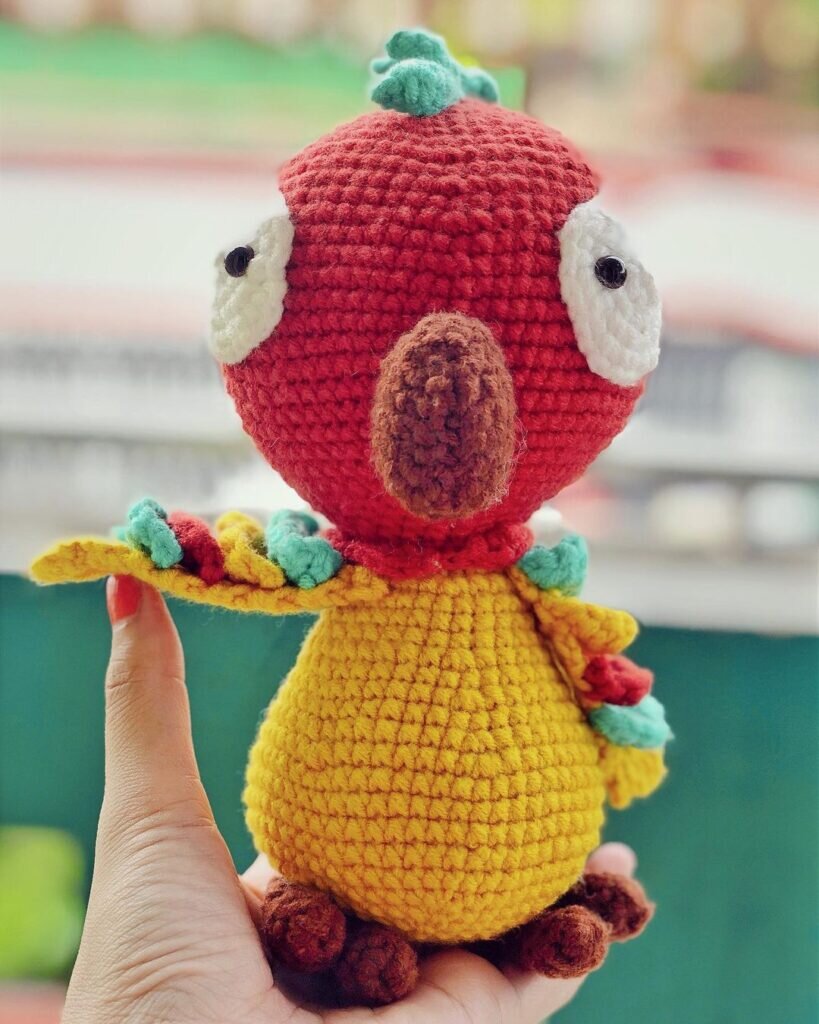
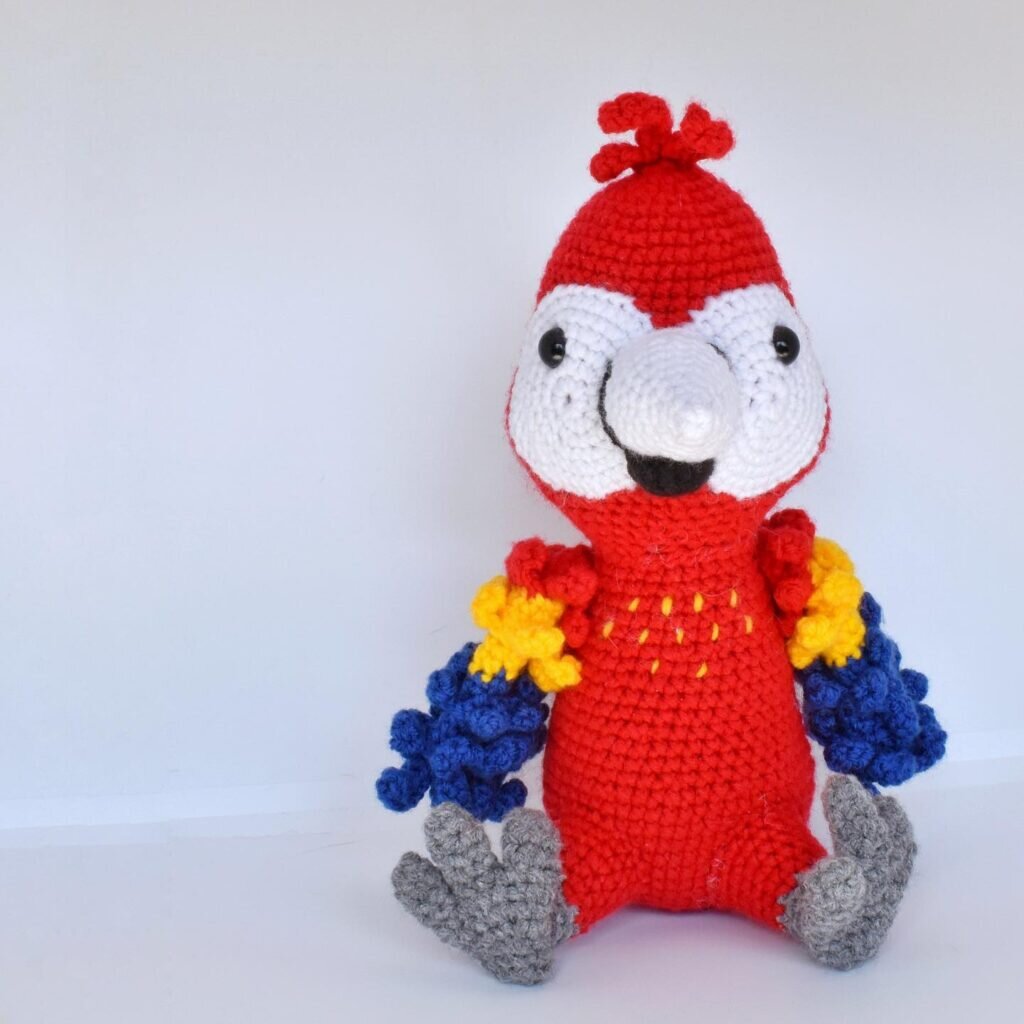
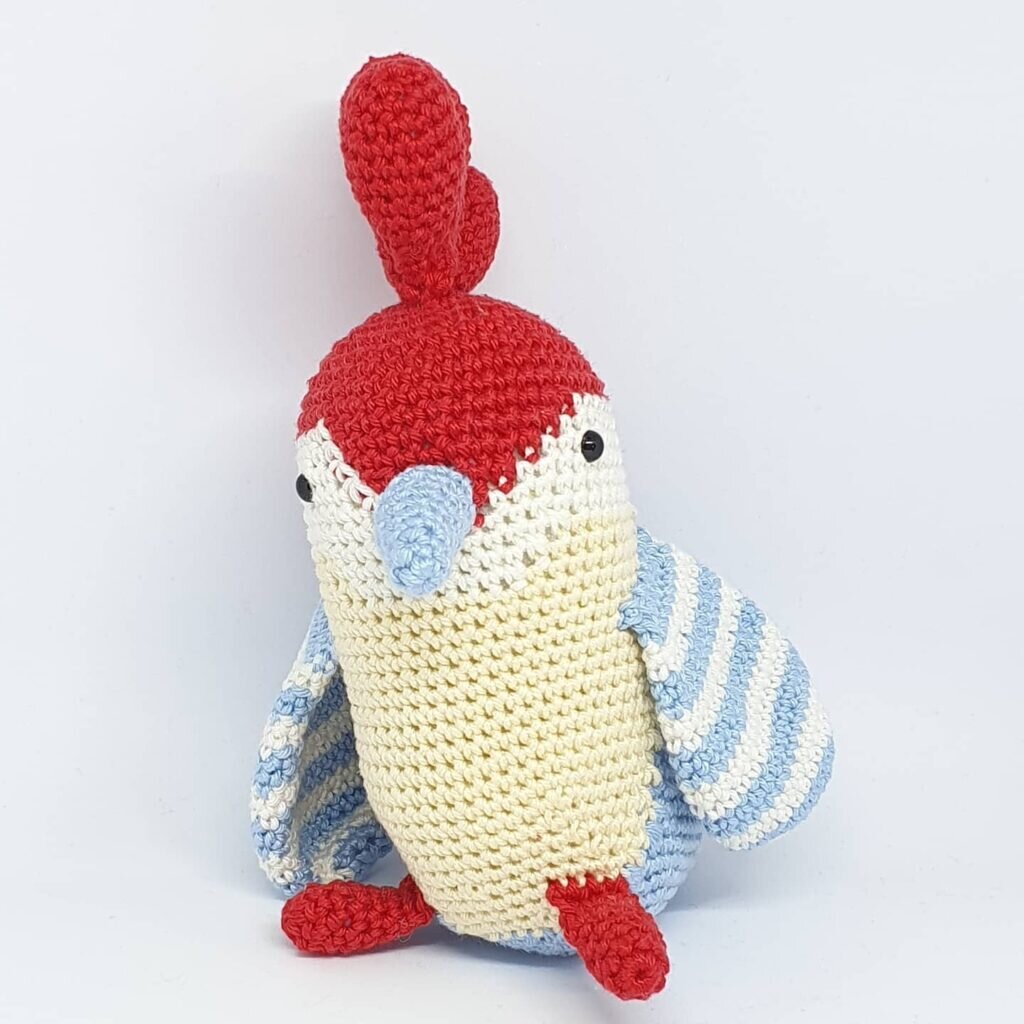
Hello dear Amigurumi enthusiasts! Today I would like to share with you a free Amigurumi Parrot pattern and construction instructions. Amigurumi has become a popular hobby in the world of craftsmanship, and in this article I will present you a great Amigurumi Parrot design. Trust your imagination while doing amigurumi. And dare to create your own unique designs. Welcome to the Amigurumi world, enjoy fun handicraft projects.
Materials
Sport weight yarn with colors: red, blue, yellow, gray (used yarnart jeans no: 26, 16,58, 80) Crochet
according to the yarn (I used a 2 mm hook)
Safety eyes in 6mm black plastic.
Pink embroidery thread.
Yarn needle, embroidery needle.
Pins, scissors.
Polyester fiber filling for padding.
Abbreviations
(sc)/(sc): Single crochet
(BO) Hazelnut stitch
(ml)/(ch): Chainette, Air stitch
(MR): Magic ring
(dim)/(dec): decrease, decreasing, decrease
(augm) /(inc): increase
(M)/(st): Stitch (pt) stitch
(FLO): work only in front loops
(BLO): work only in back loops
(br)/(dc): double crochet
(dB )/(hdc): half double crochet
(sl st)/(sl-st): slip stitch, small stitch
(Fo): Fasten the thread.
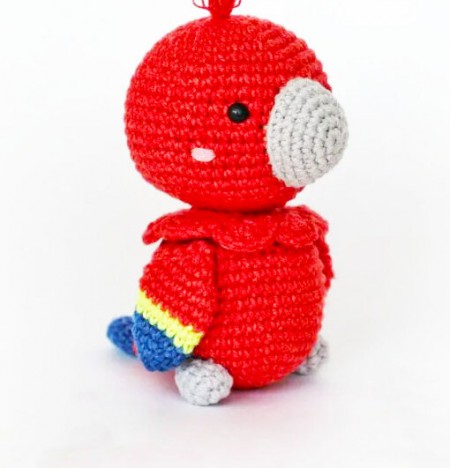
Head (red in color)
Starting from the top of the head.
1. 6 sc in SR (6)
2. 6 inc (12)
3. (1 sc, inc) x 6 (18)
4. (2 sc, inc) x 6 (24)
5. (3 sc, inc) x 6 (30)
6. (4 sc, inc) x 6 (36)
7. (5 sc, inc) x 6 (42)
8. (6 sc, inc) x 6 (48)
9-17. sc in all 48 sts (48) (9 rnds)
Insert safety eyes between rounds 11 and 12, 10 sc apart. Make the crest. Take six strands of red yarn with a length of 5 cm, tie them at one end. Pull the crest with the hook through the magic ring hole on the head so that the knot stays inside the detail. Comb the ridge with a brush.
18. (6 sc, dec) x 6 (42)
19. (5 sc, dec) x 6 (36)
20. (4 sc, dec) x 6 (30)
Start filling.
21. (3 sc, dec) x 6 (24)
22. (2 sc, dec) x 6 (18)
Fo, leaving a long tail for sewing. Finish filling in the detail.
Beak (gray in color)
Do not fill yet.
1. 6 sc in RM (6)
2. 6 inc (12)
3. 1 sc, 2 inc, 4 sc, 2 inc, 3 sc (16)
4. 2 sc, 2 inc, 6 sc, 2 inc, 4 sc (20)
5. 3 sc, 2 inc, 8 sc, 2 inc, 5 sc (24)
6. sc in entire 24 sts (24)
Make 2 sl sts, Fo, leaving a long tail for sewing.
Body (in red color)
Starting from the base of the body.
Fill during the crochet.
1. 6 sc in SR (6)
2. 6 inc (12)
3. (1 sc, inc) x 6 (18)
4. (2 sc, inc) x 6 (24)
5. (3 sc, inc) x 6 (30)
6. (4 sc, inc) x 6 (36)
7. (5 sc, inc) x 6 (42)
8-15. sc in entire 42 sts (42) (8 rnds)
16. (5 sc, dec) x 6 (36)
17. (4 sc, dec) x 6 (30)
18. (3 sc, dec) x 6 (24 )
19. Into BLO sc in entire 24 sts (24)
20. (2 sc, dec) x 6 (18)
Fo, weave to end.
Collar
Hold the body upside down. Pull a loop of yarn through the last front loop of round 19 of the body. Work in joint turns.
1. in FLO (2 hdc, hdc-inc) x 8 (32)
2. (ch 1, skip 1 st, 4 sc in next st, ch 1, skip 1 st, sl st) x8
Fo, weave to end .
Wing (2 details) (start with blue color)
Leave blank.
1. 6 sc in SR (6)
2. (1 sc, inc) x 3 (9)
3. (2 sc, inc) x 3 (12)
4. (3 sc, inc) x 3 (15)
Skip to yellow color
5. sc in all 15 sts (15)
6. sc in all 15 sts (15)
Switch to red color.
7. (4 sc, inc) x 3 (18)
8-9. sc in entire 18 sts (18) (2 rnds)
10. (1 sc, dec) x 6 (12)
11. inc x 6 (6)
Tighten hole, Fo, leaving a long tail for sewing.
Leg (2 details) (in gray color)
1. 5 sc in SR (5)
2. inc x 5 (10)
3. sc in entire 10 sts (10)
4. (3 sc, dec) x 2 (8)
5. (2 sc, dec) x 2 (6)
Fill in a little. Tighten the hole, Fo, leaving a long tail for sewing.
Tail (start with blue color)
Do not fill.
1. 6 sc in MR (6)
2. (1 sc, inc) x 3 (9)
3-5. 9 sc in all 9 sts (9) (3 rnds)
Switch to red color.
6. 4 sc, inc, 4 sc (10)
7. 4 sc, inc, 5 sc (11)
8. 11 sc in all 11 sts (11)
9. 6 sc, inc, 4 sc (12)
10. 12 sc in all 12 sts (12)
Fo, leaving a long tail for sewing.
Assembly
• Sew the beak between rounds 9 and 17 of the head. fill it in at the end of the seam.
• Embroider the cheeks with pink embroidery floss on the 14th round.
• Sew the head to the body.
• Sew the wings to the body on round 16, the legs between rounds 7 and 8, the tail between rounds 8 and 9.
• If the collar is up: wet it with a towel, pin it to the body. Let the necklace dry and remove the pins.
It's All Finished:
