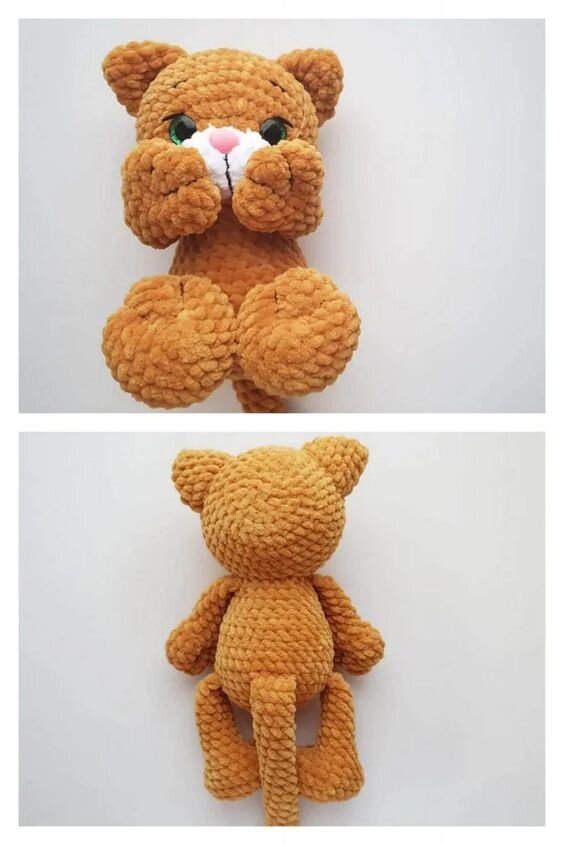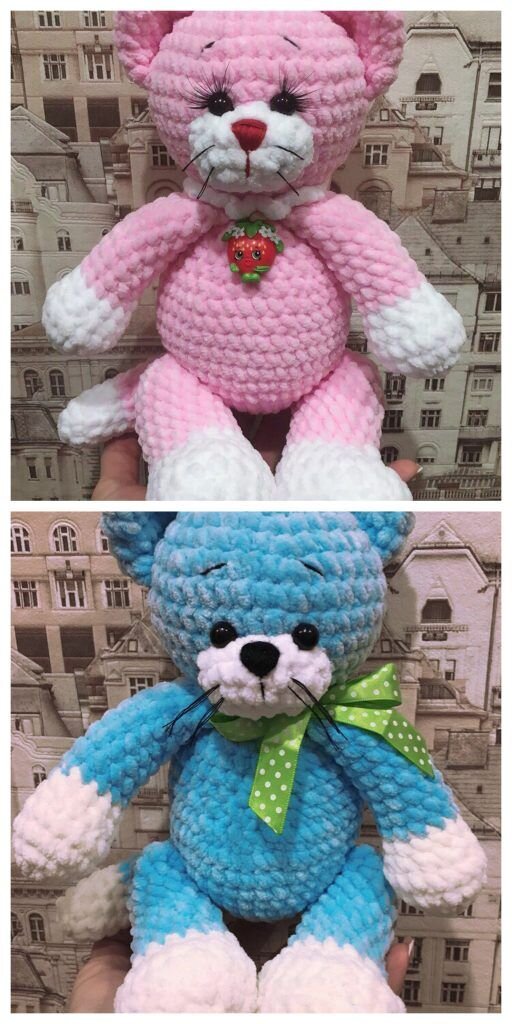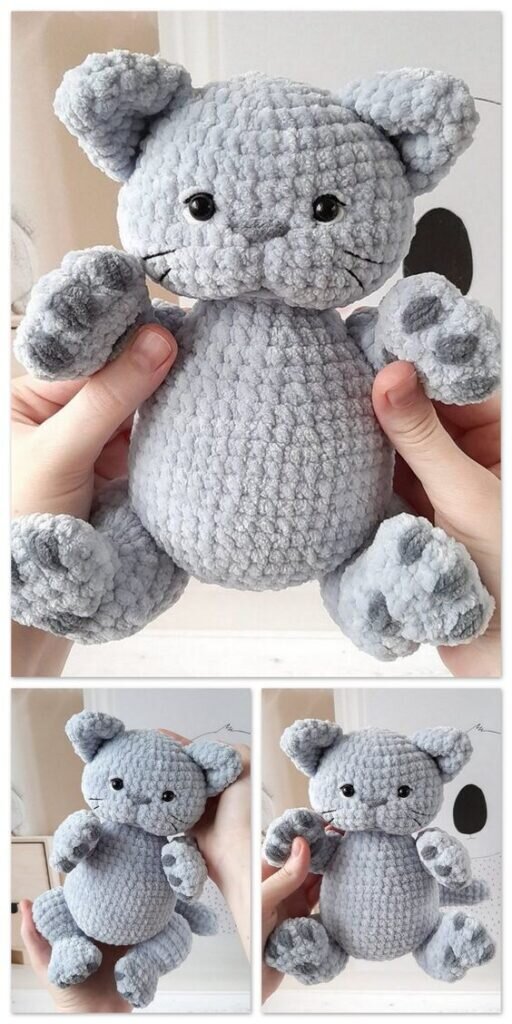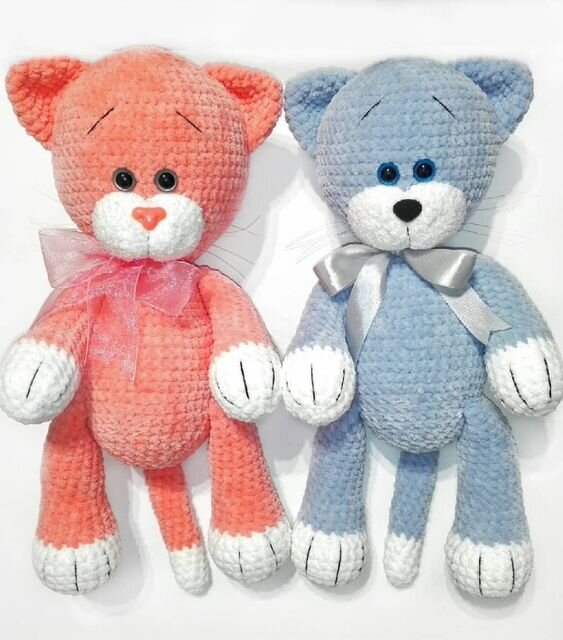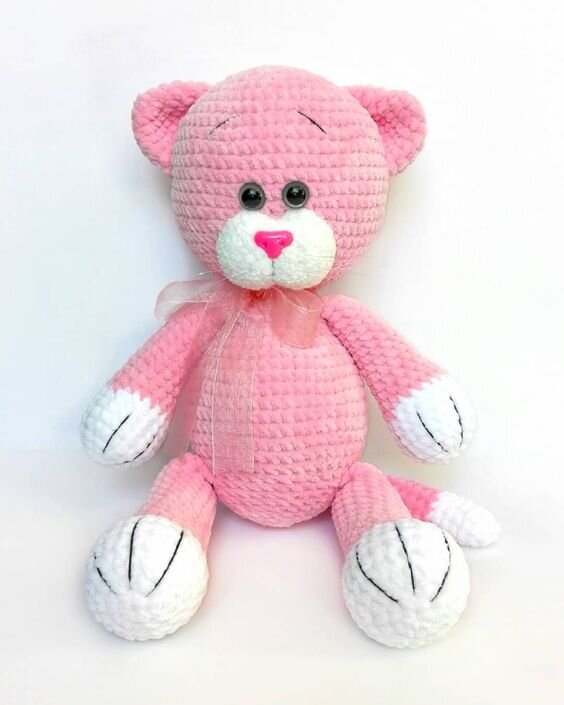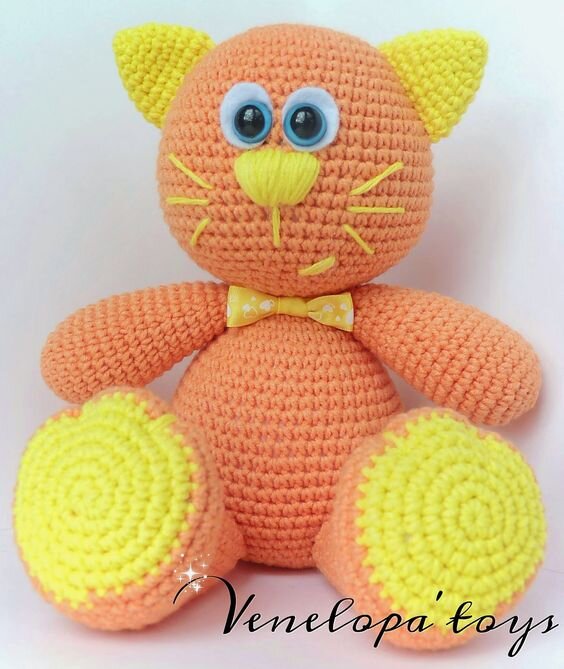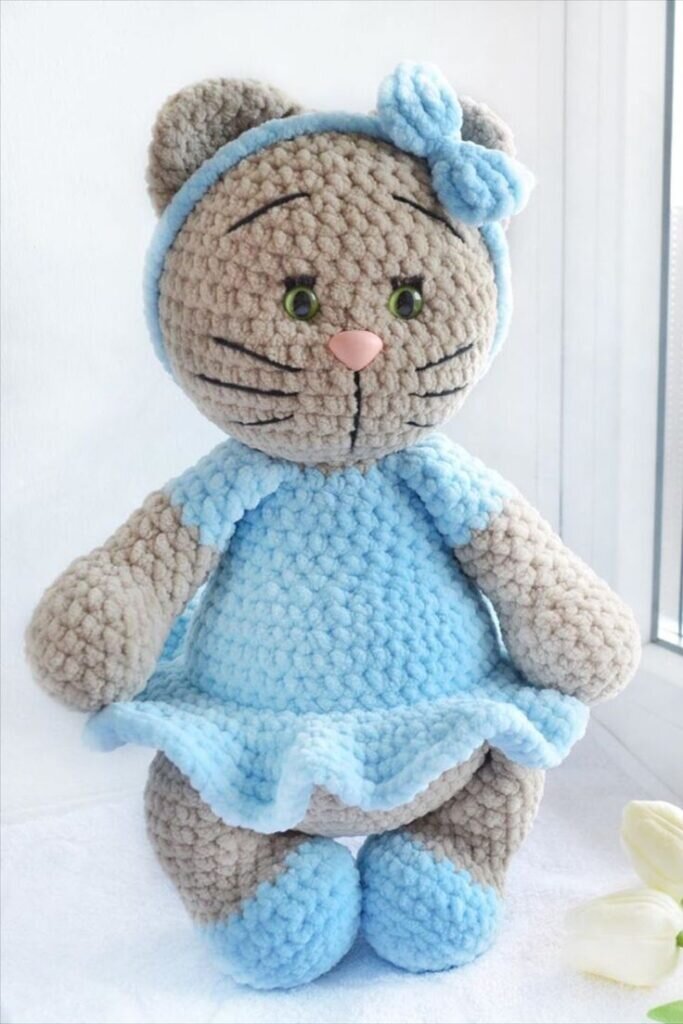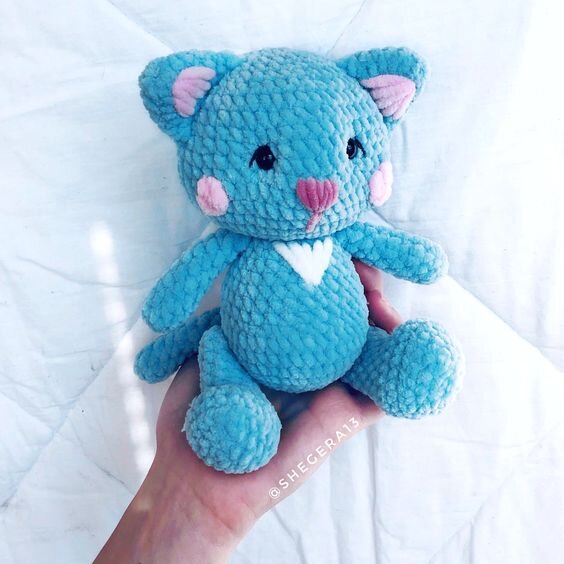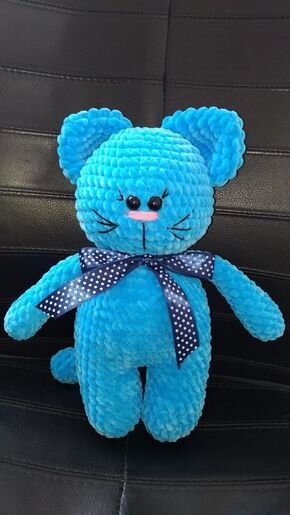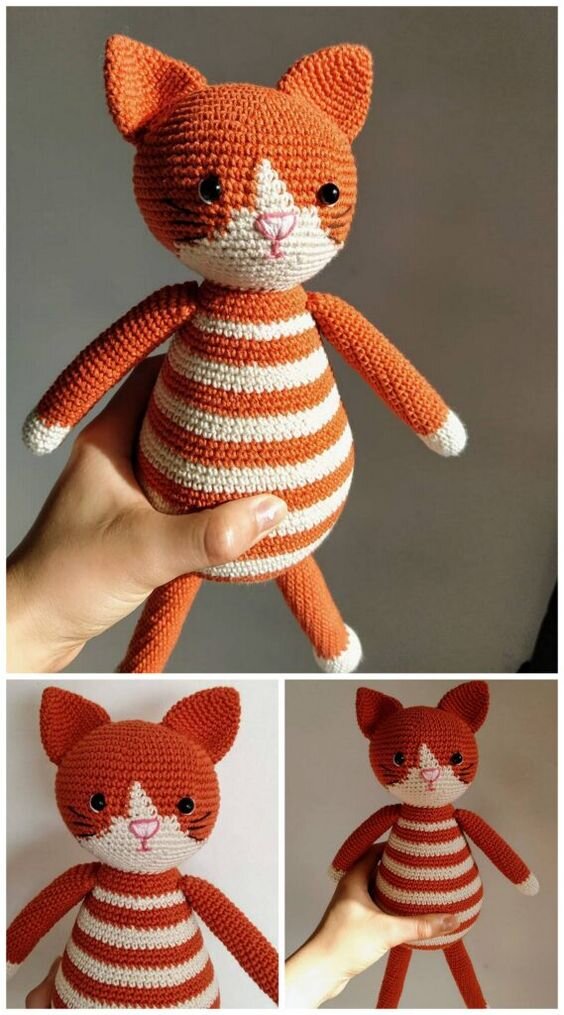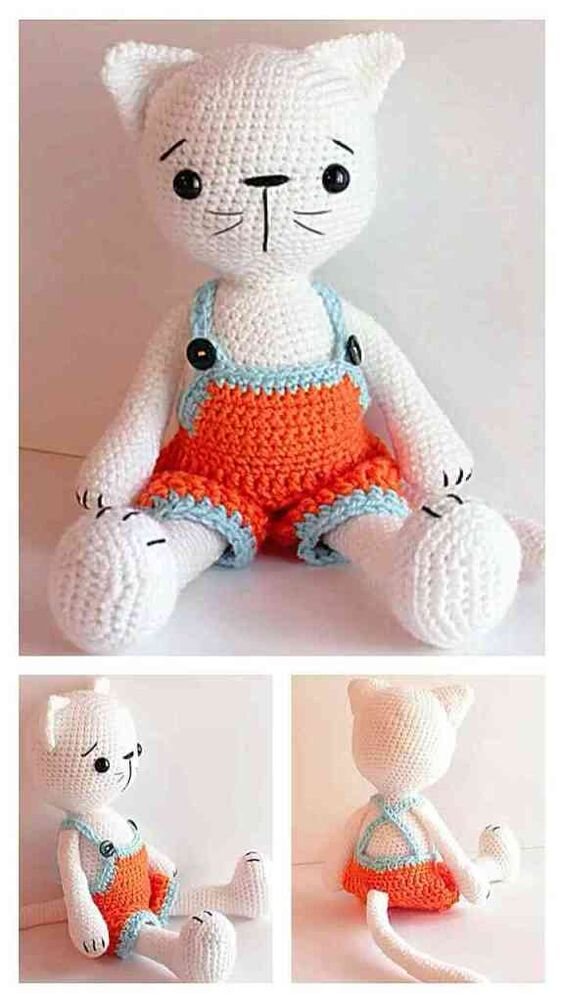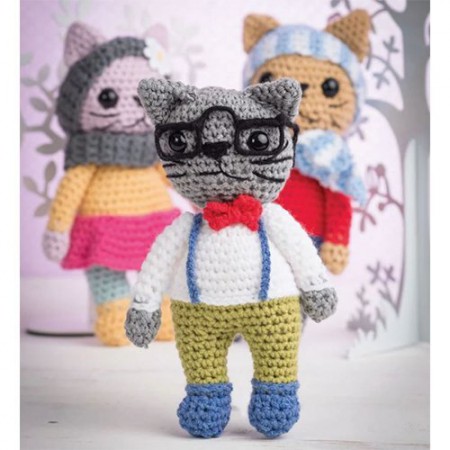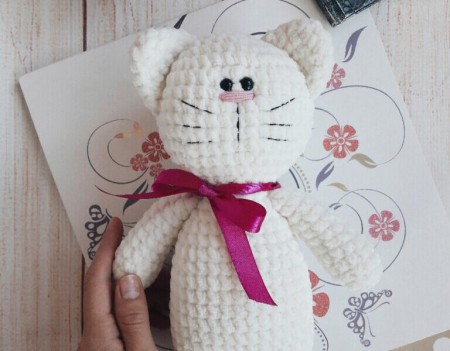
Amigurumi Plush Cat Free Pattern
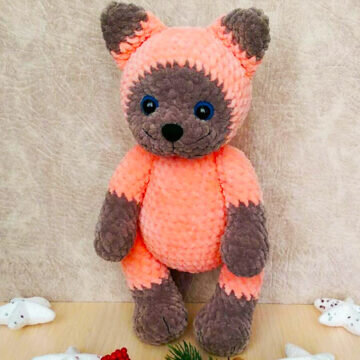
Hello dear Amigurumi enthusiasts! Today I would like to share with you a free Amigurumi Cat pattern and construction instructions. Amigurumi has become a popular hobby in the world of craftsmanship, and in this article I will present you a great Amigurumi Cat design. Trust your imagination while doing amigurumi. And dare to create your own unique designs. Welcome to the Amigurumi world, enjoy fun handicraft projects.
Materials:
Wire: Himalayas Dolphin Baby or YarnArt Dolce
Hook size: 4.0 mm or 3.5 mm
4 plastic doll seals ( 15 mm ) where you can sew your arms and legs to your body
14 mm safety eyes
10 mm safety nose
Thin thread in thread tone to sew details together
Black embroidery thread
Sewing needle and scissors
Refund
Abbreviations
( ms ) / ( sc ): greenhouse mesh
( BO ) Hazelnut point
( ml ) / ( ch ): Chainette, Air mesh
( MR ): Magic ring
( dim ) / ( dec ): decrease, decrease, decrease
( augm ) / ( inc ): increase
( M ) / ( st ): Point ( pt ) mesh
( FLO ): work only in the front loops
( BLO ): work only in rear loops
( d-br, dble.b ) / ( tr ): Double flange
( br ) / ( dc ): flange
( dB ) / ( hdc ): half flange
( mc ) / ( sl-st ): casting mesh, small mesh
( db / dbr ) ( dtr ): Double flange
( mct ) / ( tch ): chain meshes to rotate
( 3msm ) / ( sc3tog ): 3 ms in the same mesh
( F.o. ): Stop the wire.
( 3 br ens ): 3 flanges together
Head
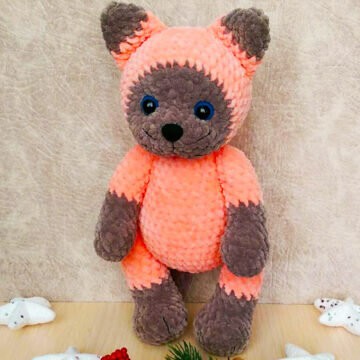
With brown thread:
R 1: 6 ms in MR ( 6 )
R 2: ( augm ) * 6 ( 12 )
R 3: 1 ms, 3 augm, 3 ms, 3 augm, 2 ms ( 18 )
R 4: 2 ms, 1 augm, 1 ms, 1 augm, 3 ms, 3 ms in one m, 3 ms, 1 augm, 1 ms, 1 augm, 3 ms ( 24 )
R 5: 11 ms, 2 augm, 11 ms ( 26 )
R 6: 7 ms, ( 1 ms, augm ) * 6, 7 ms ( 32 )
R 7: 7 ms, ( 2 ms, augm ) * 5, 10 ms ( 37 )
Insert safety eyes between R 5 and R 6 at a distance of 5-6 m from each other, the safety nose between R 2 and R 3.
Switch to the orange thread :
R 8: 5 ms, 1 augm, 6 ms, 1 augm, 5 ms, 1 augm, 5 ms, 1 augm, 6 ms, 1 augm, 5 ms ( 42 )
R 9-15: 42 ms ( 7 rows )
R 16: ( 5 ms, dim ) * 6 ( 36 )
R 17: ( 4 ms, dim ) * 6 ( 30 )
R 18: ( 3 ms, dim ) * 6 ( 24 )
fill with padding fiber.
R 19: ( 2 ms, dim ) * 6 ( 18 )
R 20: ( 1 ms, dim ) * 6 ( 12 )
Finish filling.
R 21: ( dim ) * 6 ( 6 )
F.o.
Ears ( make 2 )
With brown thread:
R 1: 6 ms in MR ( 6 )
R 2: ( augm ) * 6 ( 12 )
R 3: 12 ms
Switch to orange thread:
R 4: ( 3 ms, augm ) * 3 ( 15 )
R 5-6: 15 ms ( 2 rows )
Do not fill with padding fiber.
Fold the top of the ear flat and sew to the head.
Arm ( make 2 )
fill as you go.
With brown thread:
R 1: 7 ms in MR ( 7 )
R 2: ( augm ) * 7 ( 14 )
R 3-5: 14 ms ( 3 rows )
R 6: ( 1 ms, dim, 2 ms, dim ) * 2 ( 10 )
R 7-9: 10 ms ( 3 rows )
Switch to orange thread:
R 10-16: 10 ms ( 7 rows )
Finish filling.
R 17: ( dim ) * 5 ( 5 )
F.o.
Legs ( make 2 )
fill as you go.
With brown thread:
R 1: 6 ms in MR ( 6 )
R 2: ( augm ) * 6 ( 12 )
R 3: ( 1 ms, augm ) * 6 ( 18 )
R 4: ( 8 ms, augm ) * 2 ( 20 )
R 5-6: 20 ms ( 2 rows )
R 7: 6 ms, 4 dim, 6 ms ( 16 )
R 8: 4 ms, 4 dim, 4 ms ( 12 )
R 9-10: 12 ms ( 2 rows )
Switch to orange thread:
R 11-17: 12 ms ( 7 rows )
Finish filling.
R 18: ( dim ) * 6 ( 6 )
F.o.
Attach the arms to the body between R 18 and R 19 from the neck using buttons or plastic doll joints ( insert a plastic joint between R 15 and R 16 of the ) arm.
Attach the legs to the body between R 6 and R 7 of the body using buttons or plastic doll seals ( insert a plastic seal between R 16 and R 17 leg ).
If you do not want to use buttons or plastic seals, sew the legs on R 8 of the body and the arms on R 19.
Body
With orange thread:
R 1: 6 ms in MR ( 6 )
R 2: ( augm ) * 6 ( 12 )
R 3: ( 1 ms, augm ) * 6 ( 18 )
R 4: ( 2 ms, augm ) * 6 ( 24 )
R 5: ( 3 ms, augm ) * 6 ( 30 )
R 6: ( 4 ms, augm ) * 6 ( 36 )
R 7-11: 36 ms ( 5 rows )
R 12: ( 4 ms, dim ) * 6 ( 30 )
R 13-14: 30 ms ( 2 rows )
R 15: ( 3 ms, dim ) * 6 ( 24 )
R 16-19: 24 ms ( 4 rows )
R 20: ( 2 ms, dim ) * 6 ( 18 )
R 21: ( 3 ms, dim ) * 6 ( 12 )
F.o.
Tail
With brown thread:
R 1: 6 ms in MR ( 6 )
R 2: ( 1 ms, augm ) * 3 ( 9 )
R 3-5: 9 ms ( 3 rows )
R 6: 1 dim, 7 ms ( 8 )
Switch to orange thread:
R 7-10: 8 ms ( 4 rows )
R 11: 1 dim, 6 ms ( 7 )
R 12-16: 7 ms ( 5 rows )
Do not fill with padding fiber.
F.o.
Assembly
Sew the ears between R 12 and R 14 at a distance of 5-6 m from each other.
Sew the tail between R 7 and R 8.
Embroider the whiskers and legs with black thread.
Sew your head to your body.
It's All Finished:
