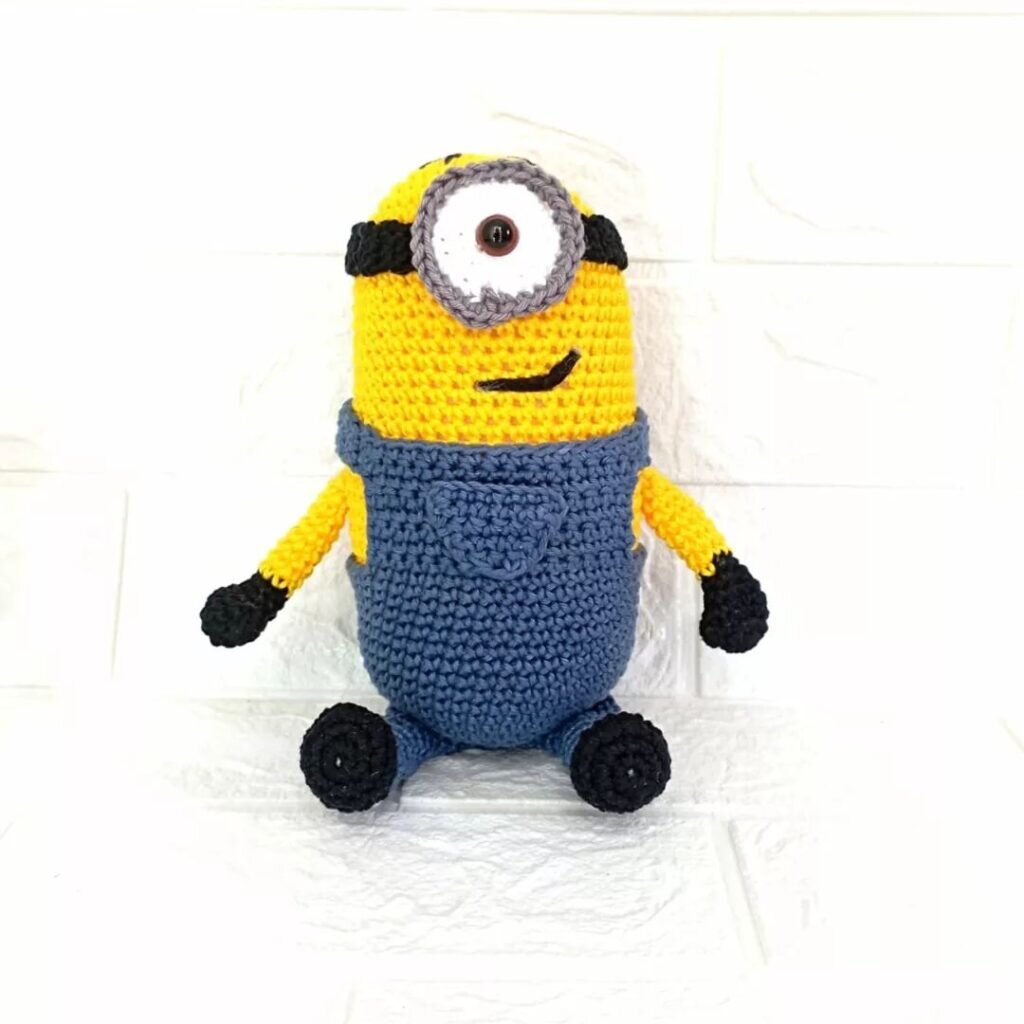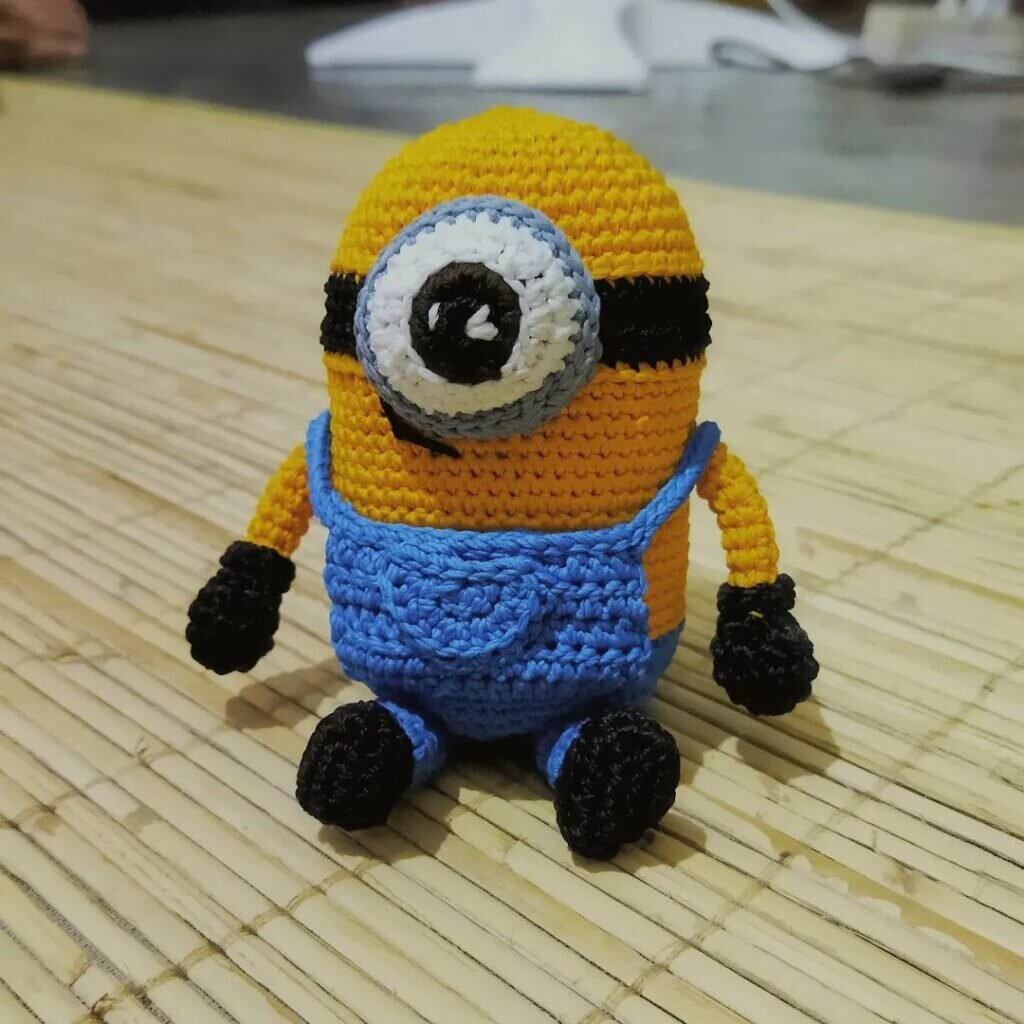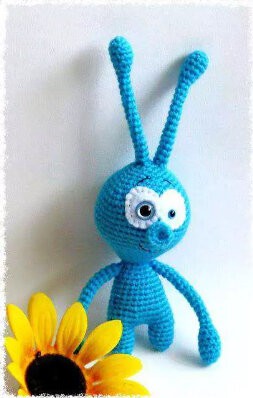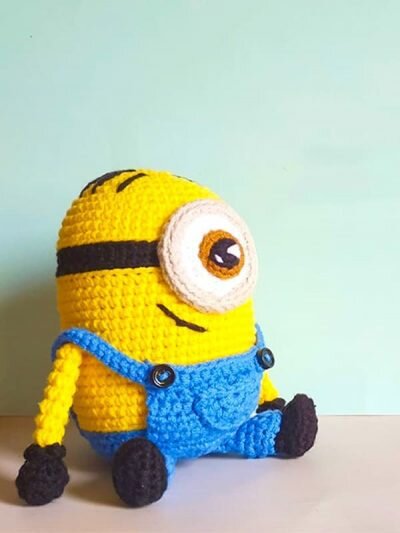
Amigurumi Sitting Minion Free Pattern
Hello dear Amigurumi enthusiasts! Today I would like to share with you a free Amigurumi Free Pattern pattern and construction instructions. Amigurumi has become a popular hobby in the world of craftsmanship, and in this article I will present you a great Amigurumi Free Pattern design. Trust your imagination while doing amigurumi. And dare to create your own unique designs. Welcome to the Amigurumi world, enjoy fun handicraft projects.
Materials And Tools
• 2.0 mm hook or size suitable for yarn used
• Tapestry needle, sewing needle
• 2 black small buttons
• Fiberfill for stuffing
• Yarn in the same size (I used 4 ply, cotton blend yarn) for the following colors: yellow, blue, black, white, light
Abbreviations
R- Row/ Round
MR- Magic ring
St- Stitch/ Stitches
Sc- Sinle crochet
Inc- Increase
Dec- Decrease
Sc4tog- Single crochet 4 together
Hdc- Half double crochet
Hdc inc- Hdc increase
Ch- Chain
Slst- Slip stitch
Fl- Front loop(s)
FLO- FL only
BLO- Back loop only
Advanced beginner
Dimension:
Finished toy is about 9.5 cm tall, using a 2.0 mm hook and 4 ply cotton
blend yarn (fingering weight).
Gauge:
Just pay attention to work every part in the same stitch tension.
Head And Body
Start with yellow yarn.
R1. 6sc in MR (6)
R2. 6-inc (12)
R3. (sc,inc)*6 (18)
R4. sc,inc, (2sc,inc)*5, sc (24)
R5. (3sc,inc)*6 (30)
R6. 2sc,inc, (4sc,inc)*5,2sc (36)
R7. (5sc,inc)*6 (42)
R8. 3sc,inc, (6sc,inc)*5,3sc (48)
R9. (7sc,inc)*6 (54)
R10-12. (3 rounds) 54sc (54)
Change to black yarn to make a strap for the goggle.
R13. BLO (a bit loosely) 54 slst (54)
R14. BLO 54sc (54)
R15. 54sc (54)
Change to yellow yarn again to continue working the body.
R16. BLO (a bit loosely) 54 slst (54)
R17. BLO 54sc (54)
R18-30. (13 rounds) 54sc (54)
Change to blue yarn as the minion’s overall.
R31. BLO ( a bit loosely) 54 slst (54)
R32. BLO 54 sc (54)
R33. (BLO 15sc, normal 12sc)*2 (54)
Note: FL left from this round will be used to work the overall’s bib.
R34. 54sc (54)
R35. 2sc,dec,(4sc,dec)*8,2sc (45)
R36. (3sc,dec)*9 (36)
R37. 1sc,dec, (2sc,dec)*8,sc (27)
R38. (sc,dec)*9 (18)
Stuff with fiberfill and continue stuffing while you move next rounds.
R39. 9-dec (9)
Fasten off and leave a long tail to complete. Using a tapestry needle, pass the tail through all FLs of the last round, and pull. Make a knot and hide the yarn inside the doll’s body.
Overall’s Bib
The bibs are worked at the FL left from R32 of the body (you worked R33 BLO). You need to make 2 bibs. The back bib is located near the color changing st. The bibs are crocheted in rows. When you start the bibs, hold the doll body with blue part facing you, and work from right to left.
Front Part
Start with blue yarn, attach the yarn and make a loop.
R1. 2ch, 14 hdc (14), 2 turning ch
R2-R4. (3 rounds) turn, 14 hdc (14), 2 turning ch
R5. turn, 14 hdc (14)
Fasten off and make a long tail for sewing.
Back Part
Do the same as the front part up to the end of R5. Then continue to make the straps: make 25ch. From the second ch from the hook, make 24sc. Work 14 slst along the bib line, then make 25ch again. From the second ch from the hook, make 24sc. Make a slst at the last hdc of R5. Fasten off. Cut the yarn, weave in ends.
Start with blue yarn, work in rows.
R1. 6 hdc in MR (6), 2 turning ch
R2. 6 hdc inc (12)
Then make some slst at the upper part of the pocket. Fasten off and leave a long tail for sewing.
Arms And Gloves (Make 2)
Start with black yarn.
R1. 6sc in MR (6)
R2. 6-inc (12)
R3. 12sc (12)
R4. (sc,dec)*4 (8)
Stuff with fiberfill.
R5. (2sc,dec)*2 (6)
Change to yellow yarn. Do not cut the black yarn.
The remaining black tail should stay outside.
R6. BLO 6sc (6)
R7-13. (7 rounds) 6sc (6)
Stop to work a row of black sc. Using the black tail, work in the FL left from R5 (you worked R6 BLO). Make a loop, then make 6sc around. Slst, FO and hide the tail inside the arm.
Last round: Flatten and work through both thickness 3sc (3). Fasten off and leave a long tail for sewing.
Eye
Work in joined rounds.
Start with black yarn.
R1. 7sc in MR (7), join to the first sc with a slst.
Change to brown yarn.
R2. ch, 7inc (14), join to the first sc with a slst.
R3. loosely 14 slst (14), join to the first sc with a slst.
R4. ch, (sc,inc)*7 (21), join to the first sc with a slst.
R5. ch, sc, inc, (2sc,inc)*6, sc (28), join to the first sc with a slst.
Change to light grey yarn.
R6. ch, FLO 28sc (28), join to the first sc with a slst.
R7. BLO loosely 28 slst (28), join to the first sc with a slst.
R8. ch, BLO 28sc (28), join to the first sc with a slst.
R9. Join the BL of R8 and the FL of R5 with slst.
Do it around (28)
Fasten off, leave a long grey yarn tail for sewing. Add shine of the eye using white yarn.
Legs (Make 2)
First, you will make an oval by crocheting around the foundation ch. Start with black yarn.
R1. Make a foundation ch: 6ch. Then from the second loop from the hook, make 4sc, 3sc in the last st. Continue on the other side of the foundation ch, 3sc, inc (12), continue crocheting in spiral.
R2. inc, 3sc, 3inc, 3sc, 2inc (18)
R3. BLO 2sc, 2dec, sc4tog, 2dec, 2sc, dec (10)
Note: Everytime you work dec in BLO, use a normal dec (not an invisible dec).
R4. 2sc, dec, sc, dec, 3sc (8)
Stuff the shoe with fiberfill. Continue stuffing while you move next rounds.
Change to blue yarn.
R5. FLO sc, 6inc, sc (14)
R6. BLO 3sc, 4dec, 3sc (10)
R7. sc, inc, 7sc, inc (12)
R8. 12sc (12)
R9. 2dec, 2sc, dec, 2sc, dec (8)
R10. 8sc (8)
Note: Do not overstuff near the last round/ flatten part (to keep the shape of the legs so the doll can sit well).
Last round: Flatten and work through both thickness 4sc (4).
Fasten off and leave a long tail for sewing.
Assembly
– Sew the arms to the side of the body, between R22-23.
– Sew the pocket at the middle of the front bib.
– Sew the eye onto the front part of the body. The goggle strap (the black row of the the body) should be located at the center of the eyes.
– Sew the legs to the bottom of the body. You might also need some sewing at other side of the legs to fixate the position, so the minion can sit well.
– Embroider a smile to the head.
– Embroider hair to the head.
– Sew the black buttons to the straps of the bib.
It's All Finished:
