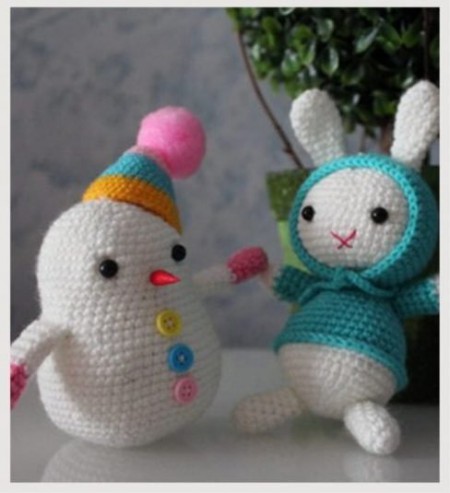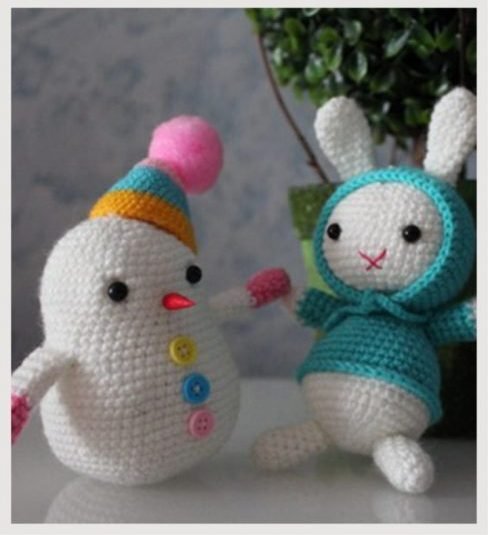
Amigurumi Snowman Crochet Pattern
Hello dear Amigurumi enthusiasts! Today I would like to share with you a free Amigurumi Free Pattern pattern and construction instructions. Amigurumi has become a popular hobby in the world of craftsmanship, and in this article I will present you a great Amigurumi Free Pattern design. Trust your imagination while doing amigurumi. And dare to create your own unique designs. Welcome to the Amigurumi world, enjoy fun handicraft projects.
Here is our pattern;
You will need:
Threads of 4 colors (basic – white, the rest of your choice)
Hook # 2
Pompon
3 buttons for the color of the thread of the non-main colors
A small stick (I have bamboo from a set for sushi)
Bright red nail polish
1 pair of peephole
Glass balls weighting agents
Pencil sharpener
Scissors
Needle
Hot-melt gun / glue moment
Filler
Well, already intrigued? ))))
Then immediately tell you why the wand, sharpener and lacquer – from this turns out a beautiful nose-carrot! Finished noses, I did not find, I was racking my brains over what to replace / from what to do, eventually came up with this:
– sharpen the stick with a sharpener to a cone-shaped state
– we paint with nail polish in 2 layers, letting the layers dry well
– cut off the “nose” from the stick
And voila! Exclusive nose is ready. (And from the rest of the wand you can do a dozen more noses)))) in case you want to cover the entire Christmas tree with snowmen)
Well, now to the main scheme.
Torso + head :
1st row: make an amigurumi ring, type 6 loops (6)
2nd row: an increase in each loop (12)
3rd row: (1 sc, 1p) * 6 times (18)
4th row: (2 sc, 1p) * 6 times (24)
5th row: (3 sc, 1p) * 6 times (30)
6th row: (4 sc, 1p) * 6 times (36)
7th row: 36 sc (36)
8th row: (5 sc, 1p) * 6 times (42)
9th row: (6 sc, 1p) * 6 times (48)
10th – 12th series: 48 sc (48)
The 13th row: (6 СБН, 1У) * 6 times (42)
14th – 15th row: 42 sc (42)
16th row: (6 sc, 1p) * 6 times (48)
17th series: 48 sc (48)
18th row: (7 sc, 1p) * 6 times (54)
19-series: 54 sc (54)
20th row: (8 sc, 1p) * 6 times (60)
21st – 25th series: 60 sc (60)
26th row: (8 sc, 1U) * 6 times (54)
27th – 28th series: 54 SCN (54)
29th row: (7 sc, 1 y) * 6 times (48)
30th row: (6 sc, 1U) * 6 times (42)
31st row: (5 sc, 1U) * 6 times (36)
32nd row: (4 sc, 1U) * 6 times (30)
33rd row: (3 sc, 1U) * 6 times (24)
34th row: (2 sc, 1U) * 6 times (18)
35th row: (1 sc, 1U) * 6 times (12)
36th row: 6Y (6)
Fill the part with filler, put the weighting balls on the bottom of the part for better stability (if you want the toy to stand, and not hang), pull the hole, fix and hide the thread. As a result, you will get something like a white pear.
Pens:
Originally I designed the pens from wire, giving it the shape of twigs and wrapping in brown threads. Spread here the photo of this process will not, I will only say that it was a great pleasure to wind the ringlets, but it did not work with the branches. Well, okay, they turned out excellent handles in mittens instead.
1st row: make an amigurumi ring, type 5 loops (5)
2nd row: 1P in each loop (10)
3rd – 6th series: 10 sc (10)
Change the color of the yarn
7th – 11th series: 10 RTS (10)
Finish knitting details with 1 connecting post.
Cap:
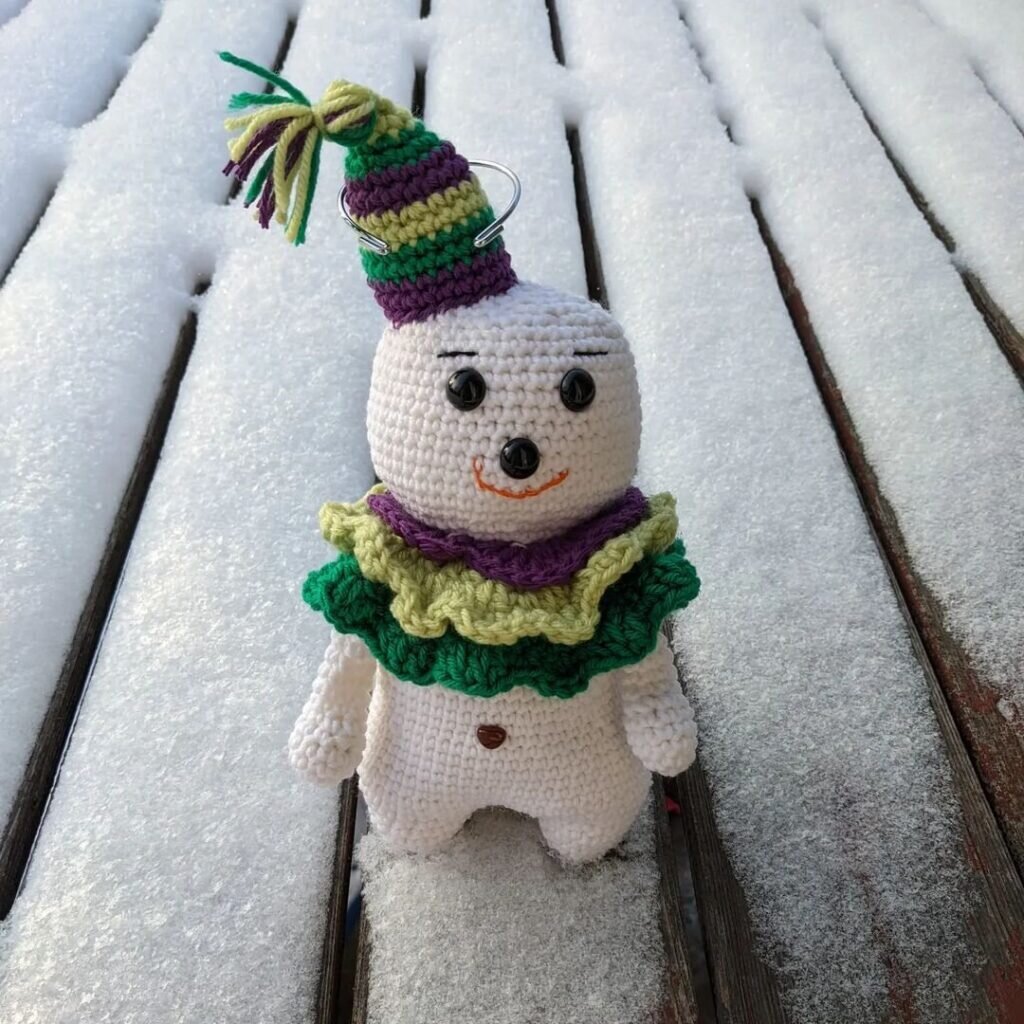
In order for the cap to turn out to be conical, I did not make 6 increments in the row, but by 3. So the cap turns out to be more elongated.
1st row: make an amigurumi ring, type 6 loops (6)
2nd row: 1P in each loop (12)
3rd row: (3 sc, 1p) * 3 times (15)
4th row: (4 sc, 1p) * 3 times (18)
5th row: (5 sc, 1p) * 3 times (21)
Change the color of the yarn.
Then we knit by the same principle, in each successive series adding 1 sc of each interval between the increments.
At me the cap turned out with strips of various width, you can make completely symmetrical.
When the cap is finished, leave a long thread to attach the cap to the head and sew the pompon.
And it remains to collect a snowman:
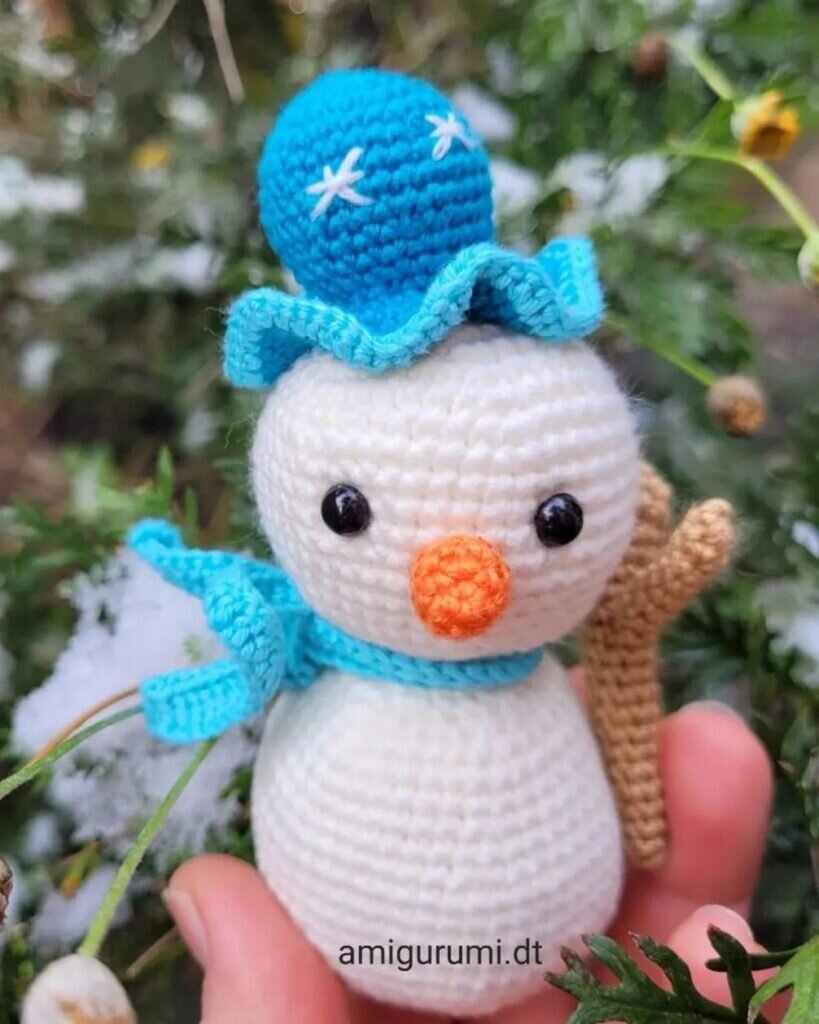
We sew knobs and buttons, fasten eyes and nose and sew a hat.
It's All Finished:
