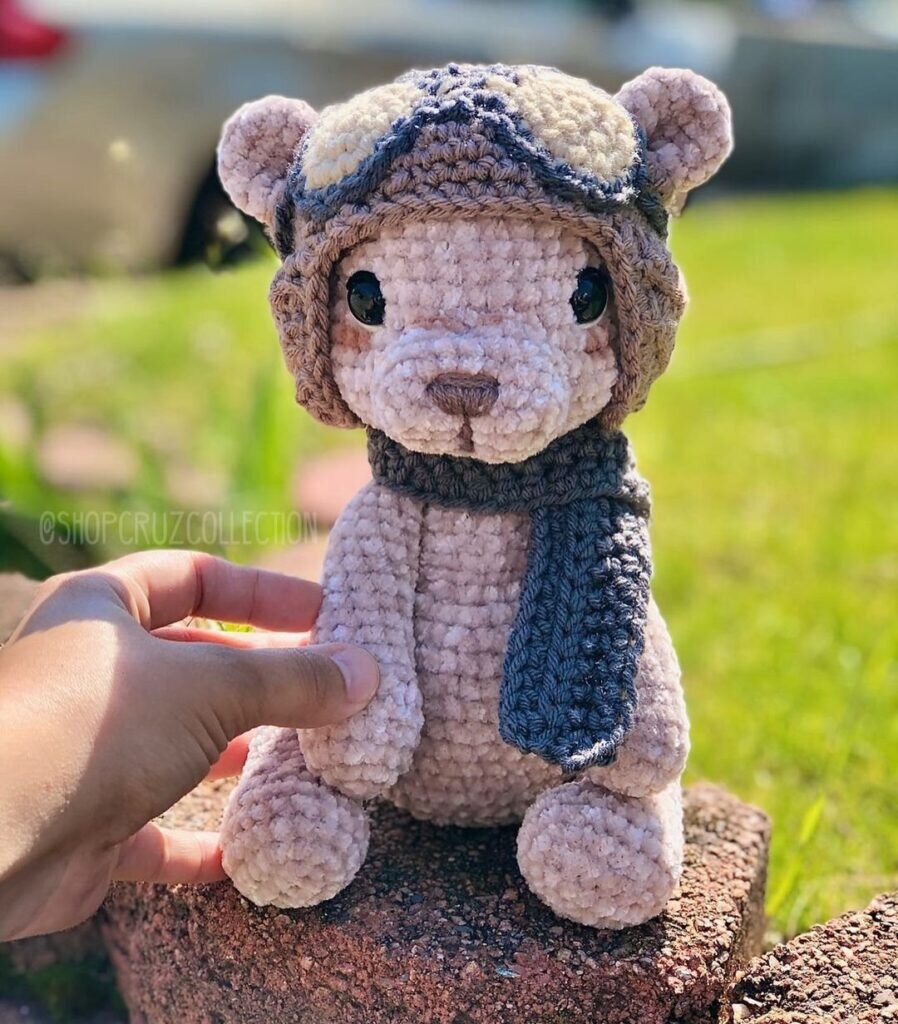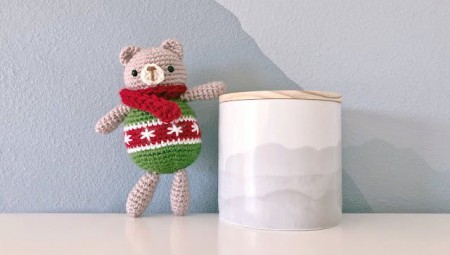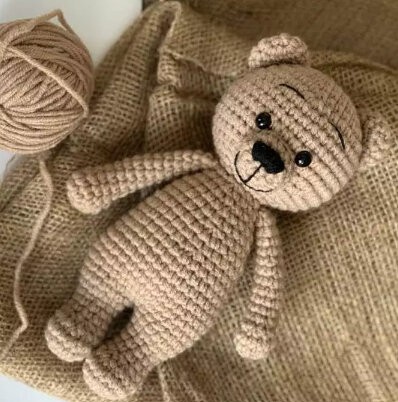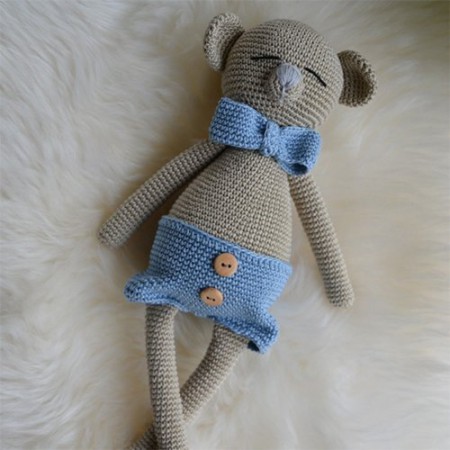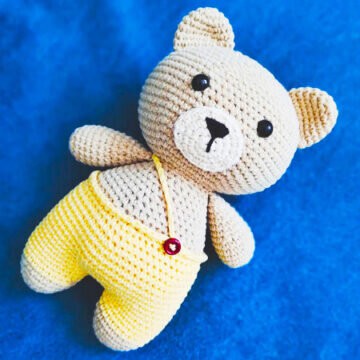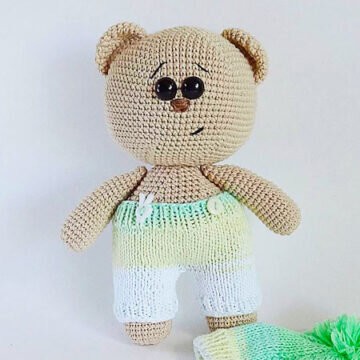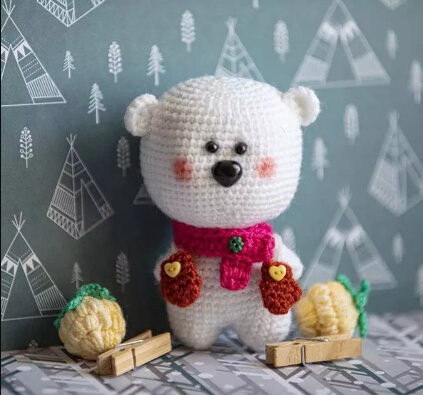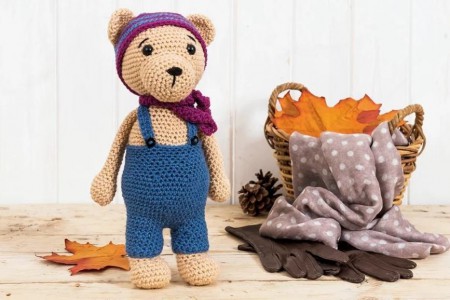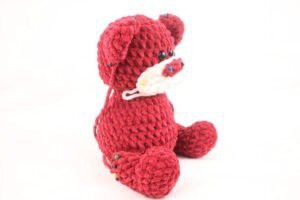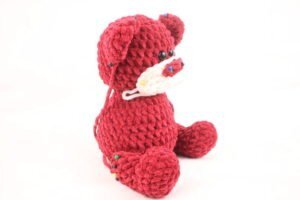
Amigurumi Velvet Teddy Bear Free Pattern
Hello dear Amigurumi enthusiasts! Today I would like to share with you a free Amigurumi Bear pattern and construction instructions. Amigurumi has become a popular hobby in the world of craftsmanship, and in this article I will present you a great Amigurumi Bear design. Trust your imagination while doing amigurumi. And dare to create your own unique designs. Welcome to the Amigurumi world, enjoy fun handicraft projects.
Supplies:
• Yarn colors in 5/Bulky Weight AND 4/Medium Yarn…
Main Color in Bulky Yarn. White in Medium Yarn.
• 4mm Crochet Hook
•10mm safety eyes
•Tapestry needle
•Scissors
•Stuffing
Additional Information:
- Difficulty: Easy
- Finished Size: 3.5″
- Pattern is in US Terms
Getting Started
We start by making the bear’s head/body. The head and body are worked as one continuous piece. We will then make the ears, muzzle, legs, and arms!
Note about yarn…
I used an old discontinued yarn for this pattern (Lion Brand “Lion Suede”.) However, there are many similar yarns you can use for this pattern. Any bulky 5 will work.
Recommended Yarns:
Bernat Velvet Yarn
Lion Brand’s “A Star is Born: Warm & Fuzzy” Yarn
Let’s Get Started!
We are starting at the top of the head and working down to the body. The head and body are worked together as one continuous piece.
Head & Body:
In Main Color
Round 1: 6 Sc into a Magic Ring (6)
Round 2: *Inc* all around (12)
Round 3: *Inc, Sc in the next st* all around (18)
Round 4: *Inc, Sc in the next 2 st* all around (24)
Round 5: *Inc, Sc in the next 3 st* all around (30)
Round 6-11: *Sc* all around (30)
Add eyes between Round 7 & 8, 2 stitches apart.
Round 12: *Dec, Sc in the next 3 st* all around (24)
Round 13: *Dec, Sc in the next 2 st* all around (18)
Round 14: *Dec, Sc in the next st* all around (12)
Round 15: In the FLO *Inc, Sc in the next st* all around (18)
Round 16: In BOTH Loops, *Inc, Sc in the next 2 st* all around (24)
Round 17: *Inc, Sc in the next 3 st (30)
Add stuffing to the head now. Be sure to stuff firmly.
Round 18-20: *Sc* all around (30)
Round 21: *Inc, Sc in the next 4 st* all around (36)
Round 22-24: *Sc* all around (36)
Round 25: *Dec, Sc in the next 4 st* all around (30)
Round 26: *Dec, Sc 3* all around (24)
Round 27: *Dec, Sc 2* all around (18)
Add stuffing to the body now. Stuff firmly and add additional stuffing after each round.
Round 28: *Dec, Sc 1* all around (12)
Round 29: *Dec* all around (6)
Finish off here, leaving a tail for sewing. Sew the bottom closed. Set aside the body for now.
Ears: (Make 2)
In Main Color
Round 1: 6 Sc into Magic Ring (6)
Round 2: *Inc* all around (12)
Round 3: *Inc, Sc 2* all around (16)
Round 4: *Sc* all around (16)
Finish off, leaving a long tail for sewing.
Pin the top part of the ear between Round 4 & 5. Pin the bottom of the ear on Round 9. Sew on.
Muzzle:
In White, use 4/Medium Weight Yarn
The muzzle is made by using a foundation chain. We will work entirely around the chain to make an oval. This is worked in rounds, not rows.
Round 1: Ch 9. Sc 2 times 2nd ch from hook. Sc next 6. Sc 2 times next st. Turn the piece to the OTHER side, where unworked stitches are. Sc next 6 st (16)
Round 2: *Inc, Sc in the next 3 st* all around (20)
Round 3: *Inc, Sc in the next 4 st* all around (24)
Round 4: *Sc* all around (24)
Finish off, leaving a long tail for sewing.
Pin the top of the muzzle on Round 9. Pin the bottom of the muzzle between Round 13 & 14. Sew on.
Nose:
In Main Color
Insert needle with yarn into the muzzle where shown, pull needle out 6 stitches to the left Pull the needle through. Reinsert needle into the original insertion spot, and pull out 6 stitches to the left Repeat this 4-5 more times Tie tail ends of yarn into firm knots and bring into the muzzle to hide. Cut excess yarn.
Legs: (Make 2)
In Main Color
Round 1: 6 Sc into a Magic Ring (6)
Round 2: *Inc* all around (12)
Round 3: *Inc, Sc in the next st* all around (18)
Round 4-5: *Sc* all around (18)
Round 6: Sc in the next 2 st, *Dec* 4 times, Sc in the last 8 st (14)
Round 7: Sc in the next 2 st, *Dec* 3 times, Sc in the next 6 st (11)
Round 8-11: *Sc* all around (11)
Finish off, leaving a long tail for sewing.
Pin the top of the leg on Round 23 and the bottom of the leg on Round 25. Sew on.
Arms: (Make 2)
In Main Color
Round 1: 6 Sc into a Magic Ring (6)
Round 2: *Inc, Sc into the next st* all around (12)
Round 3-10: *Sc* all around (12)
Finish off, leaving a long tail for sewing. Lightly stuff the arm.
Pin on the top of the arm between Rounds 15 & 16. Pin the bottom of the arm on Round 19.
Tail: (Optional)
In Main Color
Round 1: 6 Sc into a Magic Ring (6)
Round 2-3: *Sc* all around (6)
Finish off, leaving a long tail for sewing. Pin the tail on to the back of the bear and sew on.
Eyebrows:
In Black Embroidery Thread
Insert needle with thread one stitch right to the right eye, and pull needle out where shown Reinsert needle into the original insertion spot, and pull needle out one stitch left to the left eye Insert needle above the left eye, and pull out at the original insertion spot You can repeat this one more time. Tie both tail ends of thread into a firm knot and bring into the head to hide. Cut excess thread.
It's All Finished:

