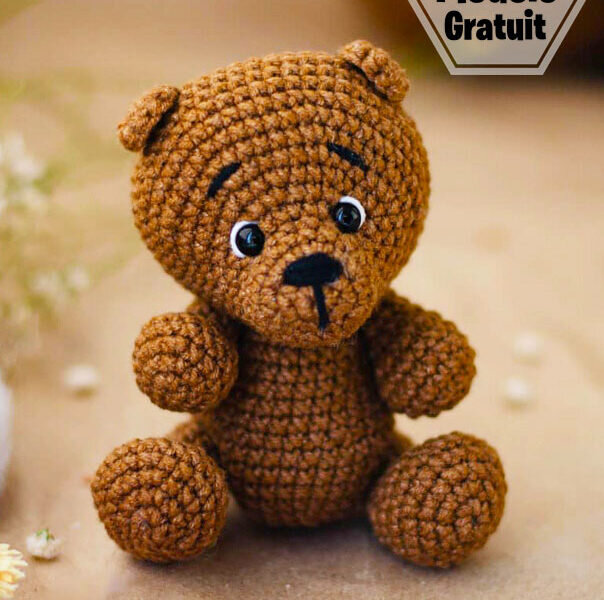
Bear Amigurumi Free Pattern
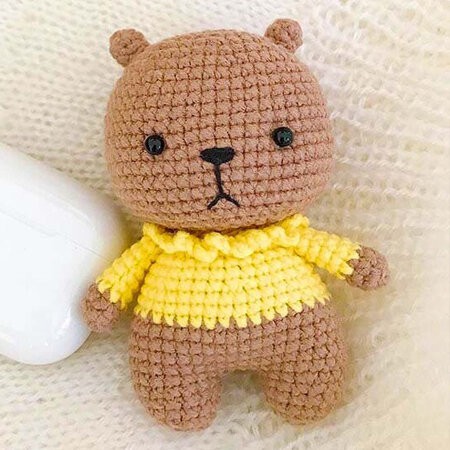
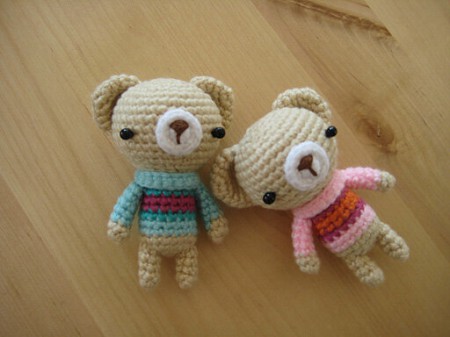
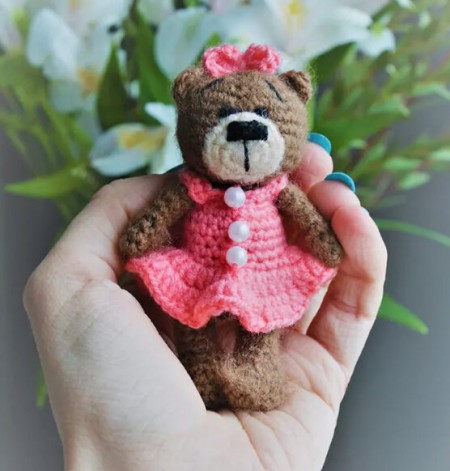
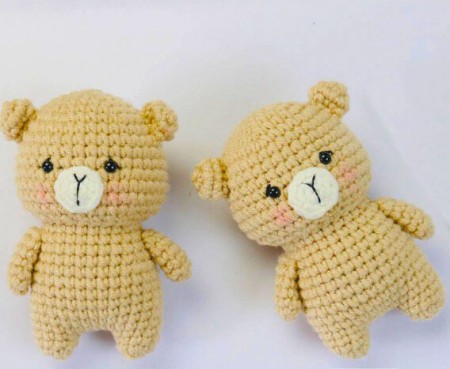
Hello dear Amigurumi enthusiasts! Today I would like to share with you a free Amigurumi Bear pattern and construction instructions. Amigurumi has become a popular hobby in the world of craftsmanship, and in this article I will present you a great Amigurumi Bear design. Trust your imagination while doing amigurumi. And dare to create your own unique designs. Welcome to the Amigurumi world, enjoy fun handicraft projects.
Materials and tools used:
• cotton or cotton/acrylic yarn (Alize Cotton Gold, YarnArt Jeans and others)
• eyes for toys on a secure backing
• holofiber or other suitable stuffing material
• hook number 2
• scissors
• needle to sew and tighten
Abbreviations
(sc)/(sc): Single crochet
(BO) Hazelnut stitch
(ml)/(ch): Chainette, Air stitch
(MR): Magic ring
(dim)/(dec): decrease, decreasing, decrease
(augm) /(inc): increase
(M)/(st): Stitch (pt) stitch
(FLO): work only in front loops
(BLO): work only in back loops
(d-dc,dble.b)/( tr): Double treble crochet
(br)/(dc): Double treble crochet
(dB)/(hdc): Half treble crochet
(sc)/(sl-st): Slip stitch, small stitch
(db / dbr) (dtr): Double treble crochet
(mct)/(tch): chain stitches to turn
(3msm)/(sc3tog): 3 sc in the same stitch
(Fo): Stop the thread.
Muzzle and Head
Stuff the piece well as you crochet.
The eyes on a secure mount are inserted between 6 and 7 side by side at a distance of 7 ms from each other.
Rnd 1) 6 sc in MR
Rnd 2) 6 inc (12)
Rnd 3) (1 sc, inc)*6 (18)
Rnd 4–5) 18 sc (2 rows)
Rnd 6) 6 sc, 6 inc, 6 sc (24)
Rnd 7 ) 7ms, inc. (2sc,inc)*3, 7 sc (28)
Rnd 8) 9sc, inc, (2sc, inc)*3, 9 sc (32)
Rnd 9) 1sc. (4 sc, inc)*6, 1 sc (38)
Rnd 10) 1 sc, (5 sc, inc)*6, 1 sc (44)
Rnd 11) (10 sc, inc)*4 (48)
Rnd 12-17) 48 sc (6 rows)
Rnd 18) (6 sc, dec)*6 (42)
Rnd 19) (5 sc, dec)*6 (36)
Rnd 20) (4 sc, dec)*6 (30)
Rnd 21) (3 sc, dim)*6 (24)
Rnd 22) (2sc,dim)*6 (18)
Rnd 23) (1sc,dim)*6 (12), sl st, in the next loop, cut the yarn, leave a long tail and make a hole with it.
Ears (make 2)
Rnd 1) 6sc in MR
Rnd 2) inc, 1sc, inc, 1sc, inc (8)
sl st in next loop, cut thread, leave long tail for sewing on piece.
Body
fill the room nicely as you crochet.
Rnd 1) 6sc in MR
Rnd 2) 6 inc (12)
Rnd 3) (1sc, inc)*6 (18)
Rnd 4) (2sc, inc)*6 (24)
Rnd 5) (3sc, inc)*6 (30)
Rnd 6) (4sc, inc)*6 (36)
Rnd 7-10) 36sc (4 rows)
Rnd 11) (4sc, dec)*6 (30)
Rnd 12-13) 30sc (2 rows)
Rnd 14) (3 sc, dec)*6 (24)
Rnd 15-16) 24 sc (2 rows)
Rnd 17) (2 sc, dec)*6 (18)
Rnd 18) 18 sc
Tie yarn, cut it leaving a long point to sew on the head.
Arms (make 2)
fill the room nicely as you crochet.
Rnd 1) 6 sc in MR
Rnd 2) 6 inc (12)
Rnd 3) (1 sc, inc)*6 (18)
Rnd 4-5) 18 sc (2 rows)
Rnd 6) 3 sc, 6 dec, 3 sc (12)
Rnd 7) 2sc, 4dim, 2sc (8)
Rnd 8-11) 8sc (4 rows), sl st in the next loop, cut the thread, leave a long tail and make a hole with it.
Legs (make 2)
fill the room nicely as you crochet.
Rnd 1) 6 sc in MR
Rnd 2) 6 inc (12)
Rnd 3) (1 sc, inc)*6 (18)
Rnd 4) (2 sc, inc)*6 (24)
Rnd 5-6) 24 sc (2 rows )
Rnd 7) 6 sc, 6 dec, 6 sc (18)
Rnd 8) 3 sc, 6 dec, 3 sc (12)
Rnd 9-14) 12 sc (6 rows), sl st in next loop, cut yarn, leave a long tail and make a hole with it.
Tail
Rnd 1) 6 sc in MR
Rnd 2) 6 sc (6), sl st in next loop, cut yarn, leave long tail for seam detail.
Design and assembly
With a white yarn, stitch around the eye, embroider the nose and eyebrows.
Sew the ears and tail.
The arms and legs are attached with a wire tie.

