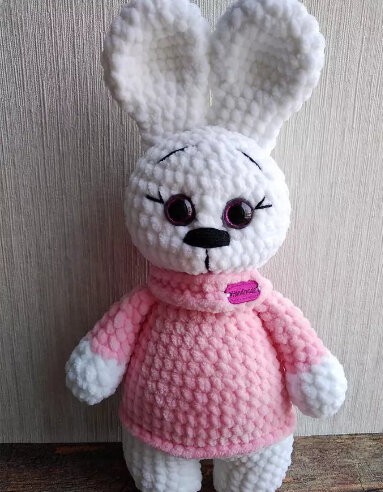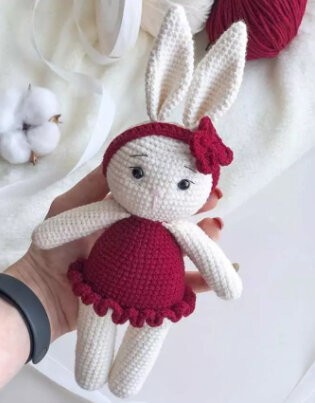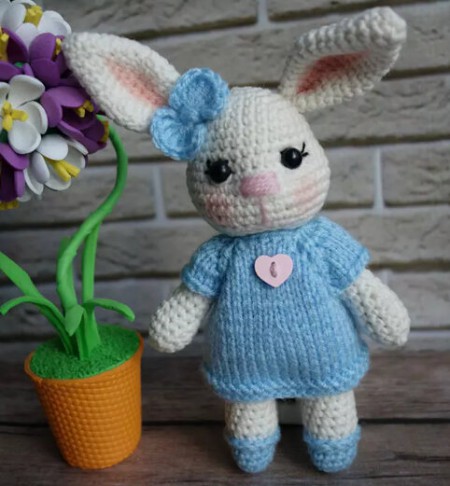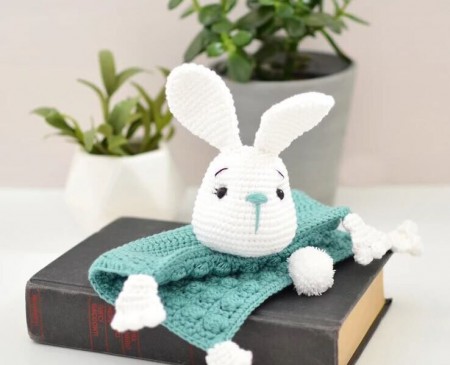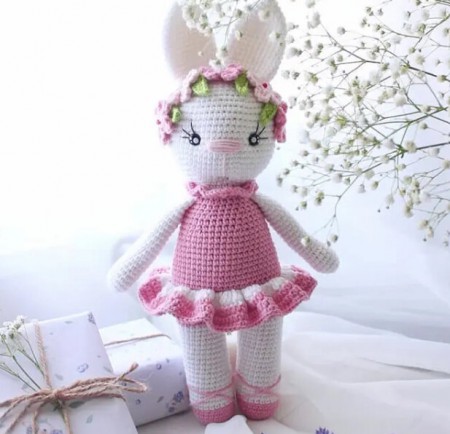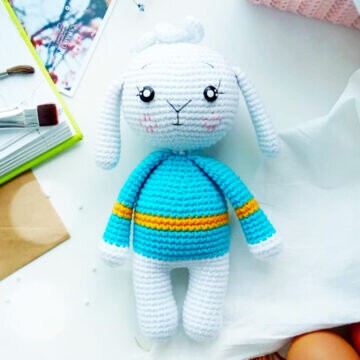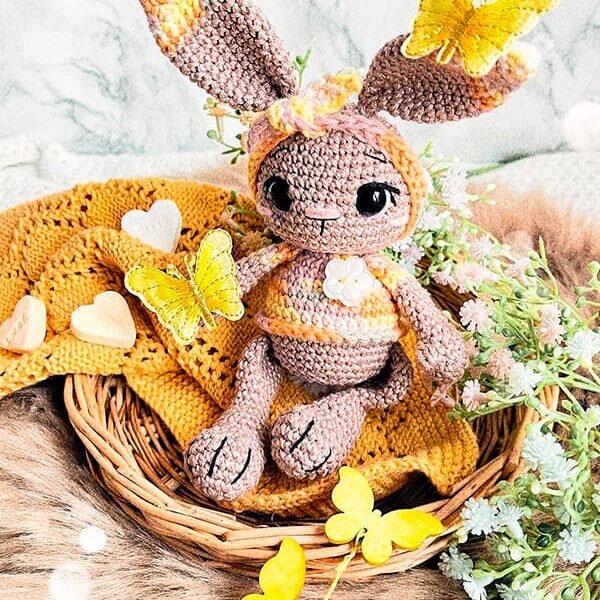
Bunny Lotta Amigurumi Free Pattern
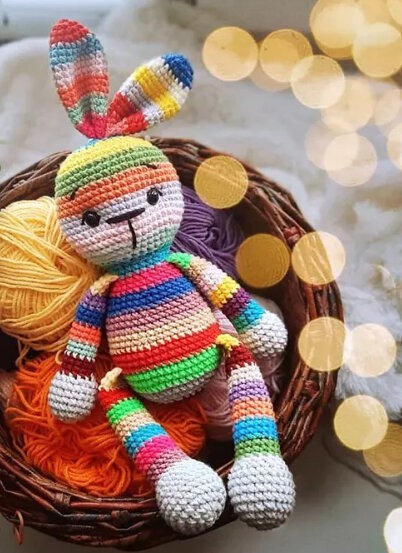
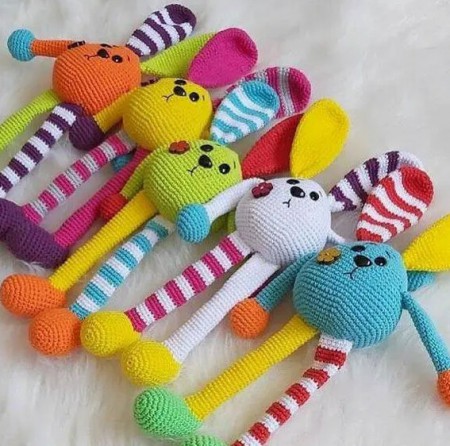
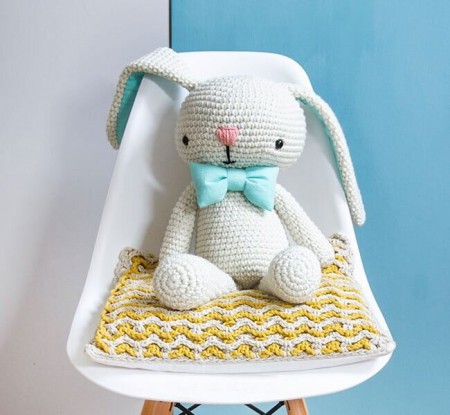
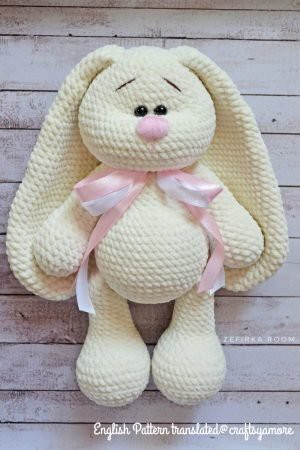
Hello dear Amigurumi enthusiasts! Today I would like to share with you a free Amigurumi Bunny pattern and construction instructions. Amigurumi has become a popular hobby in the world of craftsmanship, and in this article I will present you a great Amigurumi Bunny design. Trust your imagination while doing amigurumi. And dare to create your own unique designs. Welcome to the Amigurumi world, enjoy fun handicraft projects.
Materials
• Cotton (e.g. Scheepjes Catona, Schachenmayr Catania) 125m/50g
• 1 ball in light brown (you’ll need about ca. 35g)
• Ricorumi Print DK (001 Pink Yellow) for the sweater
• Scheepjes Furry Tales in white (for the fluffy bunny tail)
• Safety eyes 10 mm
• White/black/purple cotton waste yarn for the eyes, pink for the cheeks and the nose
• Embroidery thread for the details (white/black)
• Crochet hook 2.5 mm and 3.00 mm (for the fluffy bunny tail)
• Scissors
• Darning needle, embroidery needle (for the tension to the eyes)
• Markers, pins
• Fiberfill/stuffing
• Possibly a small button for the sweater
If using the same or similiar yarn and the same hook size your Lotta will be about 18cm big.
Abbreviations
• MR – Magic Ring
• Rd – Round
• Sc – single crochet
• Sl st– Slip stitch
• Ch– Chain
• Inc– Increase
• Dec– Decrease
• FLO– Front loop only
• BLO– Back loop only
• Hdc– Half double crochet
• Bs– Bobble stitch (4dc chained off together)
• Hs– Hook size
Head
(Brown)
Rnd 1. 6 sc in MR (6)
Rnd 2. (inc)6 (12) Rnd 3. (1sc,inc)6 (18)
Rnd 4. (2sc,inc)6 (24) Rnd 5. (3sc,inc)6 (30)
Rnd 6. 30 sc (30)
Rnd 7. (4sc,inc)6 (36) Rnd 8-9. 36 sc (2 rounds) (36) Rnd 10. (5sc,inc)6 (42)
Rnd 11. 42 sc (42)
Rnd 12. (6sc,inc)6 (48) Rnd 13-14. 48 sc (2 rounds) (48) Rnd 15. (6sc,dec)6 (42)
Insert eyes in round 11/ 12 with a distance of 7 visible stitches.
Rnd 16. (5sc,dec)6 (36) Rnd 17. (4sc,dec)6 (30)
Rnd 18. (3sc,dec)6 (24) Rnd 19. (dec)12 (12)
Rnd 20. FLO 12 sc (12)
Stuff the head firmly the fiberfill (start stuffing after rd18 and before you start with the body, the
head must be stuffed firmly).
Shape the head whilest stuffing. I always stuff a bit more fiberfill in the cheeks, the head is then a
bit wider at the bottom. Now its time to put some tension to the eyes, so the view is cuter.
Don’t cut the yarn off. We are carrying on with crocheting the body. Note that there will be a
colour change.
Body
Carry on with the body.
Colour change to ricorumi Print DK.
Rnd 21. (inc)12 (24) Rnd 22-23. 24 sc (2 rounds) (24) Rnd 24. (3sc,inc)6 (30)
Rnd 25. (4sc,inc)6 (36) Rnd 26-28. 36 sc (3 rounds) (36) Colour change to brown Rnd 29. BLO 36 sc (36) Rnd 30-32. 36 sc (3 rounds) (36) Rnd 33. (4sc,dec)6 (30)
Rnd 34. (3sc,dec)6 (24) Rnd 35. (2sc,dec)6 (18)
Rnd 36. (1sc,dec)6 (12) Rnd 37. (dec)6 (6)
Stuff the body firmly with fiberfill, the best is to start at rd35.
Pull the yarn through the FLO of the remaining 6 sc and secure it.
Cuffs of the sweater: turn the body upside down and crochet with ricorumi Print DK in the front
loops of rd29 one sc in the next 36 loops.
Finish off with a sl st, tie the ends of the yarns together and hide them in body.
Ears (Make 2)
Start with Ricorumi Print DK
Rnd 1. 6 sc in MR (6)
Rnd 2. 6 sc (6)
Rnd 3. (1sc,inc)3 (9) Rnd 4. (2sc,inc)3 (12)
Rnd 5. (3sc,inc)3 (15) Rnd 6. (4sc,inc)3 (18)
Rnd 7-8. 18 sc (2 rounds) (18)
Colour change to brown
Rnd 9-14. 18 sc (6 rounds) (18)
Rnd 15. (4sc,dec)3 (15) Rnd 16. (3sc,dec)3 (12)
Rnd 17. (2sc,dec)3 (9) Rnd 18. (1sc,dec)3 (6)
Close the opening with 3 sc. Pull the yarn through the last stitch and leave a long tail to sew the
ears later to the head.
The ears don’t get stuffed.
Fold the bottom part of the ears in half and sew them with a few stitches together (a little wrinkle
will form).
Arms (Make 2)
Start with brown
Rnd 1. 6 sc in MR (6)
Rnd 2. (inc)6 (12) Rnd 3-4. 12 sc (2 rounds) (12) Rnd 5. BS, 11 sc (12) Rnd 6. (2sc,dec)3 (9)
Fill the bottom part of the arms a bit
Rnd 7-11. 9 sc (5 rounds) (9)
Crochet 3 more sc and make a colour change to Ricorumi Print DK, with that the beginning of the
rnd will be moved.
Rnd 12-15. 9 sc (4 rounds) (9)
The top part of the arms are not stuffed/ filled.
Make 1 more sc ( the edge should be in linie with thumb), close the opening with 4 sc.
Pull the yarn through the last stitch and leave a long tail to sew the arms to the body later.
Legs (Make 2)
(Brown)
Rnd 1. 6 sc in MR (6)
Rnd 2. (inc)6 (12) Rnd 3. (1sc,inc)6 (18)
Rnd 4. (2sc,inc)6 (24) Rnd 5-6. 24 sc (2 rounds) (24) Rnd 7. 6sc, (dec)6, 6sc (18)
Rnd 8. 6sc, (dec)3, 6sc (15) Rnd 9. 15 sc (15) Rnd 10. (3sc,dec)3 (12)
Rnd 11-12. 12 sc (2 rounds) (12)
Stuff the bottom part of the legs with fiberfill
Rnd 13. (2sc,dec)3 (9) Rnd 14-15. 9 sc (2 rounds) (9) Rnd 16. (2sc,inc)3 (12)
Rnd 17. (3sc,inc)3 (15) Rnd 18. (4sc,inc)3 (18)
Rnd 19-20. 18 sc (2 rounds) (18)
Rnd 21. (1sc,dec)6 (12) Rnd 22. (dec)6 (6)
The top part of the legs do not get stuffed. Pull the yarn through the front loops of the remaining 6
sc and close the hole.
Leave a long tail for sewing the legs later to the body.
Now we will embroider the details to the paws with thin black thread. Embroider 3 lines to divide
the paw in 4 parts (toes).
Fluffy Tail
(Scheepjes Furry Tales, HS 3.00)
Rnd 1. 6 sc in MR (6)
Rnd 2. (inc)*6 (12)
Rnd 3. 12 sc (12)
Finish the round with a sl st and hide the yarn in the inner of the tail. Later we will sew it with
cotton thread to the body.
Alternatively you can also use a small white pompom.
Headband
(Ricorumi Print DK)
Here we crochet in rows. Chain 61 and start in the 2nd ch from the hook: 1 slst, 59sc, 1slst.
Cut the yarn, tie the ends together and secure them.
Assembly Head
• For the eyerim I used white cotton yarn and with a coloured yarn (I used purple) I embroidered a
small accent.
• The eyelid is made with black cotton yarn and the lashes with thin black thread.
• I made the nose with pink cotton yarn in rd13 over a length of 3sc. With thin black embroidery
thread you can put some details to the nose.
• The eyebrows are embroidered the thin black thread slightly aslant in rd8. The distance between
them should be 6sc.
• If you like, you can embroider cheeks with pink thread under the eyes (I would make them 2sc
wide).
• Sew the ears on the left and right side of the head between round 3/4.
Assembly Body
• Sew the arms to the left and right side of the body directly under the head.
• Sew the fluffly bunny tail (pompom) at the center back of the sweater.
• Sew the legs to the left and right side of the body directly under the sweater.
• At the end you can sew a buttom to the sweater.
It's All Finished:


