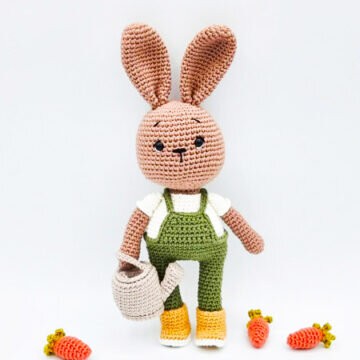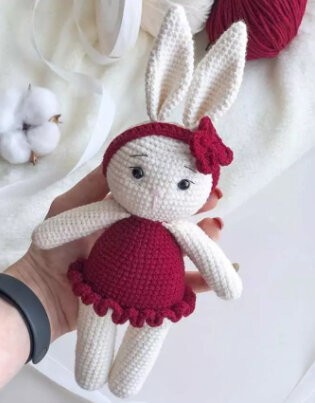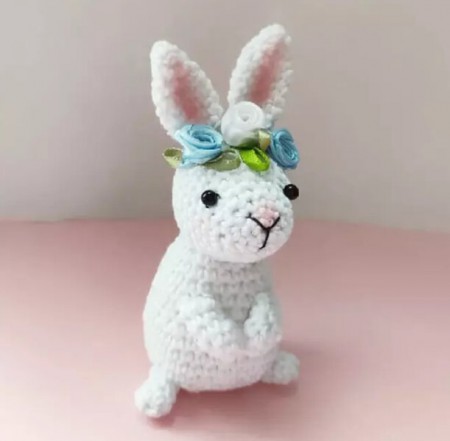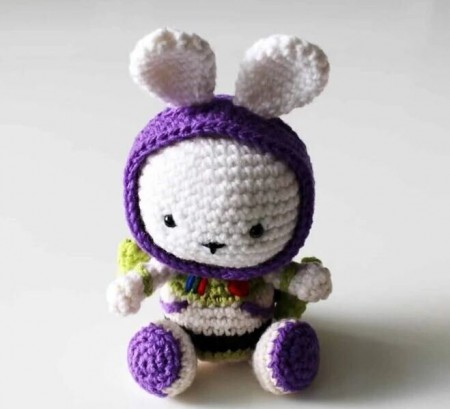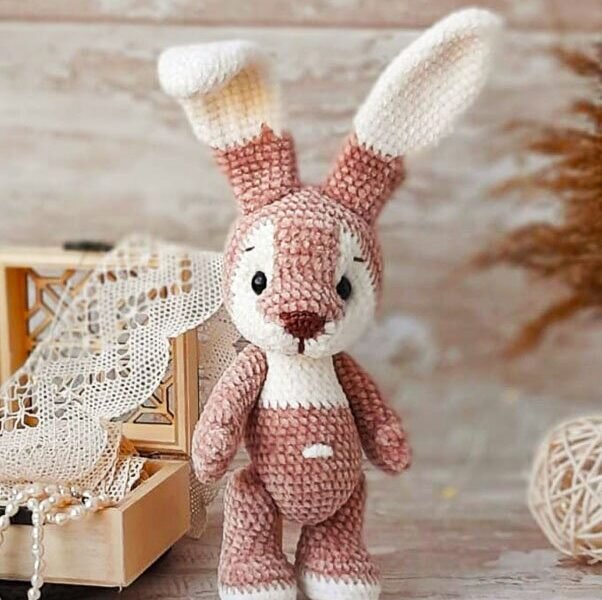
Crochet Bunny Free Pattern
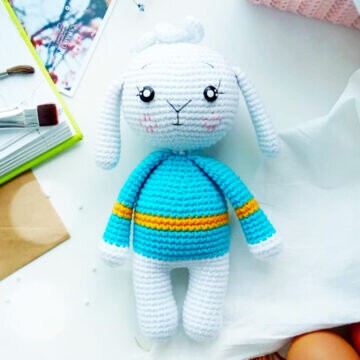
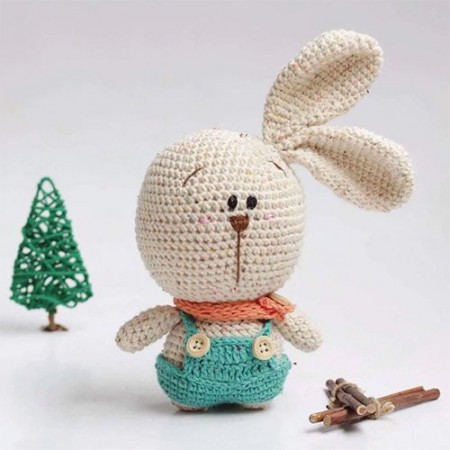
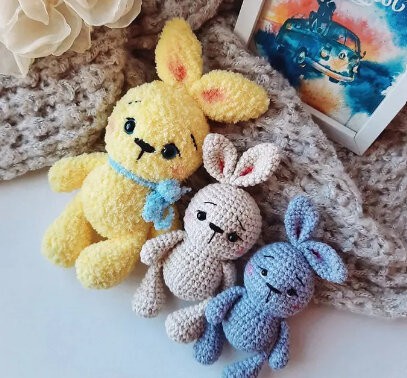
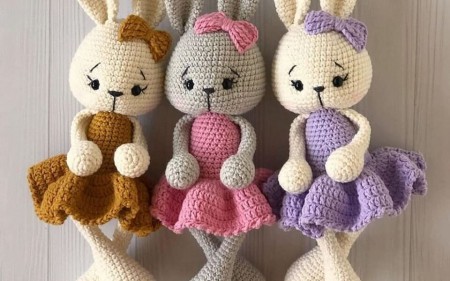
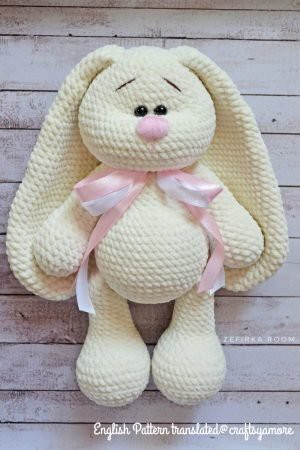
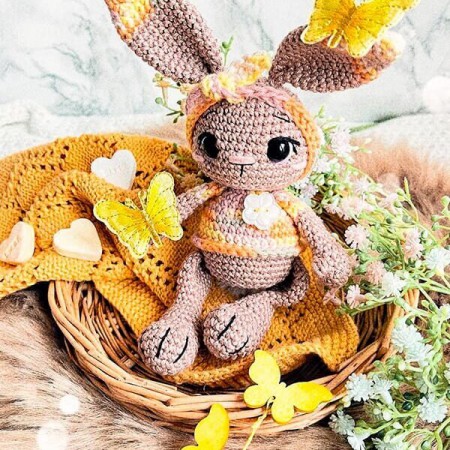
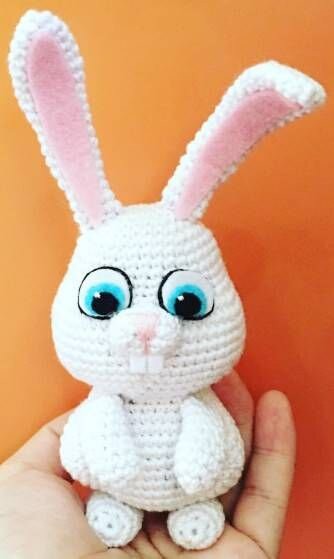
Hello dear Amigurumi enthusiasts! Today I would like to share with you a free Amigurumi Bunny pattern and construction instructions. Amigurumi has become a popular hobby in the world of craftsmanship, and in this article I will present you a great Amigurumi Bunny design. Trust your imagination while doing amigurumi. And dare to create your own unique designs. Welcome to the Amigurumi world, enjoy fun handicraft projects.
Materials
Verde Smeraldo Katya 160m / 50g Hook 1.5mm.
Lanacoton from Alize 160m / 50g, Hook 2mm.
Eyes 10mm (3sc)
cotter pin and discs 2-2.5mm for the head (6sc).
Iris threads for the nose
Abbreviations
FDC = fluffy double crochet
SY= Second Yarn
FY= First Yarn
PSM: displacement loop
MR: Amigurumi Magic ring
sc : Single Crochet
inc : Increase
dec : Decrease
tr : Triple Crochet/ Treble Crochet
st: Stitch
dc : Double Crochet
hdc: Half Double Crochet
slst : Slip Stitch
ch : Chain
..in : make increase into same stitch as many as the number which is given in front of “inc” abbreviation (exp; 3inc, 4inc..).
FLO : Crochet into front loops only
BLO : Crochet into back loops only
Upper legs
First we knit the fingers, three on each paw; on the third toe, do not cut the thread.
1. 6sc in MR
2. 6sc, fasten the thread, leaving a tail for sewing.
3. 3sc in the middle finger, 6 sc in the index finger, 3sc in the middle, sc in the little finger (18)
4. 18sc, sew up all the holes on the fingers.
5. 16sc, rearrange the marker, then count the beginning of the row from here
6. 7sc, 3 FDC in 1, 6sc, dec (15)
7. 6sc, dec, 5sc, dec (13)
8. 11sc, dec (12)
9-19. 12sc (11 rows)
20. 6dec, pull off, sew up and hide the thread.
Lower legs
1. 6ch, 2nd from hook 4sc, 5sc in 1, 4sc on the other side of the chain. (13)
2. inc, 3sc, 5inc, 3sc, inc (20)
3. inc, 4sc (1sc,inc) х 5, 4sc, inc
4. 27sc behind the side of the column of the lower row at the back.
5. 27sc,change the thread.
6-7. 27sc (2 rows) + 1 PSM
8. 5sc, 4dec, 1sc, 4dec, 5sc (19)
9. 5sc, 2dec, 1sc, 2dec, 5sc (15)
10-13. 15sc (4 rows)
14. 4 sc, inc х3 (18)
15-18. 18 sc (4 rows)
19. 1sc, dec х6 (12)
20. 6dec,pull off, sew up and hide the thread.
Ears and tail.
1. 5sc in MR
2. 5inc (10)
3. 1sc, inc х 5 (15)
4 – 5. 15sc (2 rows)
6. 4sc, inc х3 (18)
7-8. 18sc (2 rows)
9. 5sc, inc х3 (21)
10-14. 21sc (5 rows) we introduce the second thread SY
15. (1scSY, 2scFY) x7
16. (2scSY, 1scFY) x 6 1scSY,cut the first thread.
17-19. 21sc (3 rows)
20. 5sc, dec х3 (18) ; 21. 18 sc
22. 4sc, dec х3 (15) ; 23. 15 sc
24. 3sc, dec х3 (12) ; 25. 12 sc
Fasten the thread, leave a long end for sewing.
Tail
1. 6sc in MR
2. 6inc (12)
3. 1sc, inc х6 (18)
4 – 5. 18sc (2 rows)
6. 9dec
Fasten the thread, leave a long tail.
Body
1. 6sc in MR
2. 6inc (12)
3. 1sc, inc х6 (18)
4. 2sc, inc х6 (24)
5. 3sc, inc х6 (30)
6. 4sc, inc х6 (36)
7. 5sc, inc х6 (42)
8-11. 4 2sc (4 rows)
12. 5sc, dec х6 (36)
13-15. 36sc (3 rows)
16. 4sc, dec х6 (30)
17-19. 30sc (3 rows)
20. 3sc, dec х6 (24)
21-23. 24sc (3 rows)
24. 2sc, dec х6 (18)
25. 18sc,insert cotter pin
26. 1sc, dec х6 (12)
27. 6dec, pull off, sew up, hide the thread.
Head
1. Second Yarn SY6sc in MR
2. 6inc (12)
Entering the first thread FY.
3. SY (inc, 3 sc, inc), FY (2inc, 3sc, 2inc) (18)
4. SY (inc, 5 sc, inc, 1sc) , FY (inc, 1sc, inc, 3sc, inc, 1sc, inc, 1sc) (24)
5. SY (inc, 7 sc, inc, 1sc) , FY (1sc, inc, 2sc, inc, 3sc, inc, 2sc, inc, 2sc) (30)
6. SY (12sc) FY (18sc ) (30)
Fasten and cut the second thread. Crochet first.
7. Tie the SY columns with BLO. 1sc, 3inc, 4sc, 3inc, 19sc (36)
8. 1sc, ( 1sc, inc) х 3, 4sc, (inc, 1sc) х 3 , 19sc (42)
Between 8 – 9 rows, insert eyes at a distance 16-18sc
9. (3sc, inc, 3sc) x6 (48)
10. 7sc, inc х6 ( 54 )
11. Enter the second thread. FY 30sc, SY 24sc (54) Fasten and cut the first thread. We knit the forehead.
Enter SY FLO of 6 central columns of the 6th row. 1ch, 6sc-5 rotational rows.
12. 13sc,6sc with the forehead, 35sc
13-18. 54sc (6 rows)
We fix the cotter pin between 15-16 rows in the middle of the bottom.
We start stuffing Tightly enough.
19. 7sc, dec х6 (48) ; 20. 6sc, dec х6 (42)
21. 5sc, dec х6 (36) ; 22. 4sc, dec х6 (30)
23. 4sc, dec х5 (25) ; 24. 3sc, dec х5 (20)
25. 2sc, dec х5 (15) ; 26. 1sc, dec x5 (10)
27. 5dec.Pull, sew and hide the thread
Assembly
We knit a nose with Iris in two additions. In MR ch, 5dc,turn knit, sc, leave a long thread to sew on.
Sew the nose on a row above the center and a row down.
Make a head-tighten:from the center of the bottom to the right eye, then to the left and down Repeat 2-3 times.Pull in the center from the nose to the cotter pin, then embroider a smile and eyebrows.
Sew on the ears.
Attach the legs with a thread attachment.
Tops between 1-2 rows at a distance
13-14 sc ( front). Bottoms between 8 – 9 rows at a distance
21-23sc (front)
Sew on the tail, making it a support when sitting.
With the remaining thread, embroider the navel between 12-15 rows – 5sc several times.
Congratulations! Your bunny is ready!
It's All Finished:


