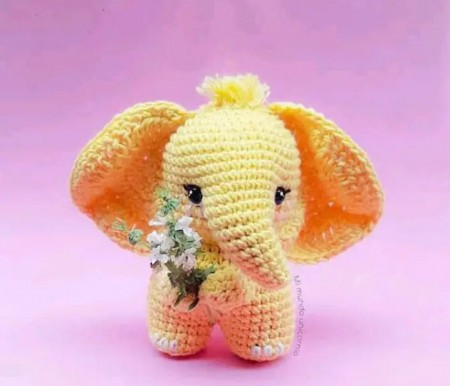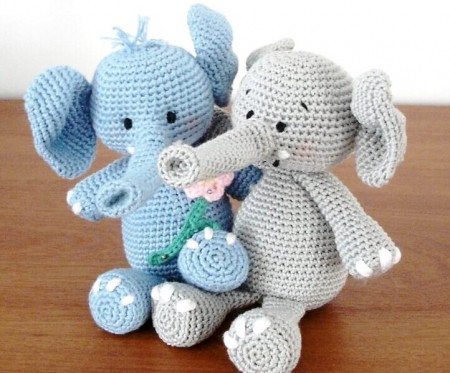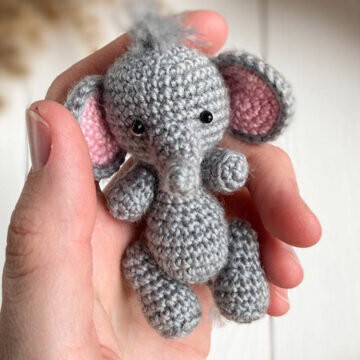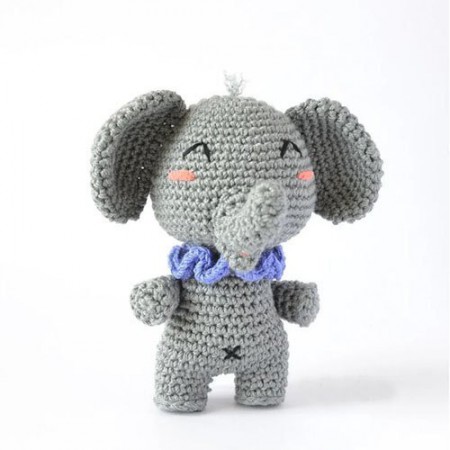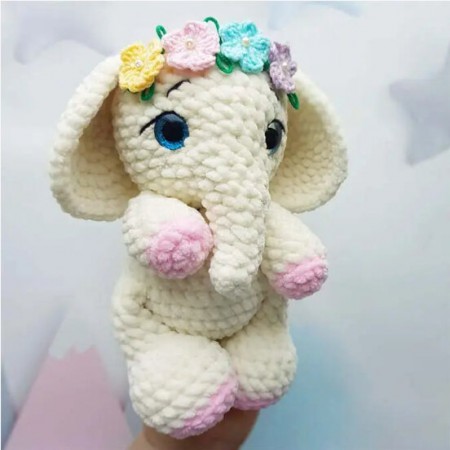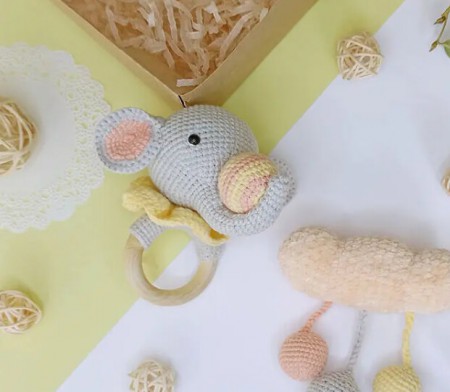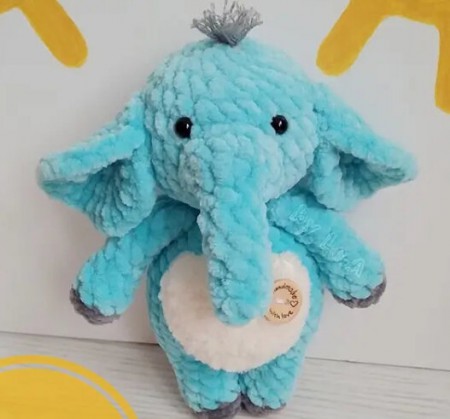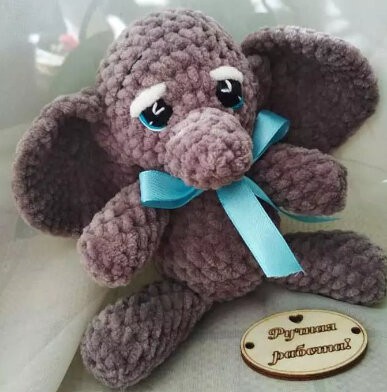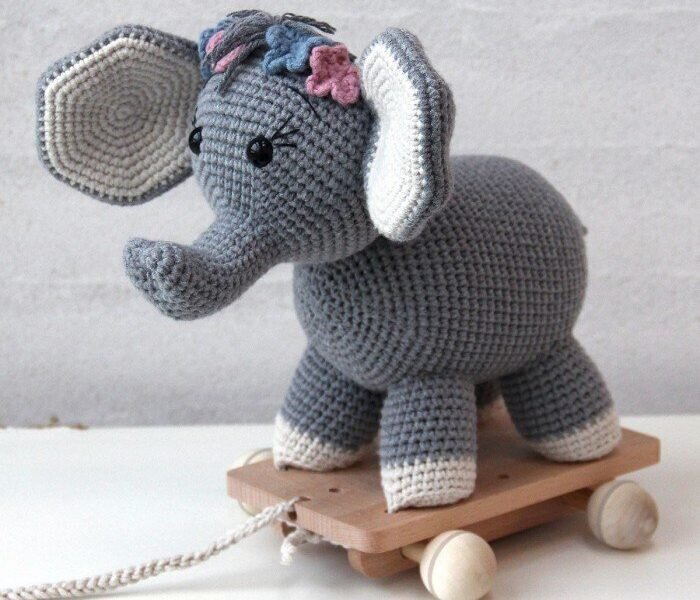
Elephant Free Amigurumi Pattern
Hello dear Amigurumi enthusiasts! Today I would like to share with you a free Amigurumi Elephant pattern and construction instructions. Amigurumi has become a popular hobby in the world of craftsmanship, and in this article I will present you a great Amigurumi Elephant design. Trust your imagination while doing amigurumi. And dare to create your own unique designs. Welcome to the Amigurumi world, enjoy fun handicraft projects.
YARN USAGE
Elephant H 20 cm
Body: 150 g
Ears & legs: 50 g
A few meters of Black, Blue, Light Rose yarn for eyelashes and flowers
MATERIALS
Filling
Wagon
Eyes: 12 mm
Crochet Hook: 2,5 – 3,5 mm
Gauge: 20 sts/10 cm
The given amounts of yarn are for guidance only.
ABBREVIATIONS AND DEFINITIONS
st(s) Stitch(es)
cr Magic ring
ch Chain stitch
sl st Slip stitch
dc Double crochet
tr Treble
bl Back loop
2 dc inc Increase (2 dc in one st)
2 tr inc Increase (2 tr in one st)
dc 2 tog Decrease (2 dc worked together)
… * The instructions shown in these brackets must be repeated for the whole round/ row or with the number after x.
(..) At the end of the line – indicates the total number of stitches.
Cosy
A wonderfully soft and high quality cotton mix
Cosy’s thread is perfect for knitted cardigans and sweaters. The thread is relatively lightweight, soft and with a very special elasticity, which keeps the knit beautiful and the shape in place. The nature of the fiber gives a special fluffyness, which is great to knit beautiful sweaters.
It can be said about the Cosy yarn that it is a bit vintage-like in its expression – a yarn that gives warmth and offers a breathable fabric to wear.
Cosy has been awarded the AZO certificate and is thus a yarn that everyone can feel safe using.
60% Cotton/40% Acrylic,
50 g/100 m.
Elephant
HEAD (GREY)
Starting at the nose
1.) cr with 6 dc (6)
2.) 2 dc inc (12)
3.) 1 dc, 2 dc inc (18)
4 – 18.) 18 dc (18)
To get the heart shape at the end of the nose sew a few stitches at the end to keep it flat.
19.) 2 dc, 2 dc inc (24)
20.) 3 dc, 2 dc inc (30)
21.) 4 dc, 2 dc inc (36)
22.) 5 dc, 2 dc inc (42)
23.) 6 dc, 2 dc inc (48)
24.) 7 dc, 2 dc inc (54)
25.) 8 dc, 2 dc inc (60)
26 – 35.) 60 dc (60)
Place the safety eyes between rows 25 and 26 with 9 sts in-between.
36.) 8 dc, dc 2 tog (54)
37.) 7 dc, dc 2 tog (48)
38.) 6 dc, dc 2 tog (42)
39.) 5 dc, dc 2 tog (36)
40.) 4 dc, dc 2 tog (30)
41.) 3 dc, dc 2 tog (24)
42.) 2 dc, dc 2 tog (18)
43.) 1 dc, dc 2 tog (12)
44.) dc 2 tog (6)
BODY (GREY)
1.) cr with 6 dc (6)
2.) 2 dc inc (12)
3.) 1 dc, 2 dc inc (18)
4.) 2 dc, 2 dc inc (24)
5.) 3 dc, 2 dc inc (30)
6.) 4 dc, 2 dc inc (36)
7.) 5 dc, 2 dc inc (42)
8.) 6 dc, 2 dc inc (48)
9.) 7 dc, 2 dc inc (54)
10.) 8 dc, 2 dc inc (60)
11 – 32.) 60 dc (60)
33.) 8 dc, dc 2 tog (54)
34.) 7 dc, dc 2 tog (48)
35.) 6 dc, dc 2 tog (42)
36.) 5 dc, dc 2 tog (36)
37.) 4 dc, dc 2 tog (30)
38.) 3 dc, dc 2 tog (24)
39.) 2 dc, dc 2 tog (18)
40.) 1 dc, dc 2 tog (12)
41.) dc 2 tog (6)
LEGS (OFFWHITE & GREY, 4 X)
Start with Offwhite
1.) cr with 6 dc (6)
2.) 2 dc inc (12)
3.) 1 dc, 2 dc inc (18)
4.) 2 dc, 2 dc inc (24)
5.) 24 dc back loop only (24)
6 – 7.) 24 dc (24)
Change to Grey
8 – 15.) 24 dc (24)
EARS (OFFWHITE & GREY, 2 X)
Start with Offwhite
1.) cr with 6 dc (6)
2.) 2 dc inc (12)
3.) 1 dc, 2 dc inc (18)
4.) 2 dc, 2 dc inc (24)
5.) 3 dc, 2 dc inc (30)
6.) 4 dc, 2 dc inc (36)
7.) 5 dc, 2 dc inc (42)
8.) 6 dc, 2 dc inc (48)
9.) 7 dc, 2 dc inc (54)
Change to Grey
10.) 8 dc, 2 dc inc (60)
11 – 12.) 60 dc (60)
13.) 8 dc, dc 2 tog (54)
14.) 7 dc, dc 2 tog (48)
15.) 6 dc, dc 2 tog (42)
16.) 5 dc, dc 2 tog (36)
17.) 4 dc, dc 2 tog (30)
18.) 3 dc, dc 2 tog (24)
19.) 2 dc, dc 2 tog (18)
20.) 1 dc, dc 2 tog (12)
21.) dc 2 tog (6)
TAIL (GREY)
11 ch, turn the work, 10 sl st.
FLOWER (LIGHT ROSE, BLUE)
1.) cr with 5 dc
2.) 2 ch, 2 tr inc, 2 ch in the same st, 1 sl st x 5
ASSEMBLY
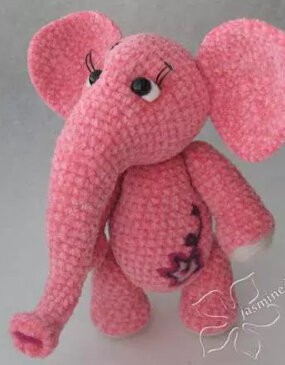
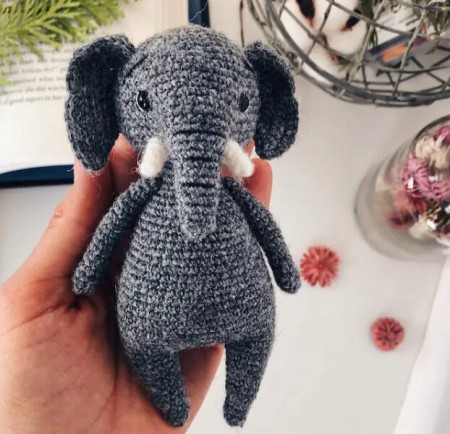
Sew the parts together, as shown in the photo.
The Rope
Fold a few meters of yarn, guide the needle through the first hole and pull the loop back through the hole. From the loop chain 120 with both pieces of yarn. At the end tie tightly a knot and cut the rest of yarn off.
Attaching Elephant to the Wagon
Make 4 chains like the drawstring, but start in the middle of the magic ring on each leg and crochet 15 chain stitches.
The chains are pulled through the holes, and tied together under the cart.
It's All Finished:


