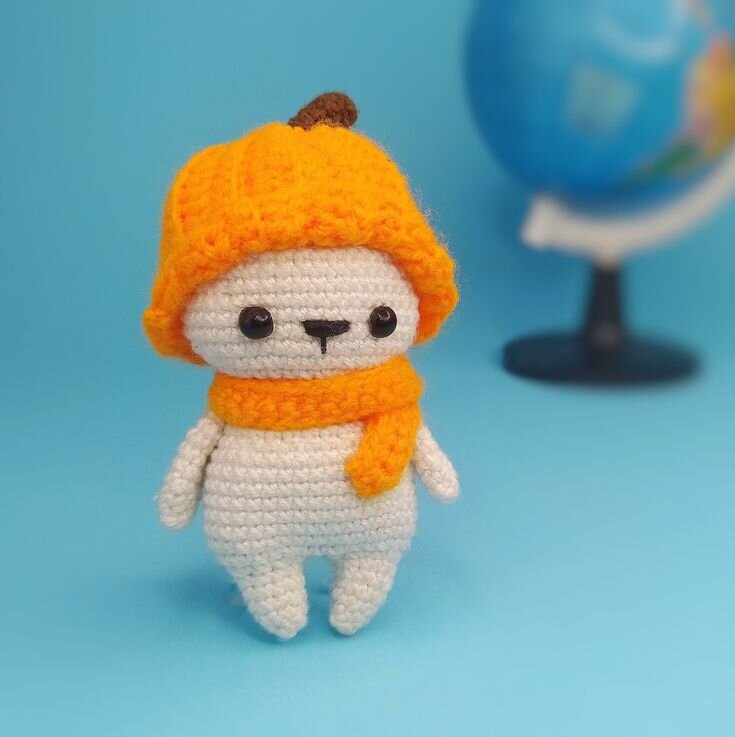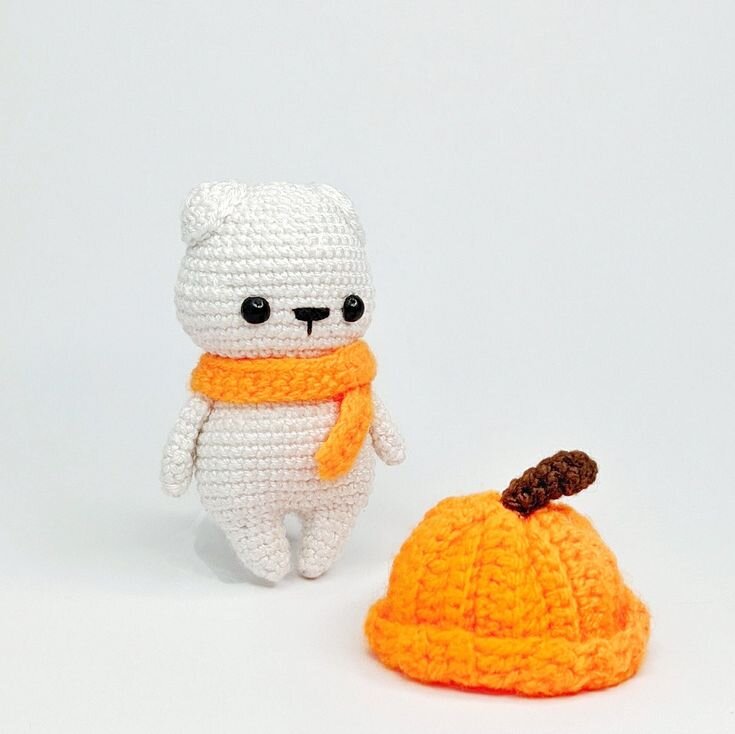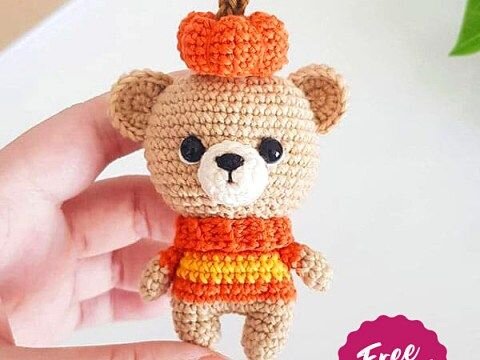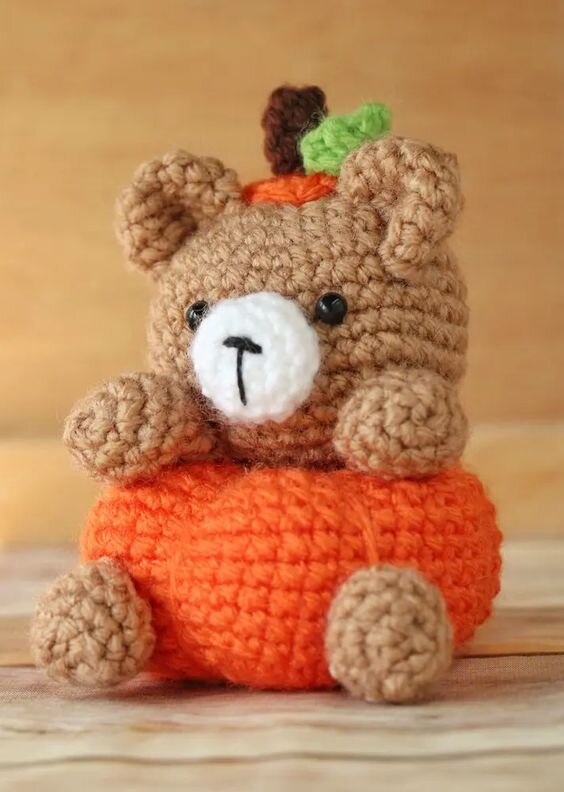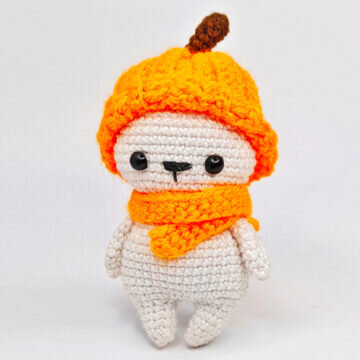
Free Pattern Pumpkin Bear Amigurumi
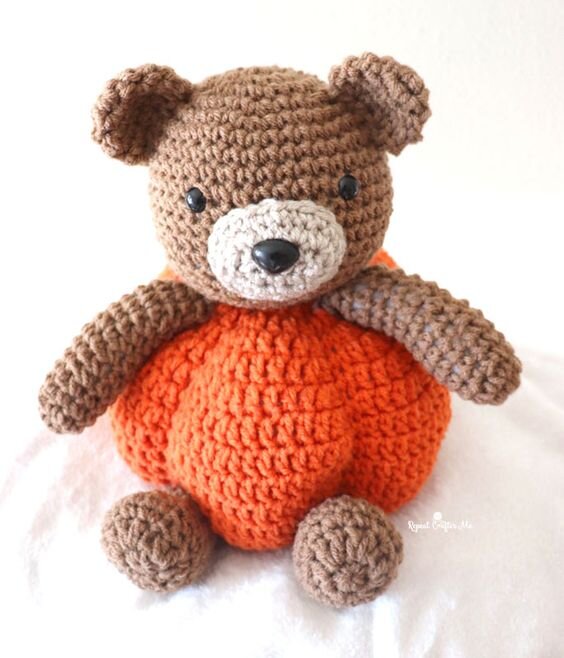
Hello dear Amigurumi enthusiasts! Today I would like to share with you a free Amigurumi Bear pattern and construction instructions. Amigurumi has become a popular hobby in the world of craftsmanship, and in this article I will present you a great Amigurumi Bear design. Trust your imagination while doing amigurumi. And dare to create your own unique designs. Welcome to the Amigurumi world, enjoy fun handicraft projects.
Materials
• Yarn: white and orange (I used microfiber acrylic, you can use any yarn you like),
• Hook: 2mm or 1.85mm
• Fiber stuffing
• Yarn needles
• 6mm safety eyes
Abbreviations
(sc)/(sc): Single crochet
(BO) Hazelnut stitch
(ml)/(ch): Chainette, Air stitch
(MR): Magic ring
(dim)/(dec): decrease, decreasing, decrease
(augm) /(inc): increase
(M)/(st): Stitch (pt) stitch
(FLO): work only in front loops
(BLO): work only in back loops
(d-dc,dble.b)/( tr): Double treble crochet
(br)/(dc): Double treble crochet
(dB)/(hdc): Half treble crochet
(sc)/(sl-st): Slip stitch, small stitch
(db / dbr) (dtr): Double treble crochet
(mct)/(tch): chain stitches to turn
(3msm)/(sc3tog): 3 sc in the same stitch
(Fo): Stop the thread.
Legs (make 2)
Rnd 1. 5sc in MR (7)
Rnd 2. (1sc, inc) x2, 1sc (7)
Rnd 3. (2sc, inc) x2, 1sc (9)
Rnd 4-6. 9 sc (9)
Cut the yarn for the first leg
Do not cut the yarn for the 2nd, we will do the body from there
Fill the legs well before the next step
Body and head
Starting from where we finished the 2nd round: chain one and join the legs
Rnd 1. (1sc, inc) *4, 3sc (inc; 1sc) *4, 1sc (28)
Rnd 2. (inc , 2sc) *9, inc (38)
Rnd 3-9. 38 sc (38)
Rnd 10. (sun, 2sc)*9 , sun (28)
Rnd 11-12. 28sc (28)
Rnd 13. (sc, 1sc)*9 , 1sc (19)
Rnd 14. sun, 17sc (18)
Fill in as you go
Rnd 15. (2sc , inc)*6 (24)
Rnd 16. (3sc, inc)*6 (30)
Rnd 17. (4sc, inc)*6 (36)
Rnd 18. (5sc, inc)*6 (42)
Rnd 19. 8sc; (inc, 1sc)*3 , 15sc , (inc, 1sc)*3 , 7sc (48)
Rnd 20-22. 48ms (48)
Rnd 23. 8ms; (sun, 1sc)*3, 15sc, (sun, 1sc)*3, 7sc (42)
Rnd 24-25. 42ms (42)
Rnd 26. (5 sc , dec)*6 (36)
Rnd 27. 36 sc (36)
Insert safety eyes between rounds 19 and 20, 8 stitches apart
Rnd 28. (4 sc , dec)*6 (30 )
Rnd 29. 30sc (30)
Rnd 30. (3sc, Sun)*6 (24)
Rnd 31. (2sc, Sun)*6 (18)
Rnd 32. (1sc, Sun)*6 (12)
Rnd 33. 6 dim (6)
Cut the yarn and hide it inside the head
Embroider the nose as it appears in the photos (use white yarn or white sewing thread)
Arms (make 2)
Rnd 1. 5sc in MR (7)
Rnd 2. (1sc, inc) x2, 1sc (7)
Rnd 3. (2sc, inc) x2, 1sc (9)
Rnd 4-8. 9 sc (9)
Do not fill in the arms
Leave a long tail for sewing
Ears (make 2)
Rnd 1. 6sc in MR (6)
Rnd 2. 6 inc(12)
Rnd 3. 12sc (12)
Cut the yarn and hide it inside the ear
Do not fill in the ears
Scarf
Chain 45 and start from 2nd chain from hook
Rnd 1. 44sc (44)
Cut the yarn and hide it inside the scarf
Hat
Chain 16 and start from 2nd chain from hook
Rnd 1. 15 sc (15)
Rnd 2. 15 sc BLO (15)
Rnd 3. 15 dc BLO (15)
Rnd 4. 15 dc BLO (15)
Repeat all 4 rows 6 times and leave a long tail for sewing. Fold your crochet piece in half and sew the ends together. Pass the tail inside the holes on the side of the piece and tighten it until you get a small hole then sew the hole with a needle
Rod
Rnd 1. 6sc in MR (6)
Rnd 2-5. 6 sc (6)
Leave a long tail for sewing
It's All Finished:
