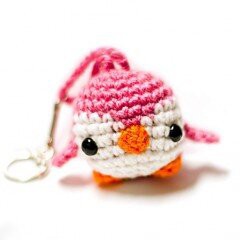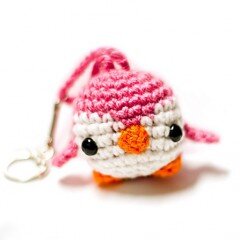
Knitting Toy Penguin Keychain Pattern
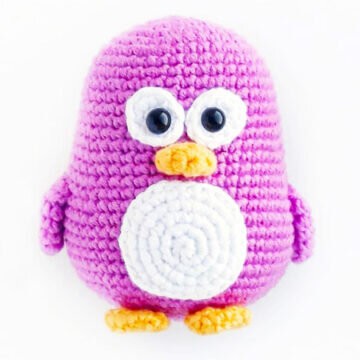
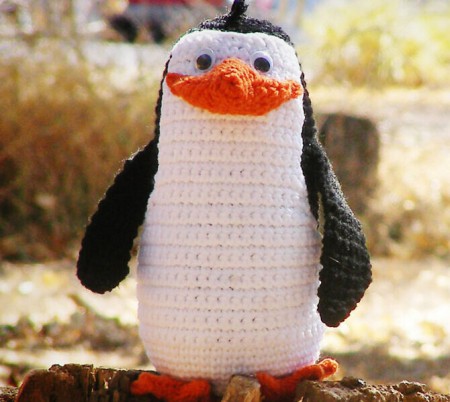
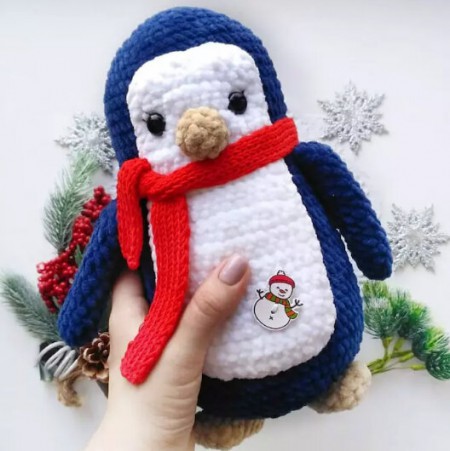
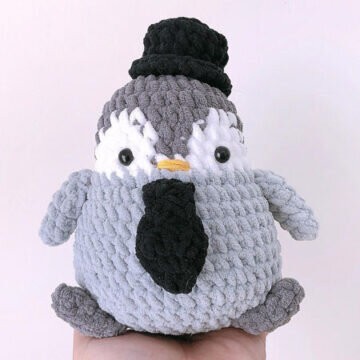
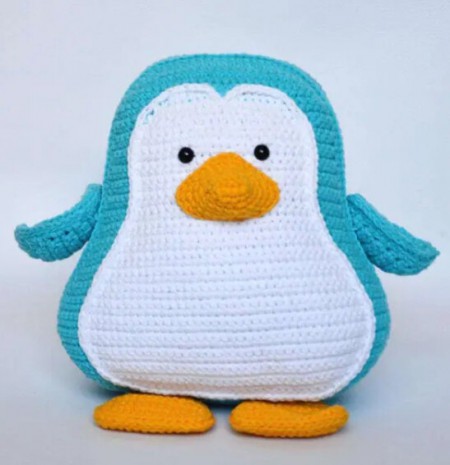
Hello dear Amigurumi enthusiasts! Today I would like to share with you a free Amigurumi Penguin pattern and construction instructions. Amigurumi has become a popular hobby in the world of craftsmanship, and in this article I will present you a great Amigurumi Penguin design. Trust your imagination while doing amigurumi. And dare to create your own unique designs. Welcome to the Amigurumi world, enjoy fun handicraft projects.
Head & Body:
Pink
P1: 6 Sat per ring
P2: pr ( x6 ) [ 12 Satn ]
P3: * pr, Satn * ( x6 ) [ 18 Satn ]
P4: * pr, 2 Satn * ( x6 ) [ 24 Satn ]
P5: 6 Sat, change to white – 4 Sat, change to pink – 3 Satn, change to white – 4 Sat, change to pink – 7 Satn [ 24 Satn ]
P6: 6 Satn, change to white – 5 Sat, change to pink – Satn, change to white – 5 Sat, change to pink – 7 Satn [ 24 Satn ]
P7-9: 6 Satn, change to white – 11 Sat, change to pink – 7 Sat [ 24 Satn ] ( 3 rows )
We fix the eyes between 8 and 9 rows at a distance of 3 loops from the edge.
P10: Ub, 2 Satn, Ub, Change to White — * 2 Sat, Ub * ( x2 ), 3 Sat, Change to Pink – UB, 2 Satn, Ub, Satn [ 18 Satn ]
P11: Ub, 2 Satn, change to white — * Ub, Satn * ( x3 ), change to pink – Ub, Satn, Ub, change to white [ 12 Satn ]
P12: Ub ( x6 ) [ 6 Sat ]
We hide the thread.
Beak:
Orange
P1: 5 bp, lock in the ring of the connecting loop. Sew on the 7th and 8th row.
Wings ( 2 ):
Pink
P1: 6 Sat per ring
P2: pr, p.p., leave the thread for sewing on the 7th row.
Legs ( 2 ):
Orange
P1: 4 Sat in the ring, p., Leave the stitching thread on the 11th and 12th row.
Loop:
We start between 1 and 2 rows, gain 30 percentage points, p.p. fix between the same rows.
It's All Finished:


