Lion Amigurumi Free Crochet Pattern
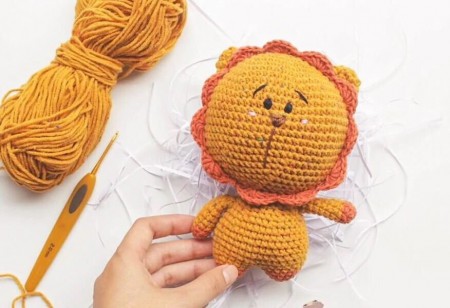
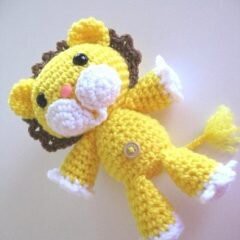
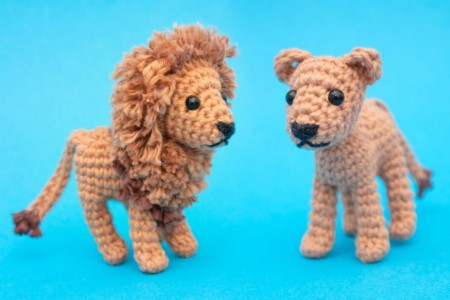
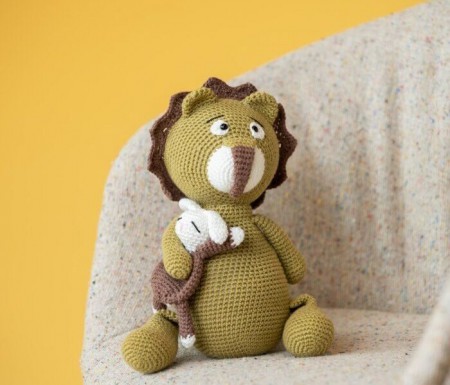
Hello dear Amigurumi enthusiasts! Today I would like to share with you a free Amigurumi Lion pattern and construction instructions. Amigurumi has become a popular hobby in the world of craftsmanship, and in this article I will present you a great Amigurumi Lion design. Trust your imagination while doing amigurumi. And dare to create your own unique designs. Welcome to the Amigurumi world, enjoy fun handicraft projects.
Here’s the FREE pattern! Have fun!
SKILL LEVEL: Beginner
YARN: Medium Weight Cotton Yarn (Lace 4) in Yellow, Light Brown, Red, Black and White
OTHER MATERIALS: Polyester Fiber Filling; Yarn Needle
HOOK SIZES: E/3.25 mm
STITCHES USED and ABBREVIATIONS: magic ring (mr), chain (ch), slip stitch (sl st), single crochet (sc), half double crochet (hdc), decrease (dec), increase (inc), fasten off (F/O).
INSTRUCTIONS: work in rounds (join with a sl st and ch1 at the end of each round) otherwise instructed.
LEGS AND BODY (yellow, black and red yarn)
Make two:
1) starting off with yellow yarn, 8 sc in a mr (8)
2) *1 sc, 1 sc inc*, repeat ** around (12)
3-4) sc even (12)
5) switch to black yarn, sc even (12)
6) sc even (12); F/O, hide the yarn and stuff the leg
Do no cut the yarn once you have completed the 2nd leg, CH 3 INSTEAD
Merge the two legs together:
7) join the yarn with a sl st to the 1st leg, ch1 and sc in the same st, 11 sc, 1 hdc in each st between the two legs, keep working on the 2nd leg, 12 sc, 1 hdc in each st between the two legs (30)
8) sc even (30)
9) switch to red yarn, sc even (30)
10-17) sc even (30); keep stuffing the body
18) *8 sc, 1 sc dec*, repeat ** around (27)
19) *7 sc, 1 sc dec*, repeat ** around (24)
20) *2 sc, 1 sc dec*, repeat ** around (18); F/O and leave a long tail of yarn to attach the body to the head. Finish stuffing the body firmly.
Embroider the JACKET DECORATIONS with yellow yarn (between rnds #14-15 / 16-17 / 18-19).
Make a 4 stitches long line and two knots at the ends.
HEAD (yellow yarn)
1) 8 sc in a mr (8)
2) sc inc around (16)
3) *1 sc, 1 sc inc*, repeat ** around (24)
4) *2 sc, 1 sc inc*, repeat ** around (32)
5) *3 sc, 1 sc inc*, repeat ** around (40)
6-7) sc even (40)
8) *4 sc, 1 sc inc*, repeat ** around (48)
9-11) sc even (48)
12) *5 sc, 1 sc inc*, repeat ** around (54)
13-16) sc even (54)
17) *5 sc, 1 sc dec*, repeat ** around (48)
18) sc even (48)
19) *4 sc, 1 sc dec*, repeat ** around (40)
20) *3 sc, 1 sc dec*, repeat ** around (32)
21) *2 sc, 1 sc dec*, repeat ** around (24)
22) *2 sc, 1 sc dec*, repeat ** around (18); F/O and cut the yarn.
Stuff the head firmly.
MANE (light brown yarn)
1) work 120 ch, 3 sc in the 2nd ch from the hook, 3 sc inc into the next 118 stitches (357); F/O and leave a long tail of yarn to secure the mane to the head.
Embroider the EYES with black yarn (between rnds #9-10; 6 sts apart).
Embroider the NOSE (between rnds #12-13) and the MOUTH (between rnds #17-18) with light brown yarn.
Embroider the CHEEK LINES below the eyes with red yarn (between rnds #12-13).
EARS (yellow yarn; make two)
1) 6 sc in a mr (6)
2) *2 sc, 1 sc inc*, repeat ** twice (8)
3) sc even (8)
4) *2 sc, 1 sc dec*, repeat ** twice (6)
F/O and leave a long tail of yarn to sew the ear on top of the head.
Attach the ears between rounds #7-8.
ARMS (yellow and red yarn; make two)
1) starting off with yellow yarn, 6 sc in a mr (6)
2) *1 sc, 1 sc inc*, repeat ** around (9)
3) sc even (9)
4) switch to red yarn, sc even (9)
5-6) sc even (9)
7) *1 sc, 1 sc dec*, repeat ** around (6); F/O and leave a long tail of yarn to sew the arm to the side of the body (between rounds #16-18). Stuff the arm lightly.
TAIL (light brown and yellow yarn)
1) start working with light brown yarn, 4 sc in a mr (4)
2) *1 sc, 1 sc inc*, repeat ** twice (6)
3) sc even (6)
4) *1 sc, 1 sc dec*, repeat ** twice (4)
5) switch to yellow yarn, sc even (4)
6-14) sc even (4); F/O and leave a long string of yarn
to attach the tail to the back of the body (between rnds #8-10). Do not stuff the tail.
BOW TIE (white yarn; work in rows, ch 1 and turn at the end of each row)
1) 4 ch, 1 sc in the 2nd ch from the hook, 2 sc (3)
2-8) sc even (3); F/O, cut and hide the yarn.
Cut a long string of yarn, wrap it over and over around the center of the bow; use the extra yarn to attach the bow tie to the neck of the lion.
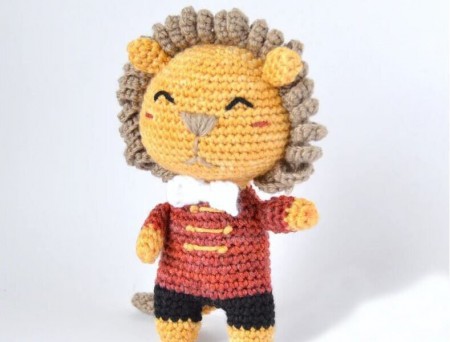
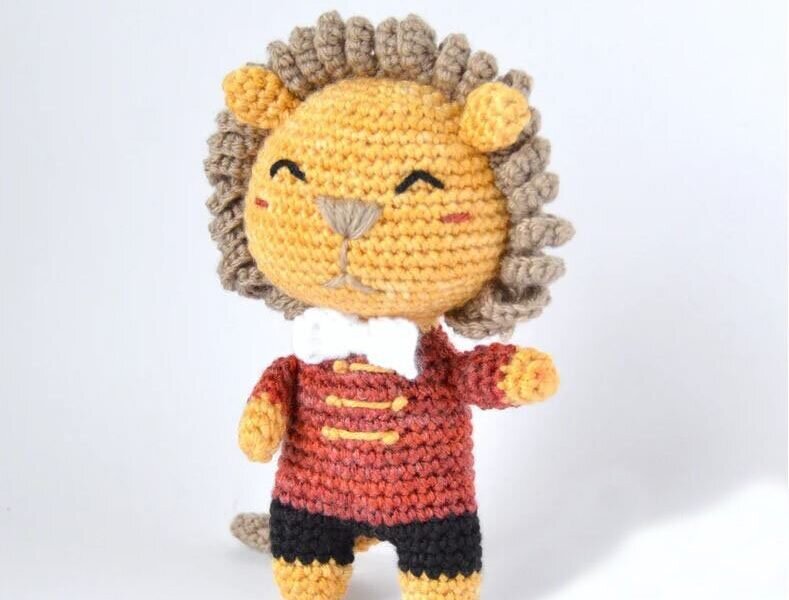
rong>It's All Finished:


