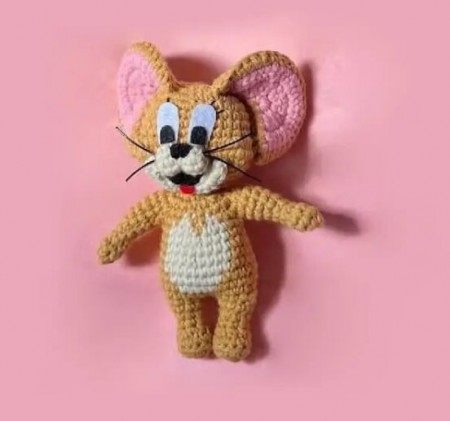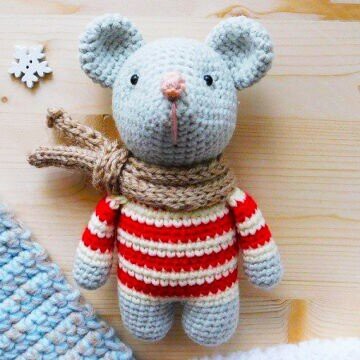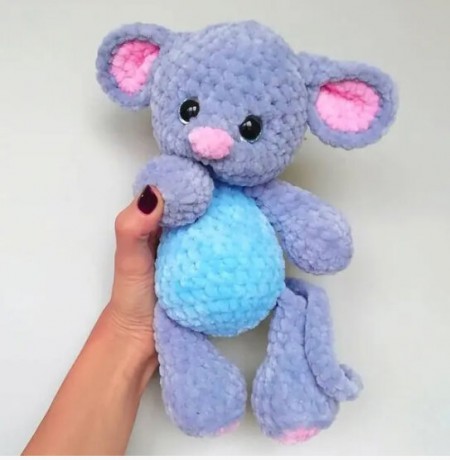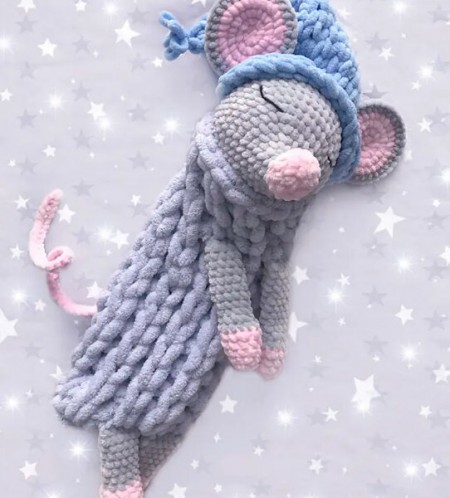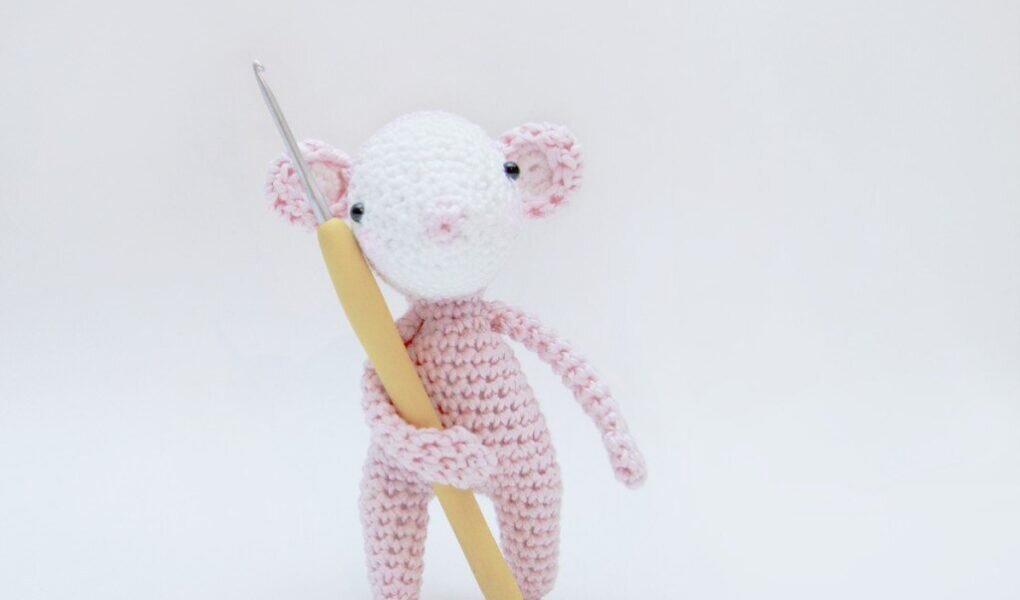
Love Heart Mouse Free Amigurumi Pattern
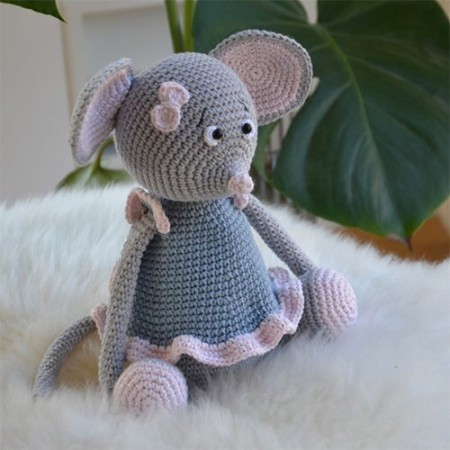
Hello dear Amigurumi enthusiasts! Today I would like to share with you a free Amigurumi Mouse pattern and construction instructions. Amigurumi has become a popular hobby in the world of craftsmanship, and in this article I will present you a great Amigurumi Mouse design. Trust your imagination while doing amigurumi. And dare to create your own unique designs. Welcome to the Amigurumi world, enjoy fun handicraft projects.
To make this you’ll need some
– Yarn; I’d recommend using cotton yarn (but almost anything goes, in fact these little animals are great for using scratch yarn, and you really don’t need a big amount to make this one). I have used light pink as main color, white and pink – but this is of course opinional. My pick of yarn for this one was Dale Vipe (50g/125m)
– Crochet hook (I used size 2.5 mm, but pick one that goes with your yarn, a bigger will make a bigger mouse, whereas a smaller will make a smaller mouse)
– Something for eyes (I used safety eyes size 4.5mm)
– Needle to weave ends.
– Small amount of felt/textile – only if you want to make letters for the heart.
– A couple hours to spare
Pattern
Let’s start off making the mouse. The mouse will be made in seperate parts that we sew together in the end.
Arms
(make 2, unless you want a one-armed mouse)
Magic Ring (=MR)
R1: 6sc in the ring (6)
R2.- 3: 6sc (6)
R4: dec, sc4 (5)
R5.- 12: (that’d be 8 rounds) 5sc (5)
Head
MR
R1: 6sc in ring
– change to white yarn
R2: 6sc (6)
R3: inc x6 (12)
R4: (inc, sc)x6 (18)
R5: 18sc (18)
R6: (inc, 2sc)x6 (24)
R7-8: 24sc (24)
R9: (3sc, inc, 4sc) x3 (27)
-change to pink
R10-11: 27sc (27)
R12: (4sc, inc, 4sc)x3 (30)
The next round we’re going to make a hole for attaching body later
R13: 5ch, skip 4st, sl st to 5th, 25sc (30)
R14: 30sc (30)
R15: (3sc, dec)x6 (24)
R16: (2sc, dec)x6 (18)
You’d want to attach eyes at this point (if using safety eyes) and start filling the mouse head
R17: (sc, dec)x6 (12)
R18: dec x6 (6)
Using a needle weave ends through all st, pull, hide end inside the head
Body
Into the ch-space of the head created (from R13), using pink yarn;
R1: 12sc (12)
R2: 12sc (12)
R3: (sc, inc) x6 (18)
R4-5: 18sc (18)
R6: (inc, 8sc) x2 (20)
R7: 20sc (20)
R8: (inc, 9sc)x2 (22)
R9: 22sc (22)
R10: (inc,10sc) x2 (24)
R11: 24sc (24)
R12: (inc,11sc) x2 (26)
R13: 26sc (26)
We’ll work the legs directly attached to the body (which means less sewing at the end – yay!) To make this a bit more understandable (if it’s seems tricky) look at the pictures below (the black thread marks the opposite leg)
Legs
Visualize a ring of 10 sts on one of the sides. Hook through the two opposing sts that’s closest to the center (of your “10st-ring”).
R1: 8sc, inc (10)
R2-4: 10sc (10)
R5: dec, 8sc (9)
R6: 9sc (9)
R7: dec, 7sc (8)
R8: sc8 (8)
R9: (dec, 2sc) x2 (6)
Fasten off same way as end of head
For the 2nd leg go through the complete same procedure only on the other side of body.
You’ll get a gap between the two legs that we’ll sew together in the end (or you may do it right away if you prefer)
Ears (make 2)
Make a small circle – Using white yarn;
MR
R1: 6sc in ring (6)
R2: inc x6 (12)
Fasten off
Make another – Using pink yarn;
MR
R1: 6sc in ring (6)
R2: inc x6 (12)
Put the white circle on top of the pink and crochet together
Don’t cut your thread yet;
Final step: 4sc, hdc, dcx2, hdc, 4sc (12)
Tail
– using pink
ch 20, sl st back (19)
Attach parts;
Ears on R13-14 of head (and about 10 sts from eachother)
Arms on R2 of body
Tail on of the last rows of body
Sew together gap between legs (if you didn’t do it already)
Little Love Heart
R1: MR, ch2, 3tr, 4dc, tr, 4dc, 3tr into the ring ring. Pull ring, ch2, sl st into hole.
R2: attach pink yarn(or you may continue with white if you prefer); sl st, sc in chain-space, sc next, 2sc in next st, 3sc in next st, 2sc in next st, sc next three sts, (sc,ch, sc) into ch-space (count as one), sc in next three sts, 2sc in next st, 3sc in next st, 2sc in next st, sc next, sc into ch-sp, sc down magic ring hole, sl st to first (25)
R3: This round you work in BACK loops only; Attach white yarn to the st that goes down MR-hole; ch3, dc in same, hdc, 2hdc, sc next 6sts, 2hdc, hdc next 2sts, sc, sc into ch-sp, sc, hdc next 2sts, 2hdc, sc next 6 st, 2hdc, hdc, dc (32)
R4: 2sc, inc, 10sc, inc, 4sc, inc, 1osc, inc, 2sc (36)
R5: sc 36 (36)
R6: in back loops; sc 36 (36)
R7: (dec, 4sc)x6 (30)
R8: (dec, 3sc)x6 (24)
R9: (dec, 2sc)x6 (18)
R10: (dec, sc)x6 (12)
R11: dec x6 (6)
R12: In Front loops from R3; with pink yarn, work 1sc in ever sts around.
It's All Finished:


