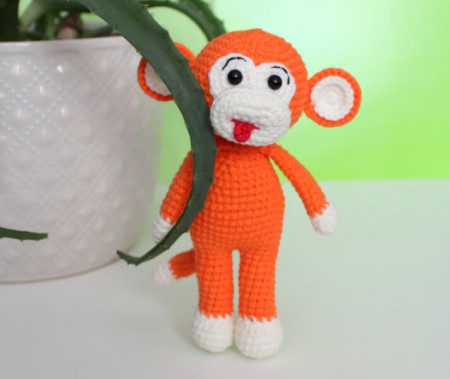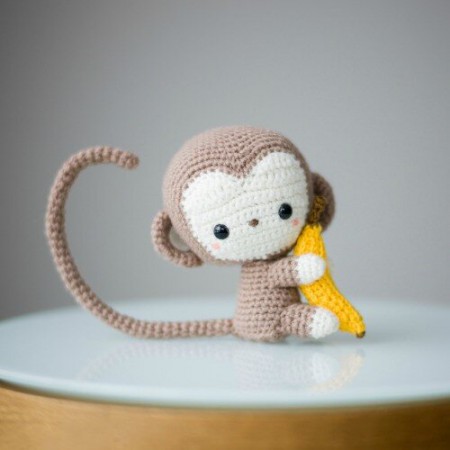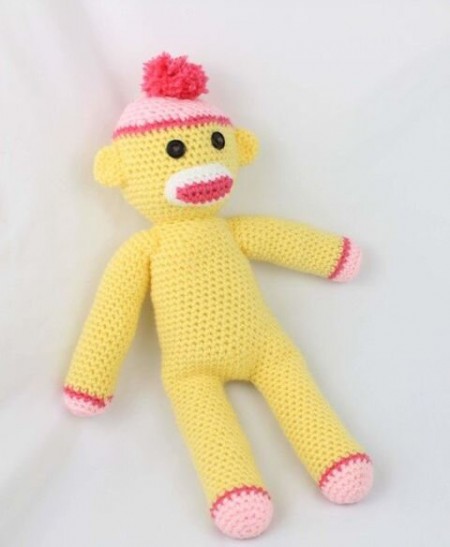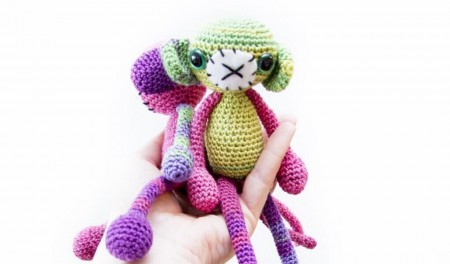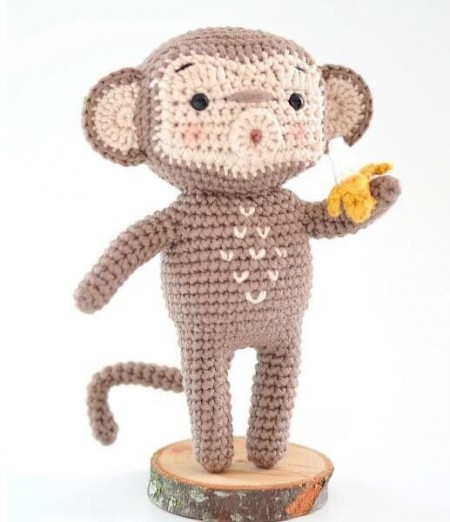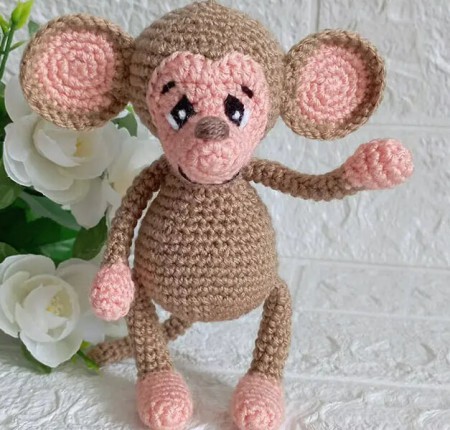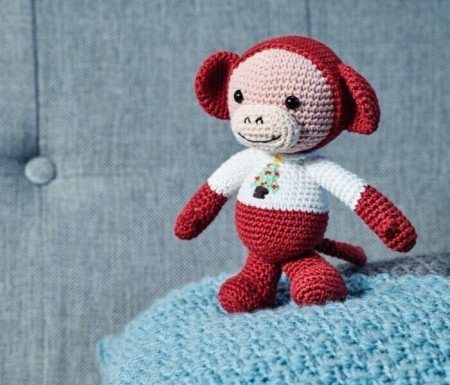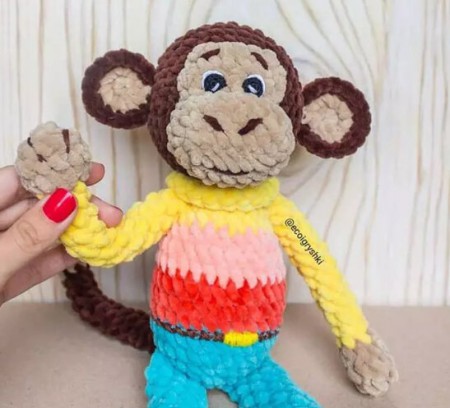
Monkey Free Crochet Pattern
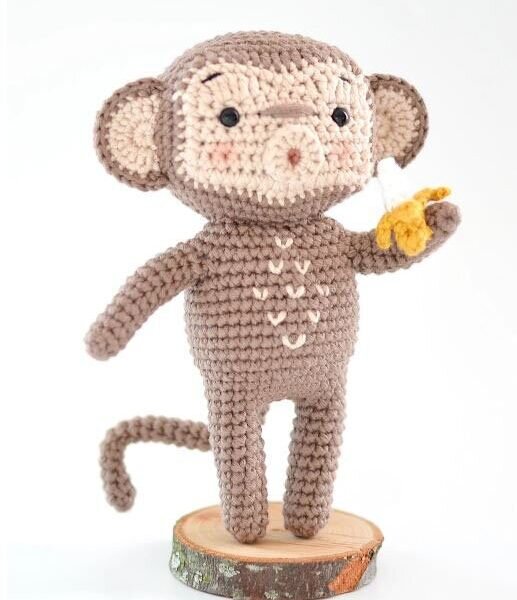
Hello dear Amigurumi enthusiasts! Today I would like to share with you a free Amigurumi Monkey pattern and construction instructions. Amigurumi has become a popular hobby in the world of craftsmanship, and in this article I will present you a great Amigurumi Monkey design. Trust your imagination while doing amigurumi. And dare to create your own unique designs. Welcome to the Amigurumi world, enjoy fun handicraft projects.
YARN: Light (3) in Brown, Beige, White and Yellow; Classic Cotton Thread in Black
MATERIALS: 2.5 mm Hook; Poly Filling; Yarn Needle; Two 6 mm Black Plastic
Safety Eyes; Stitch Markers; Aluminum Wire
DIMENSION: 6” x 4.5” (15 x 12 cm)
ABBREVIATIONS: magic ring (mr), chain (ch), stitch (st), slip stitch (sl st), single
crochet (sc), double crochet (hdc), half double crochet (hdc), front loop only (FLO), back loop only (BLO), fasten off (F/O)
SKILL LEVEL: Intermediate
HEAD (beige and brown yarn)
Working in rows:
Row 1: starting off with beige yarn, 15 chs, 1 sc into the 2nd ch from the hook, 13 sc (14); ch1 and turn
Row 2: sc even (14); ch1 and turn
Row 3 – 6: rep rnd #2 (14); ch1 and turn
Row 7: 1 sc, 1 hdc, 2 dc inc, 1 hdc, 1 sc, 2 sl st, 1 sc, 1 hdc, 2 dc inc, 1 hdc, 1 ch, 1 sl st into the final st (18)
Start working in round (left side, lower side, right side, and then upper side of the crocheted panel):
Rnd 8: 5 sc, 4 sc into the corner st, 5 sc, 2 hdc inc, 5 sc, 4 sc into the next corner st, 23 sc (50)
Rnd 9: switch to brown yarn, 32 sc, 2 hdc, 1 hdc inc, 2 hdc, 1 hdc inc, 6 hdc, 1 hdc inc, 2 hdc, 1 hdc inc, 2 hdc (54)
Rnds 10 – 16: sc even (54); start stuffing the head
Insert the safety eyes between rows #5-6, 9 sts apart.
Rnd 17: (4 sc, 1 sc dec) rep around (45)
Rnds 18: sc even (45)
Rnd 19: (3 sc, 1 sc dec) rep around (36)
Rnd 20: (2 sc, 1 sc dec) rep around (27)
Rnd 21: (1 sc, 1 sc dec) rep around (18); finish stuffing the head firmly
Rnd 22: sc dec around (9); F/O, cut the yarn, close the hole and wave in end
Embroider the EYEBROWS with black cotton thread.
Embroider the NOSE with brown yarn between rows #5-6, 5 sts wide.
Mouth (Beige yarn)
Rnd 1: 12 sc into a mr; close the ring, but leave the hole in the center (12)
Rnd 2: 12 sl st (12); F/O and leave a long strand of yarn.
Sew the mouth with the wrong side visible, between rows #1-5.
Color the CHEEKS and the inside of the MOUTH with some pink blush.
EARS (Brown yarn)
FRONT PART:
Row 1: working with beige yarn, 6 sc in a mr, DO NOT CLOSE the mr (6); ch1 and turn
Row 2: 2 sc in each st (12); ch1 and turn
Row 3: sc even (12); F/O and leave a long strand of yarn
BACK PART:
Row 1: working with brown yarn, 6 sc in a mr, DO NOT CLOSE the mr (6); ch1 and turn
Row 2: 2 sc in each st (12); ch1 and turn
Row 3: sc even (12); DO NOT F/O
Place the beige part in front of the brown one.
Row 4: insert the hook into the 1st st of the last row of the beige part, grab the brown yarn and pull it through; work through both layers, 1 sc inc, 10 sc, 1 sc inc (14); F/O and leave a long strand of yarn to sew the ear to the side of the head.
Use the brown tail of yarn to secure in place the back side of the ear and the beige yarn to secure the front one.
Arms (Brown yarn)
Rnd 1: 6 sc in a mr (6)
Rnd 2: (1 sc, 1 sc inc) rep around (9)
Rnds 3 – 12: sc even (9); F/O and leave a long strand of yarn. Stuff the arm lightly.
Tail (Brown yarn)
Rnd 1: 6 sc in a mr (6)
Rnd 2 – 22: sc even (6); F/O and leave a long strand of yarn
Do not stuff the tail.
LEGS & BODY (Brown yarn)
MAKE TWO:
Rnd 1: 8 sc in a mr (8)
Rnd 2: (3 sc, 1 sc inc) rep twice (10)
Rnd 3 – 11: sc even (10); F/O, cut the yarn and stuff the leg.
DO NOT F/O once you complete the 2nd leg, CH 5 instead
MERGE THE TWO LEGS TOGETHER:
Rnd 12: start working on the 1st leg by inserting the hook into any one st and working 1 sc into the same stitch, then work 1 sc in each sts across. Continue working in the chains in between the two legs, working 1 hdc in each ch across. Continue working on the 2nd leg: insert the hook into the last st of the rnd, work 1 sc into the same st, then work 1 sc into each of the remaining 9 sts. Continue working in the chains in between the two legs, working 1 hdc in each ch across (30)
Rnds 13 – 14: sc even (30); keep stuffing as you go
Let’s merge the tail:
Rnd 15: 27 sc, continue working on the tail by inserting the hook into the first stitch of the last round and working 1 sc into the same st; then work 1 sc into the next 2 sts (30)
Insert the metal wire into the tail. Use the yarn strand to sew the gap between tail and body close.
Rnd 16: (4 sc, 1 sc inc) rep around (36)
Rnd 17: (5 sc, 1 sc inc) rep around (42)
Rnds 18 – 22: sc even (42)
Rnd 23: (5 sc, 1 sc dec) rep around (36)
Rnd 24: sc even (36) – insert one stitch marker into st #12 and one into st #29
Let’s merge the arms:
Rnd 25: 7 sc, continue working on one arm, by inserting the hook into any one st of the last rnd and working 1 sc into the same st, work 4 more sc on the arm. Go back working on the body part, skip 4 st and insert the hook into st #12; work 1 sc into the same st and then work 1 sc in each of the next 12 sts; continue working on the 2nd arm by inserting the hook into any one st of the last rnd and working 1 sc into the same st, work 4 more sc on the arm. Go back working on the body part, skip 4 st and insert the hook into st #29; work 1 sc into the same st and then work 1 sc in each of the next 7 sts (38)
Rnd 26: 8 sc, 1 sc dec, 7 sc, 1 sc dec, 8 sc, 1 sc dec, 7 sc, 1 sc dec (34)
Insert the metal wire into the arms.
Rnd 27: 6 sc, 1 sc dec, 4 sc, 1 sc dec, 7 sc, 1 sc dec, 9 sc, 1 sc dec (30)
Rnd 28: (3 sc, 1 sc dec) rep around (24); F/O and leave a long strand of yarn to sew the body and the head together. Finish stuffing the body firmly while sewing it to the head.
It's All Finished:


