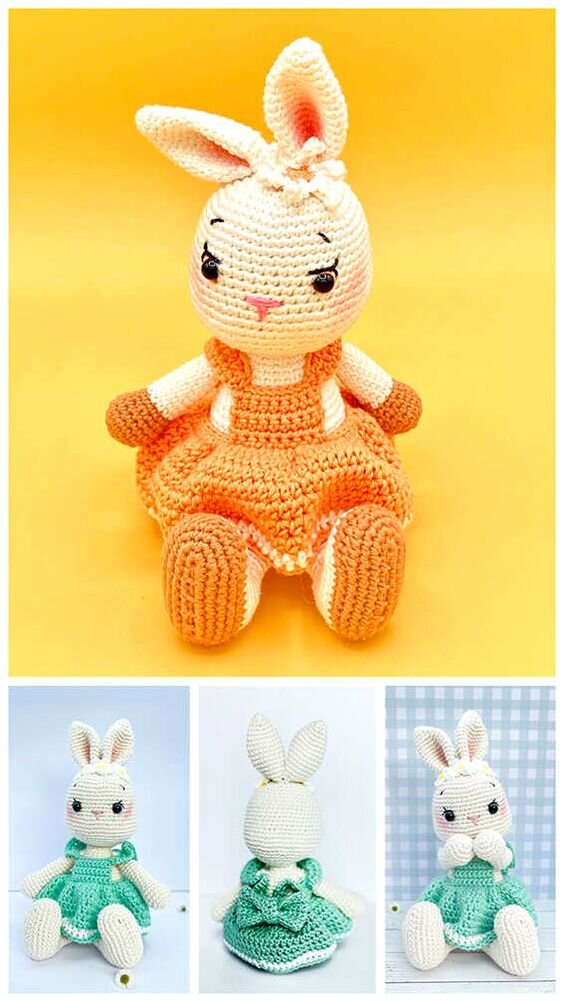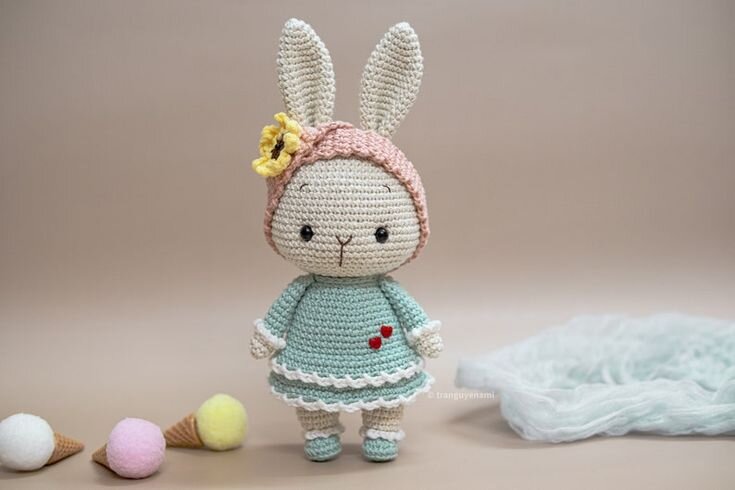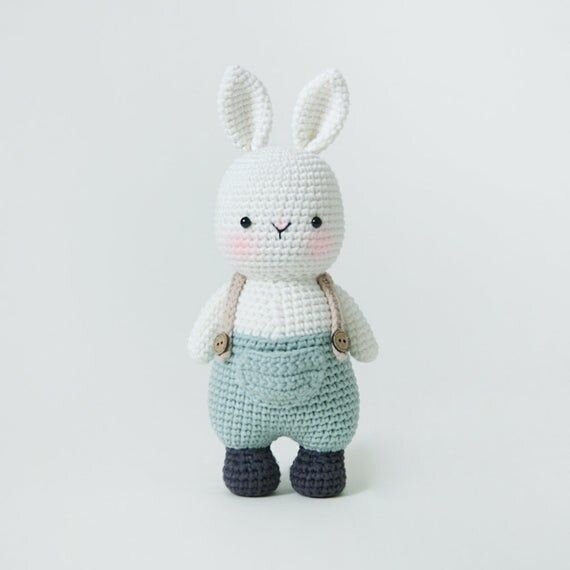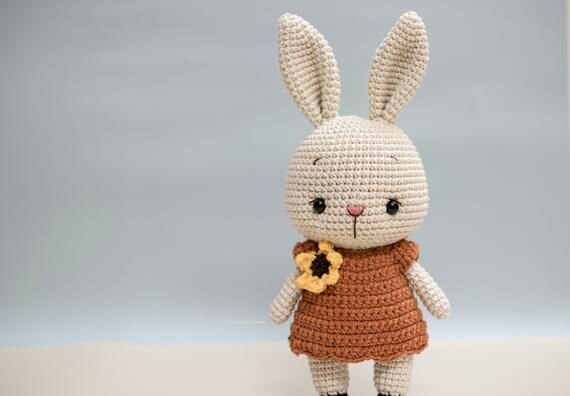
Rabbit Amigurumi Free Pattern
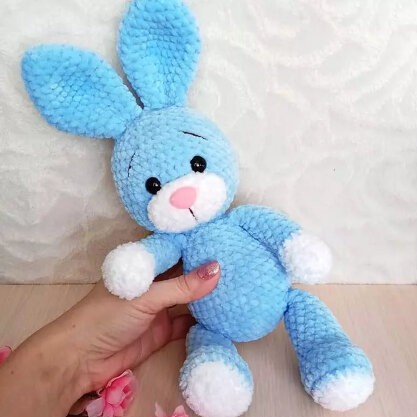
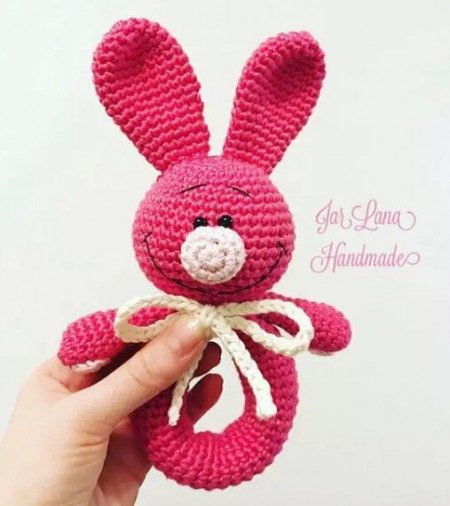
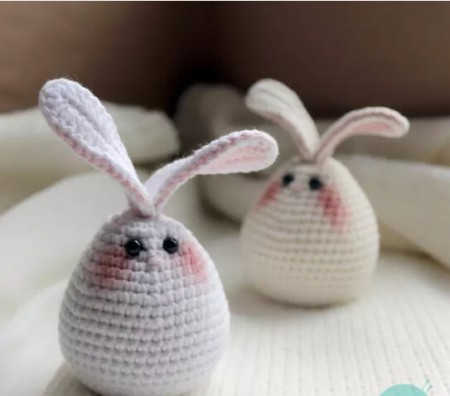
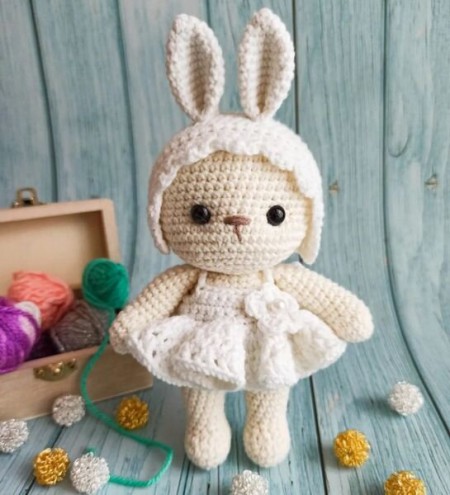
Hello dear Amigurumi enthusiasts! Today I would like to share with you a free Amigurumi Bunny pattern and construction instructions. Amigurumi has become a popular hobby in the world of craftsmanship, and in this article I will present you a great Amigurumi Bunny design. Trust your imagination while doing amigurumi. And dare to create your own unique designs. Welcome to the Amigurumi world, enjoy fun handicraft projects.
Materials
3.5 mm hook
wire ( gray, blue, orange, white )
Safety eyes 8-10 mm
Refund
darning needle
scissors
needle, string ( black, pink, orange, green )
Abbreviations
(sc)/(sc): Single crochet
(BO) Hazelnut stitch
(ml)/(ch): Chain, Air stitch
(MR): Magic ring
(dim)/(dec): decrease, decrease, decrease
(augm)/(inc): increase
(M)/(st): Stitch (pt) stitch
(FLO): work only in front loops
(BLO): work only in back loops
(d-br, dble.b)/(tr): Double treble crochet
(br)/(dc): treble crochet (dB)/(hdc): half treble crochet (sc )/(sl-st): slip stitch, small stitch (db / dbr) (dtr): Double treble crochet (
mct)/( tch): chain stitches to turn (3msm)/(sc3tog): 3 sc in the same stitch (Fo): Fasten the yarn. (3 dc tog): 3 treble crochets together
Head
in gray thread:
R1: 6ms in MR ( 6 )
R2: 6augm ( 12 )
R3: ( ms, augm ) x6 ( 18 )
R4: ( 2ms, augm ) x6 ( 24 )
R5: ( 3ms, augm ) x6 ( 30 )
R6-10: 30ms ( 30 )
R11: ( 4ms, augm ) x6 ( 36 )
R12-R13: 36ms ( 36 )
R14: ( 2ms, dim ) x9 ( 27 )
R15: ( ms, dim ) x9 ( 18 )
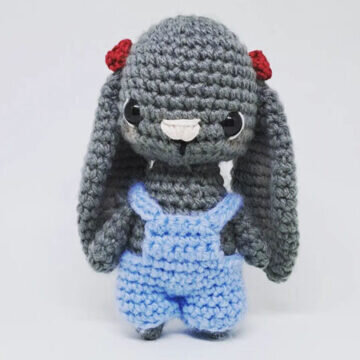
Place the safety eyes between R11-R12, 7 points between them.
with a needle and a pink string, add the nose between the two eyes in R12 with a needle and a black string, trace the bottom of the nose and create a mouth with thread and a darning needle add a white detail to the corner of each eye.
R16: 9 dim ( 9 )
add the filling to the head.
R17: 4dim, ms ( 5 ), fo.
Ears ( make 2 )
in gray thread:
R1: 4ms in MR ( 4 )
R2: 4augm ( 8 )
R3: ( 3ms, augm ) x2 ( 10 )
R4: ( 4ms, augm ) x2 ( 12 )
R5: ( 5ms, augm ) x2 ( 14 )
R6: ( 6ms, augm ) x2 ( 16 )
R7: ( 7ms, augm ) x2 ( 18 )
R8: ( 8ms, augm ) x2 ( 20 )
R9-R12: 20ms ( 20 )
R13: ( 8ms, dim ) x2 ( 18 )
R14: ( 7ms, dim ) x2 ( 16 )
R16: ( 6ms, dim ) x2 ( 14 )
R17: 14sc ( 14 )
R16: ( 5ms, dim ) x2 ( 12 )
R16: ( 4ms, dim ) x2 ( 10 )
R17-R18: 10ms
R18: ( 3ms, dim ) x2 ( 8 )
R19: 4dec ( 4 ), fo and cut the long wire tail.
Body ( part 1 )
legs ( make 2 )
in gray thread:
R1: 4ms in MR ( 4 )
R2: ( ms, augm ) x2 ( 6 )
R3: ( 2ms, augm ) x2 ( 8 )
R4: 8ms ( 8 )
R5: ( 2ms, dim ) x2 ( 6 ),
( F.o. 1 leg, not the 2nd )
Body
in gray thread:
R6: ml3 ( join ), to connect the legs: 6ms ( leg attached ), 3ms ( join ), 6ms ( leg not attached ) ( 18 )
R7: 3augm ( join ), 6ms ( 1st leg ), 3augm ( join ), 6ms ( 2 leg ) 24 (
R8-R9: 24ms ( 24 )
R10: ( 4ms, dim ) x4 ( 20 )
Body ( part 2 )
in gray thread:
R11-R12: 20ms ( 20 )
R13: ( 3ms, dim ) x4 ( 16 )
R14: 16ms ( 16 )
R15: ( 6ms, dim ) x2 ( 14 )
R16: ( 5ms, dim ) x2 ( 12 ), fo
add the filling to the body
Arm ( make 2 )
in gray thread:
R1: 5ms in MR ( 5 )
R2-R6: 5ms ( 5 )
R7: 5ms ( 5 ), fo – add trim to the arms.
Overall ( part 1 )
legs ( 2x )
in blue thread:
R1: 14ml
R2: join the first and the last chain with ms, 13 ms around ( 14 )
R3-R4: 14ms
R5: 14ms, ( F.o. 1st leg part, not the 2nd ) .
Body
blue:
R6: 1ch ( joint ), ms 14 in the attached leg part, 1ms in the leg joint, 14ms in the unattached leg. ( 30 )
R7-R8: 30ms ( 30 )
R9: ( 13ms, dim ) x2 ( 28 ), fo and make an invisible joint
start R10 in m # 13:
R10: 6ms, 1 ml, crochet in opp. direction
R11: 6ms, 1 ml, crochet in opp. direction
R12: 6ms, 1 ml, crochet in opp. direction
R13: 6ms, 1 ml, crochet in opp. direction, fo
Overall ( part 2 )
With the orange and green string, use the needle to embroider the carrot in the center of the suit. Put the body overall
start R14 in m n ° 1 ( back of pants ) :
• 3 ms, 15ml, jump 1 and 14 mc in the chain to make it thicker.
• 9 ms, 4 mc ( top of the set ), 15 ml, jump 1 and 14 mc in a chain to make it thicker.
• 7 mc ( top of the set ) and mc in the cross strap to fix it.
• 3 mc ( top of the set ), 8 ms, 1 ml and mc in the cross strap to fix it.
Floral nodes ( make 2 ) R1: 6ms in MR ( 6 )
R2: 6br ( 6 ), fo and make an invisible joint
Assembly
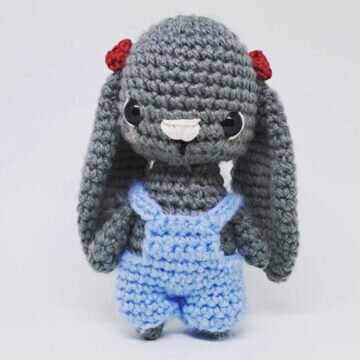
Bend your ears in the middle and position them with pins. Sew the ears R17-R19 in Head’s R7-R9, 4 points from the eyes.
Fold the ends of the arms in half and sew the last turn in the R11 of the body.
Sew the center of the head in the center of the body.
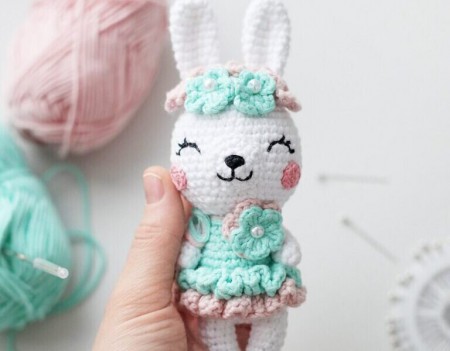
Attach flowered knots to the top of each ear: you can sew or tie them.
It's All Finished:
