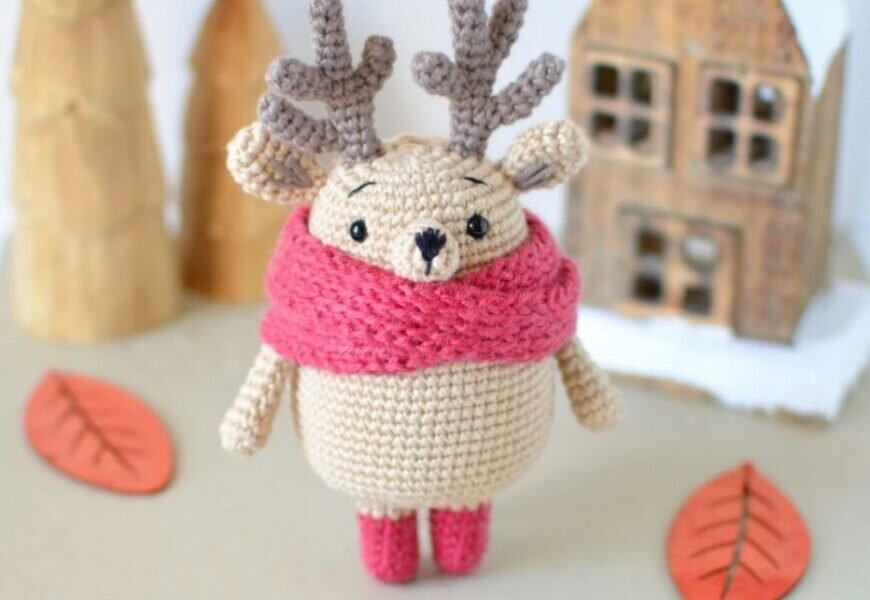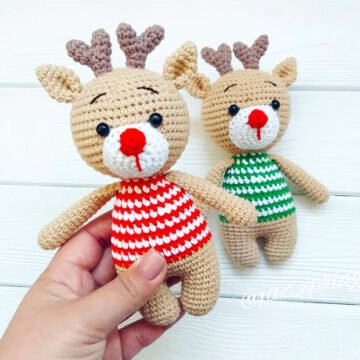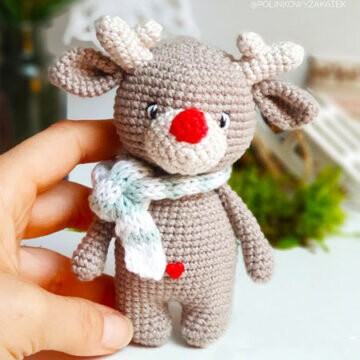
Reindeer Free Amigurumi Pattern
Hello dear Amigurumi enthusiasts! Today I would like to share with you a free Amigurumi Reindeer pattern and construction instructions. Amigurumi has become a popular hobby in the world of craftsmanship, and in this article I will present you a great Amigurumi Reindeer design. Trust your imagination while doing amigurumi. And dare to create your own unique designs. Welcome to the Amigurumi world, enjoy fun handicraft projects.
YARN: Light (3) in Rust, White, Sea Green; Classic Cotton Thread in Black
MATERIALS: C2 – 2.75 mm Hook (Tunisian) Crochet Hook 4 mm; Two 6 mm Black, Plastic Safety Eyes; Poly Filling; Yarn Needle
DIMENSION: H. 6” x W. 4”
ABBREVIATIONS: stitch (st), slip stitch (sl st), single crochet (sc), Tunisian simple stitch (TSS), fasten off (F/O)
SKILL LEVEL: Intermediate
BODY (beige yarn; 2.75 mm hook)
Rnd 1: 8 sc in a mr (8)
Rnd 2: sc inc around (16)
Rnd 3: (1 sc, 1 sc inc) rep around (24)
Rnd 4: (2 sc, 1 sc inc) rep around (32)
Rnd 5: (3 sc, 1 sc inc) rep around (40)
Rnd 6: (4 sc, 1 sc inc) rep around (48)
Rnds 7 – 11: sc even (48)
Rnd 12: (5 sc, 1 sc inc) rep around (56)
Rnds 13 – 18: sc even (56)
Insert the plastic safety eyes between rounds # 9-10, 9 stitches apart.
Rnd 19: (6 sc, 1 sc inc) rep around (64)
Rnds 20 – 31: sc even (64); start stuffing the body
Rnd 32: (6 sc, 1 sc dec) rep around (56)
Rnd 33: (5 sc, 1 sc dec) rep around (48)
Rnd 34: (4 sc, 1 sc dec) rep around (40)
Rnd 35: (3 sc, 1 sc dec) rep around (32)
Rnd 36: (2 sc, 1 sc dec) rep around (24)
Rnd 37: (1 sc, 1 sc dec) rep around (16); finish stuffing the body firmly
Rnd 38: sc dec around (8); F/O, close the hole and wave in ends.
MUZZLE (beige yarn; 2.75 mm hook)
Rnd 1: 6 sc in a mr (6)
Rnd 2: sc inc around (12)
Rnd 3: (1 sc, 1 sc inc) rep around (18)
Rnd 4: sc even (18); F/O and leave a long strand of yarn.
Embroider the NOSE and the vertical line with black cotton thread.
Sew the muzzle to the body between rnds # 7-12. Stuff it while you sew it to the body.
Embroider the EYEBROWS between rounds # 4-7, 7 stitches apart, with black cotton thread.
ANTLERS (brown yarn; make two; 2.25 mm hook)
Tine #1
Rnd 1: 6 sc in a mr (6)
Rnd 2 – 4: sc even (6); F/O and cut the yarn. Do not stuff the tine.
Tine #2
Rnd 1: 6 sc in a mr (6)
Rnd 2 – 3: sc even (6); F/O and cut the yarn. Do not stuff the tine.
Tine #3
Rnd 1: 6 sc in a mr (6)
Rnd 2 – 5: sc even (6); F/O and cut the yarn. Do not stuff the tine.
Main Horn
Rnd 1: 6 sc in a mr (6)
Rnd 2 – 5: sc even (6)
Rnd 6: 3 sc, keep working on tine #1, (1 sc, 2 sc dec, 1 sc),
go back working on the main part, 3 sc (10)
Rnd 7: 2 sc, 3 sc dec, 2 sc (7)
Rnd 8: keep working on tine #2, (1 sc, 2 sc dec, 1 sc), go back working on the main part, 2 sc, 1 dec, 3 sc (10)
Rnd 9: 3 sc dec, 4 sc (7)
Rnd 10: 4 sc, keep working on tine #3, (1 sc, 2 sc dec, 1 sc), go back working on the main part, 3 sc (11)
Rnd 11: 3 sc, 4 sc dec (7)
Rnd 12: 1 sc dec, 5 sc (6)
Rnd 13: 6 sc (6); F/O and leave a long strand of yarn.
Do not stuff the antlers. Sew them on the top of the head, between rounds # 2-5.
EARS (beige yarn; make two; 2.75 mm hook)
Rnd 1: 8 sc in a mr (8)
Rnd 2: (1 sc, 1 sc inc) rep around (12)
Rnd 3 – 4: sc even (12)
Rnd 5: (4 sc, 1 sc dec) rep twice (10)
Rnd 6: (3 sc, 1 sc dec) rep twice (8)
Rnd 7: (2 sc, 1 sc dec) rep twice (6); F/O and leave a long strand of yarn.
Embroider the 3 lines on the inner part of the ear with brown yarn.
Do not stuff the ears, flatten them instead before sewing them on the top of the head, between rounds # 6-9.
LEGS (red and beige yarn; make two; 2.75 mm hook)
Rnd 1: starting off with red yarn, 8 sc in a mr (8)
Rnd 2: (3 sc, 1 sc inc) rep twice (10)
Rnd 3 – 6: sc even (10)
Rnd 7: switch to beige yarn, sc even (10)
Rnd 8: sc even (10); F/O and leave a long tail of yarn to sew the legs to the bottom part of the body, between rnds #35-38. Stuff the legs before sewing them on.
ARMS (beige yarn; make two; 2.75 mm hook)
Rnd 1: 10 sc in a mr (10)
Rnd 2 – 3: sc even (10)
Rnd 4: (3 sc, 1 sc dec) rep twice (8)
Rnd 5: sc even (8)
Rnd 6: (2 sc, 1 sc dec) rep twice (6)
Rnd 7 – 9: sc even (6); F/O and leave a long tail.
Do not stuff the arms, sew them to the side of the body, between rounds # 19-21.
TAIL (beige yarn; 2.75 mm hook)
Rnd 1: 5 ch, 1 sc in the 2nd ch from the hook, 3 sc (4); F/O and leave a long strand of yarn to sew the tail to the back part of the body, between rnds # 27-28.
SCARF (sea green yarn; 4 mm Tunisian hook)
1. Chain 5
2. Insert your hook into the 2nd ch from your hook, yarn over (wrap the yarn over your hook) and pull the strand of yarn through the first loop on your hook. (This adds one loop onto your hook)
3. Insert your hook into the next chain, yarn over (wrap the yarn over your hook) and pull the strand of yarn through the first loop on your hook. (This adds one loop onto your hook)
Repeat steps 3 for each chain across. When you are done you should have 5 loops on your hook.
Now let’s finish this row of Tunisian simple stitches by working in the other direction.
4. Yarn over (wrap yarn over your hook), pull the strand of yarn through the first loop on your hook. (There should still be 5 loops on your hook)
5. Yarn over (wrap yarn over your hook), pull the strand of yarn through the next 2 loops on your hook. (There should now be 1 less loop on your hook)
Repeat steps 5 until there is only 1 loop left on your hook.
6. Insert your hook between the 2 vertical bars of the 2nd st. Yarn over (wrap yarn over your hook)
Pull the strand of yarn through the first loop on your hook (This adds one loop onto your hook).
Do the same for each stitch across. When you are done you should have 5 loops on your hook.
Rep 3-6 until you reach a total of 90 rows. Once you have completed the last row, ch1, turn and then work one extra row of sc stitches, F/O and leave a long strand of yarn to sew the first and the last rows together.
Wrap the infinity scarf around the body.
>It's All Finished:


