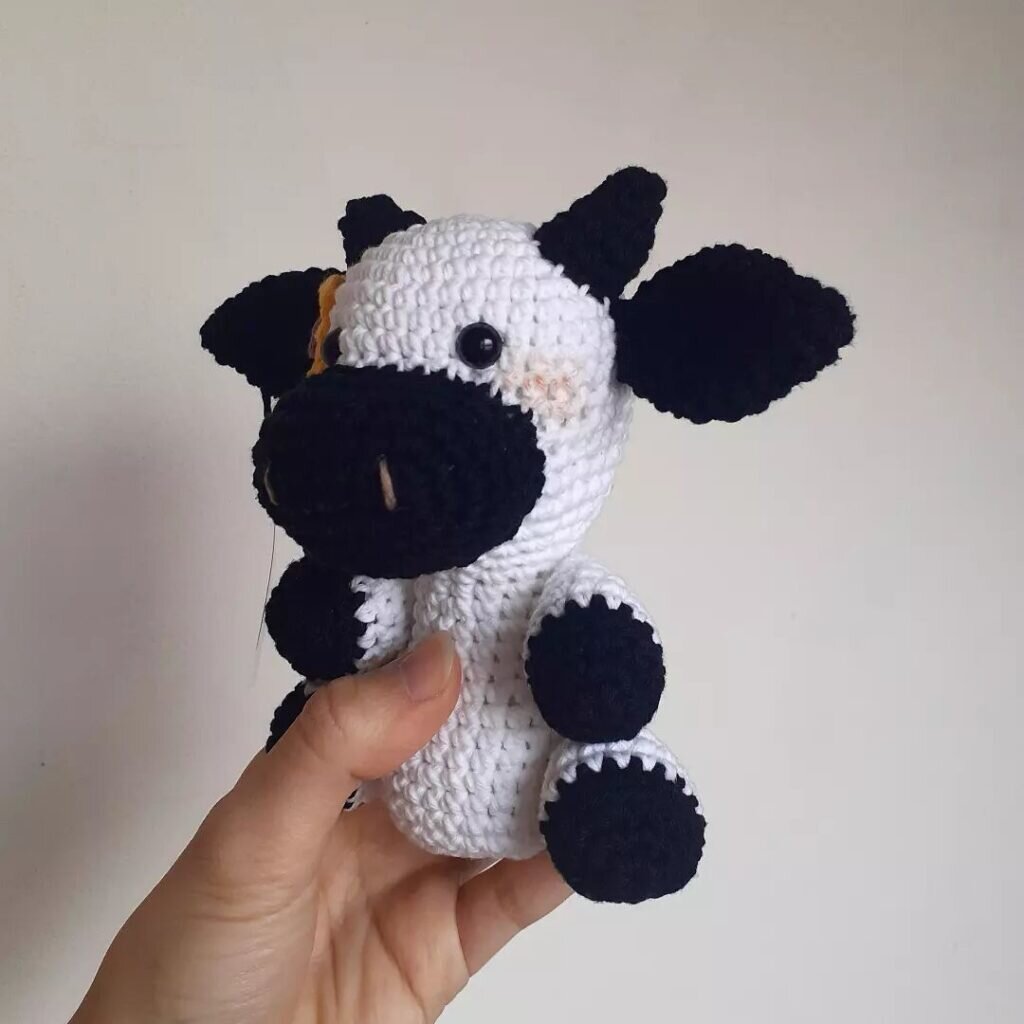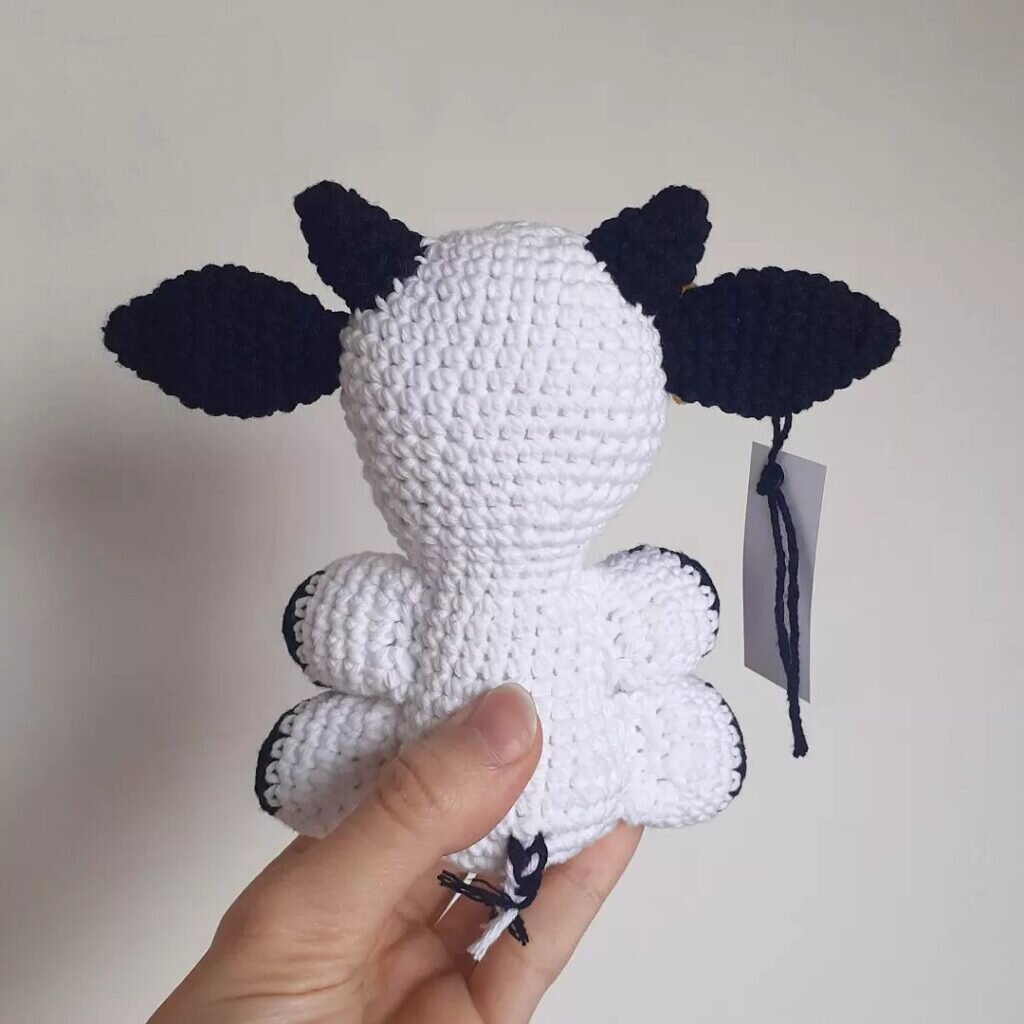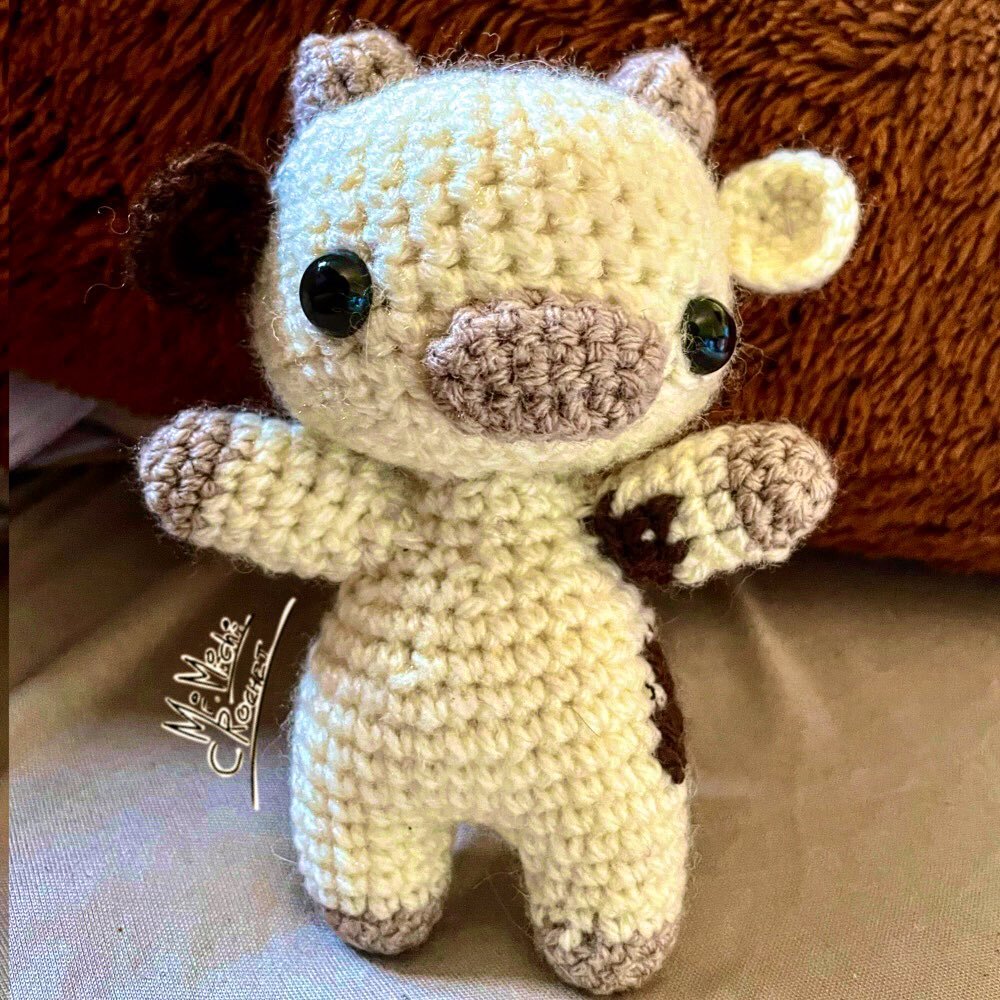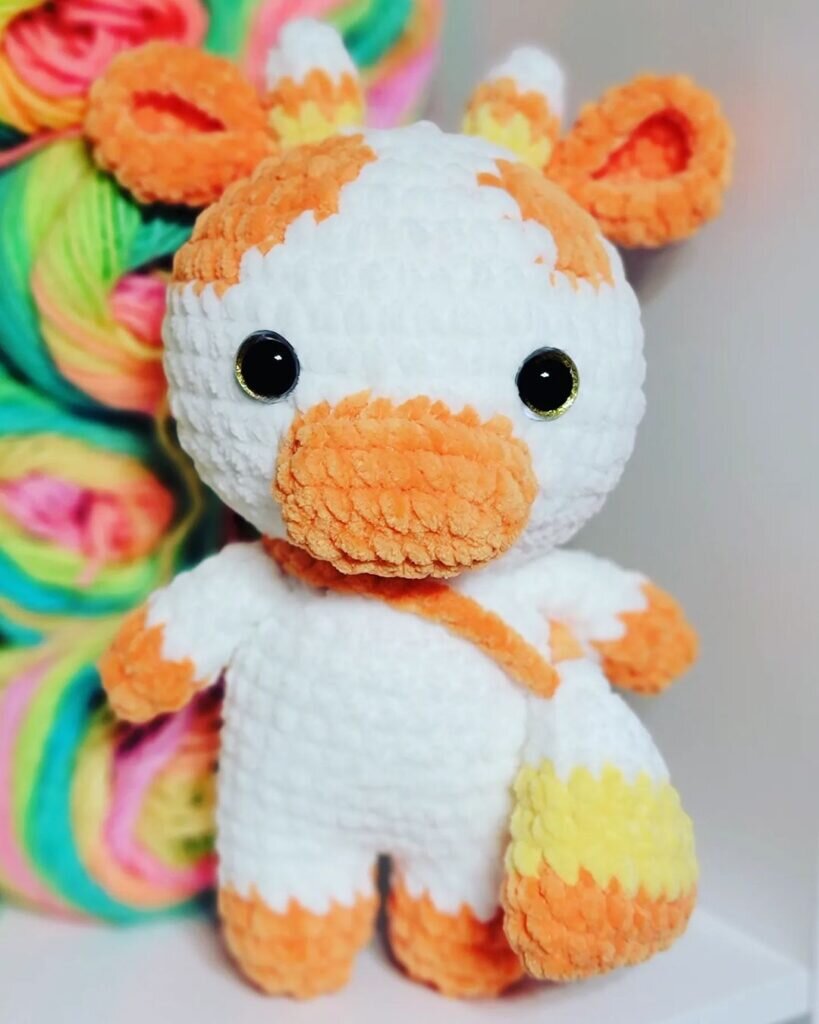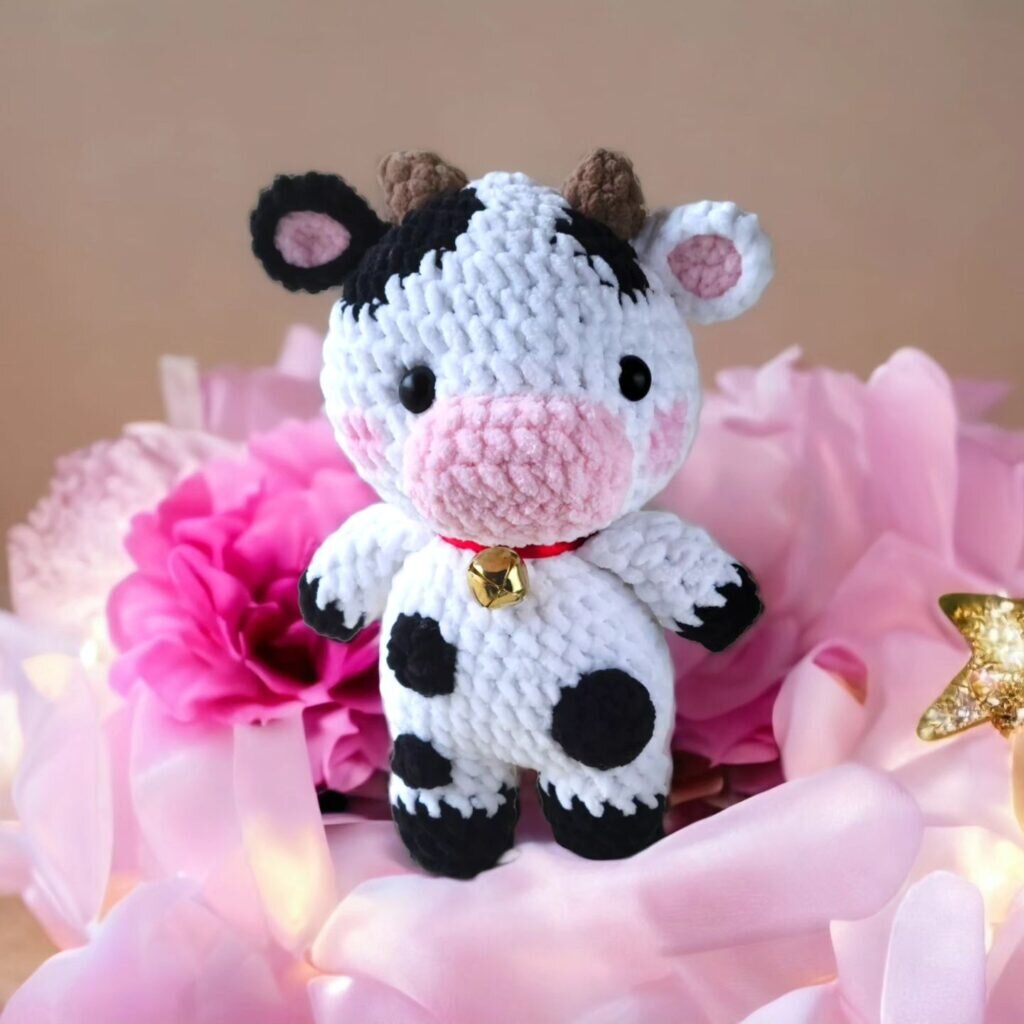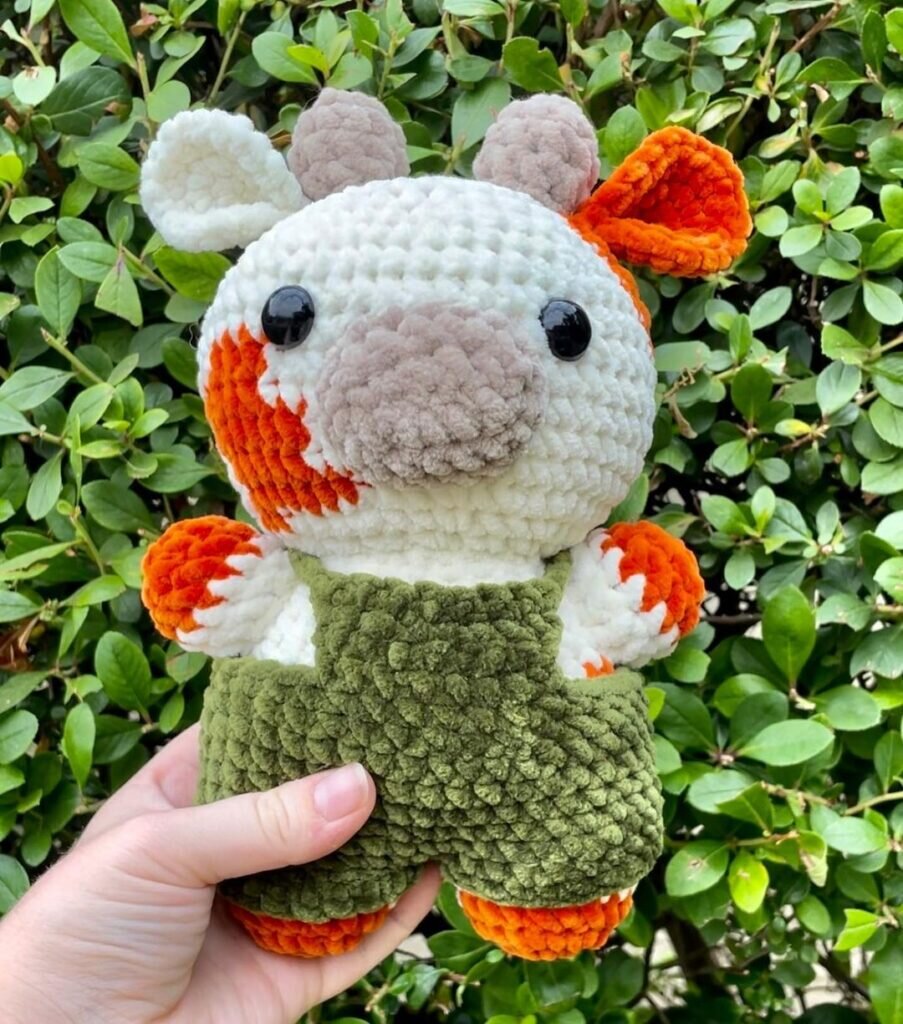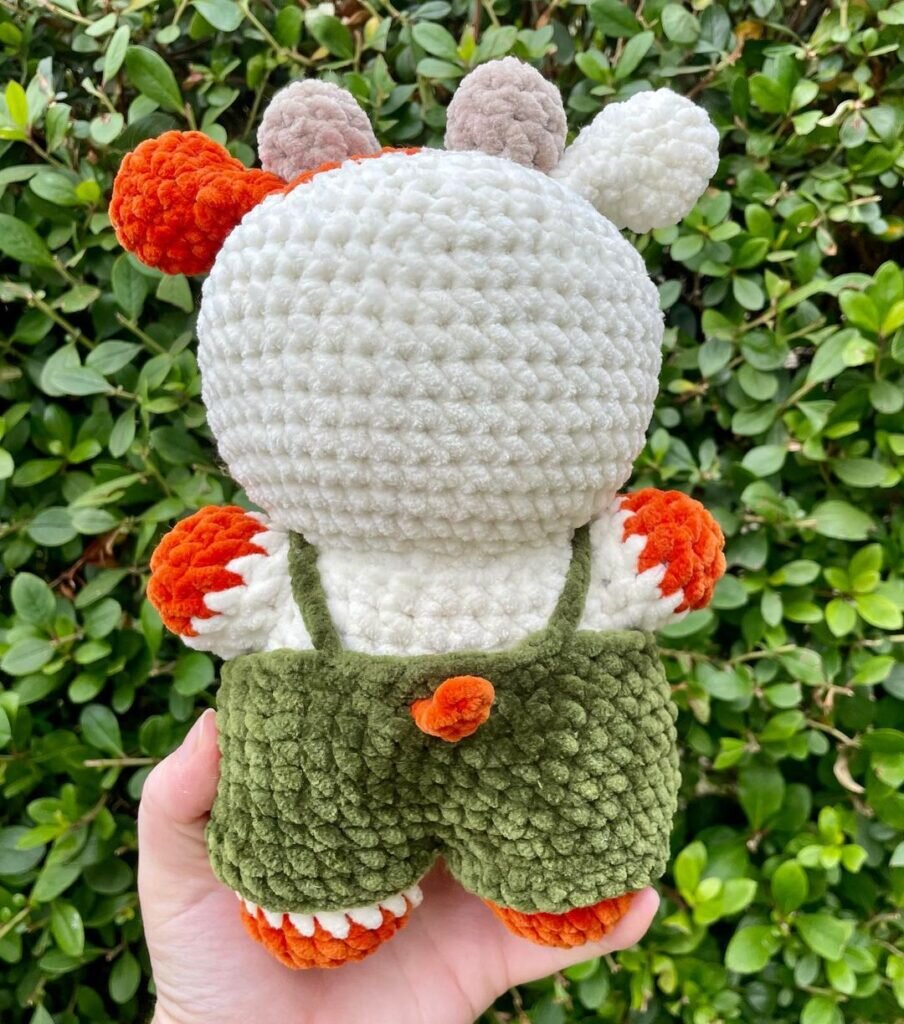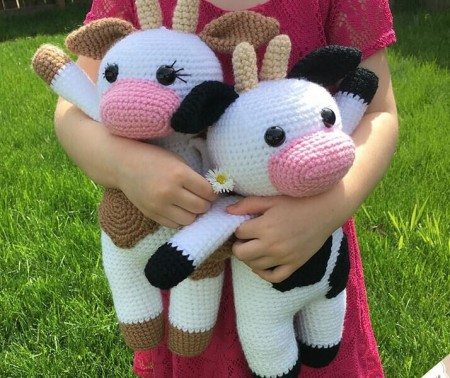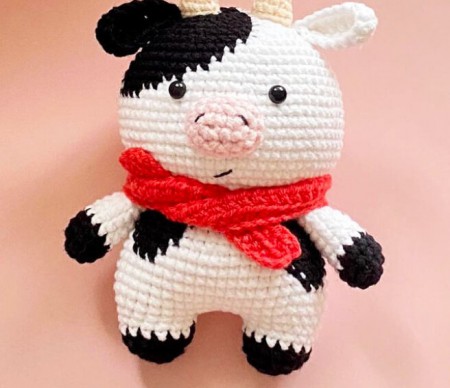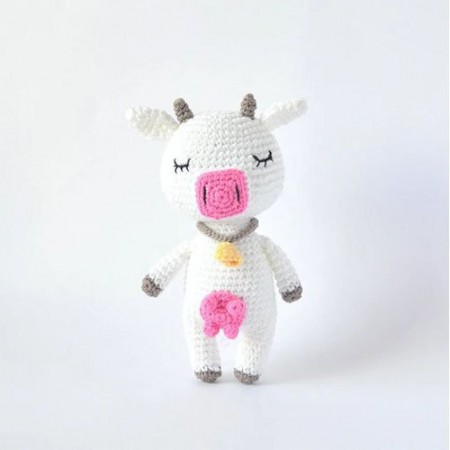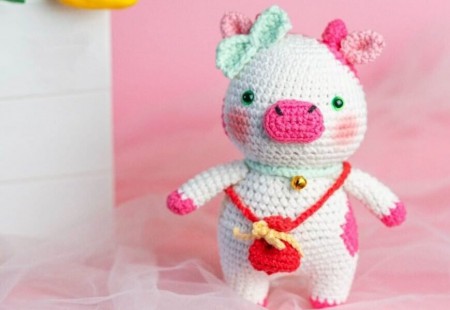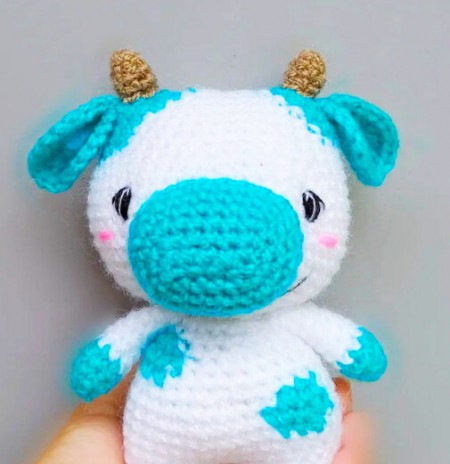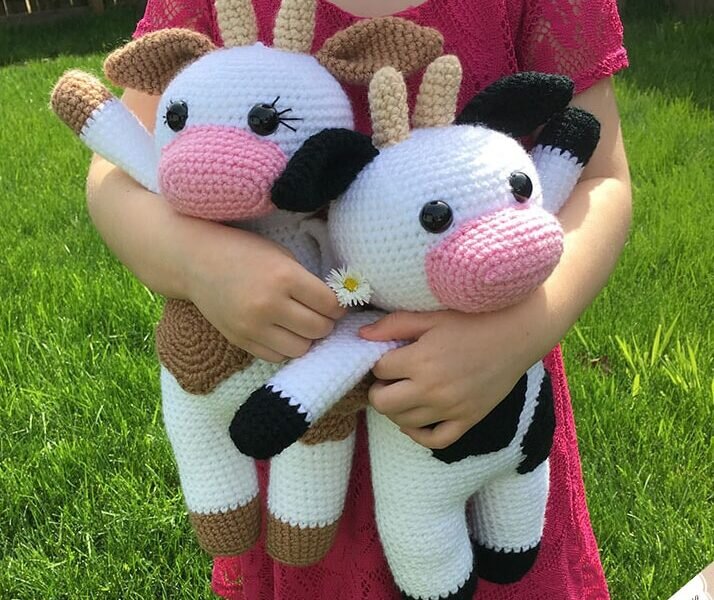
Toy Cow Amigurumi Free Pattern
Hello dear Amigurumi enthusiasts! Today I would like to share with you a free Amigurumi Cow pattern and construction instructions. Amigurumi has become a popular hobby in the world of craftsmanship, and in this article I will present you a great Amigurumi Cow design. Trust your imagination while doing amigurumi. And dare to create your own unique designs. Welcome to the Amigurumi world, enjoy fun handicraft projects.
Necessary materials:
White yarn, brown or black, pink for muzzle and beige for
horns
3.5 mm hook
Eyes 15 mm on secure mount
Black thread for embroidery
Needle with a wide ear and scissors
Knitting marker
Filler
Symbols:
vp – air loop
Satn – table without cape
ssn – table with nakid
pr – increase
ub – decrease
( … ) * 6 times — repeat actions in parentheses 6 times
( … ) — number of loops at the end of the row
Feet ( 2 details )
We start with black or brown yarn:
1: 6 Sat in Amigurumi Ring ( 6 )
2: ( pr ) * 6 times ( 12 )
3: ( 1 Sat, pr ) * 6 times ( 18 )
4: ( 2 Sat, pr ) * 6 times ( 24 )
5: 24 Sat over the back walls of the loops
6-10: 24 Sat ( 5 rows )
Change the color of yarn to white:
11-21: 24 Sat ( 11 rows )
Fasten and trim the thread on the first leg, on the second we do not cut.
We attach the second leg to the first with the help of 3 vp. 22: 24 Sat on the first leg, 3 Sat in
air hinges, 24 Sat on the second leg, 3 Sat in air hinges ( 54 )
23-38: 54 Sat ( 16 rows )
39: ( 7 Satn, Ub ) * 6 times ( 48 )
40: 48 Sat
41: ( 6 Satn, Ub ) * 6 times ( 42 )
42: 42 Sat
43: ( 5 Satn, Ub ) * 6 times ( 36 )
44: 36 Sat
45: ( 4 Satn, Ub ) * 6 times ( 30 )
46-47: 30 Sat ( 2 rows )
Leave the stitch thread.
Head
White yarn:
1: 6 Sat in Amigurumi Ring ( 6 )
2: ( pr ) * 6 times ( 12 )
3: ( 1 Sat, pr ) * 6 times ( 18 )
4: ( 2 Sat, pr ) * 6 times ( 24 )
5: ( 3 Sat, pr ) * 6 times ( 30 )
6: ( 4 Sat, pr ) * 6 times ( 36 )
7: ( 5 Sat, pr ) * 6 times ( 42 )
8: ( 6 Sat, pr ) * 6 times ( 48 )
9: ( 7 Sat, pr ) * 6 times ( 54 )
10: ( 8 Satn, pr ) * 6 times ( 60 )
11-21: 60 Sat ( 11 rows )
We insert the eyes between the 17th and 19th near at a distance of 6 columns from each other.
If you want to add cilia, it is better to embroider them before eye mounting.
22: ( 8 Satn, Ub ) * 6 times ( 54 )
23: ( 7 Satn, Ub ) * 6 times ( 48 )
24: ( 6 Satn, Ub ) * 6 times ( 42 )
25: ( 5 Satn, Ub ) * 6 times ( 36 )
26: ( 4 Satn, Ub ) * 6 times ( 30 )
27: ( 3 Satn, Ub ) * 6 times ( 24 )
28: ( 2 Sat, UB ) * 6 times ( 18 )
29: ( 1 Sat, UB ) * 6 times ( 12 )
30: ( ub ) * 6 times ( 6 )
Fix the thread and crop.
Muzzle
Pink yarn:
We collect 10 percentage points.
We knit from the 2nd loop on both sides of the chain, forming the oval. 1: 8 Sat, 3 Sat in the last
loop, turn: 7 Sat, pr ( 20 )
2: pr, 7 Sat, 3 pr, 7 Sat, 2 pr ( 26 )
3: pr, 9 Sat, 4 pr, 9 Sat, 3 pr ( 34 )
4-7: 34 Sat ( 4 rows )
Leave the stitch thread.
Ears ( 2 details )
Black or brown yarn:
1: 8 Sat in Amigurumi Ring ( 8 )
2-3: 8 Sat ( 2 rows )
4: ( 1 Sat, pr ) * 4 times ( 12 )
5: 12 Sat
6: ( 2 Sat, pr ) * 4 times ( 16 )
7-13: 16 Sat ( 7 rows )
Bend a little and tie the dwarf through the top, as shown in the photo below.
Leave the stitch thread.
Sew your ears in the 6th row.
Horns ( 2 details )
Beige yarn:
1: 9 Sat in Amigurumi Ring ( 9 )
2-7: 9 Sat ( 6 rows )
Leave the stitch thread.
Sew horns between your ears.
Pens ( 2 parts )
Black or brown yarn:
1: 8 Sat in Amigurumi Ring ( 8 )
2: ( pr ) * 8 times ( 16 )
3: 16 Sat over the back walls of the loops
4-7: 16 Sat ( 4 rows )
Change color to white:
8-23: 16 Sat ( 16 rows )
Fold in half and tie 8 Satn for both walls, closing the hole.
Sew your hands to your body at the level of the 46th row.
Spots
Big spot
1: 6 Sat in Amigurumi Ring ( 6 )
2: ( pr ) * 6 times ( 12 )
3: ( 1 Sat, pr ) * 6 times ( 18 )
4: ( 2 Sat, pr ) * 6 times ( 24 )
5: ( 3 Sat, pr ) * 6 times ( 30 )
6: ( 4 Satn, 2 pine additives ) * 5 times ( 40 )
Leave the stitch thread.
Mid spot
1: 6 Sat in Amigurumi Ring ( 6 )
2: ( pr ) * 6 times ( 12 )
3: ( 1 Sat, pr ) * 6 times ( 18 )
4 :. ( 2 Sat, pr ) * 6 times ( 24 )
5: ( 2 Satn, 2 pine additives ) * 6 times ( 30 )
Leave the stitch thread.
It's All Finished:
