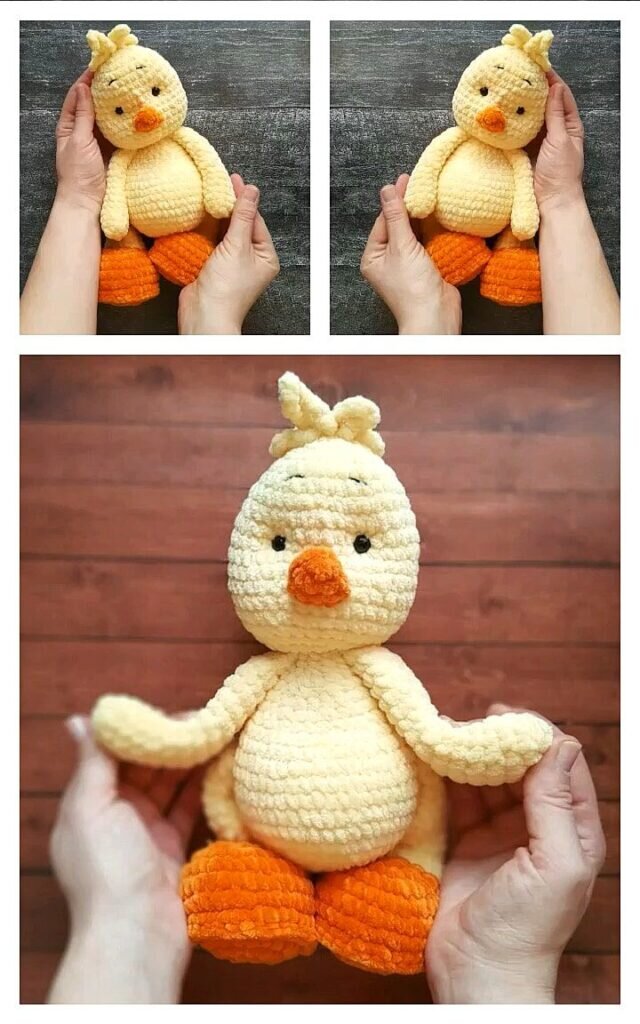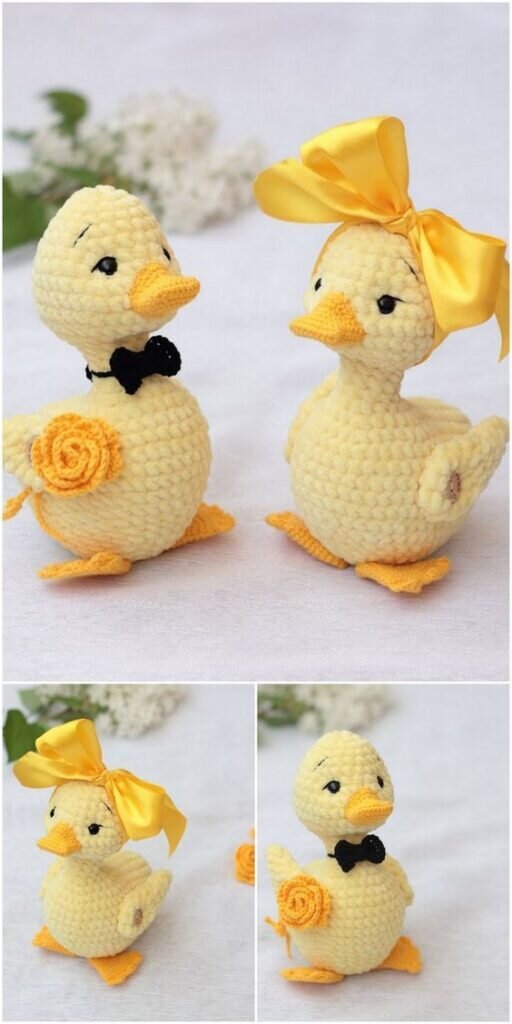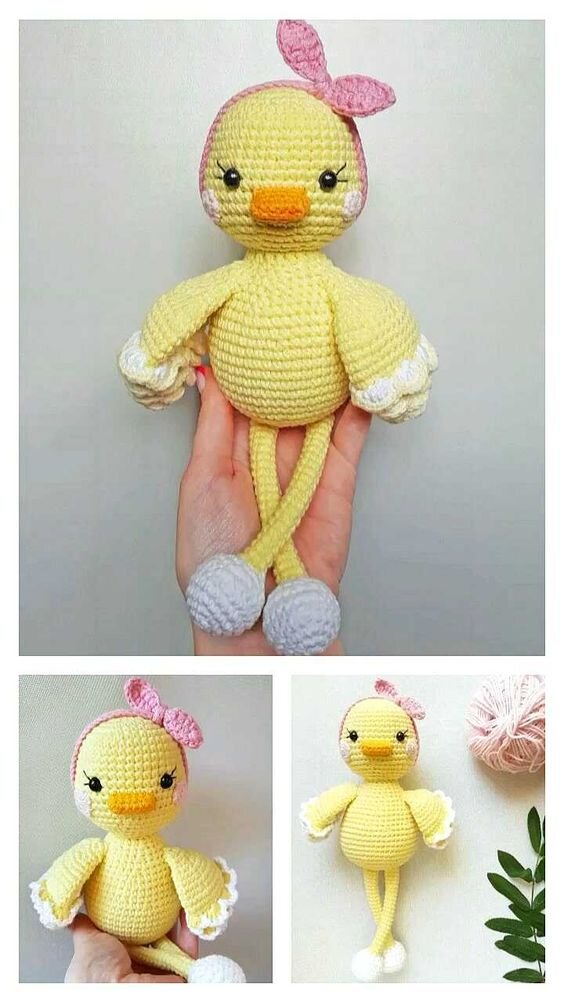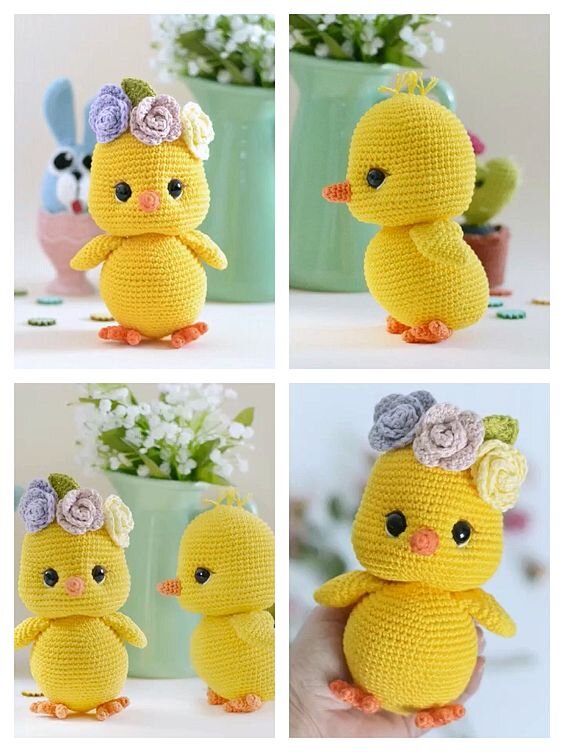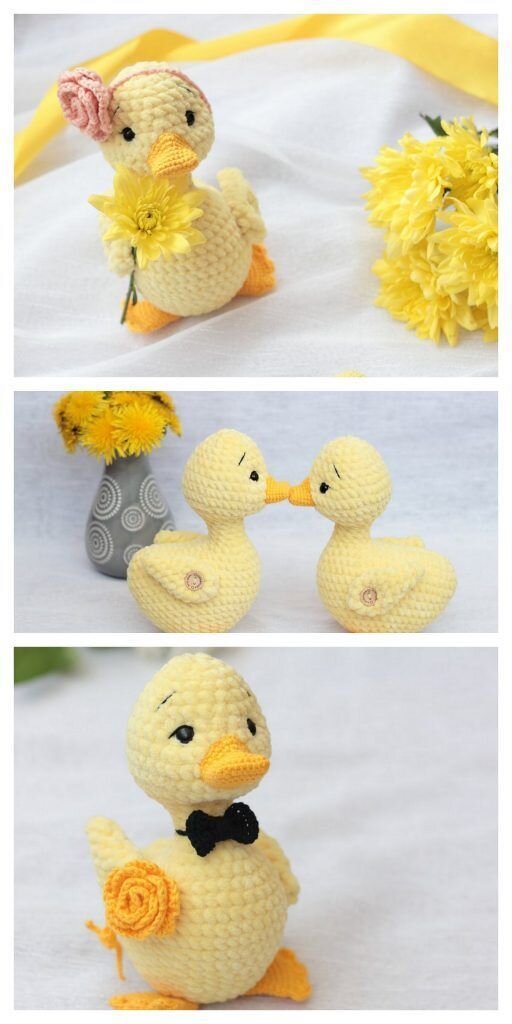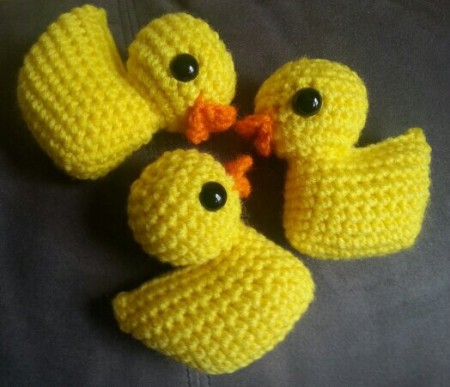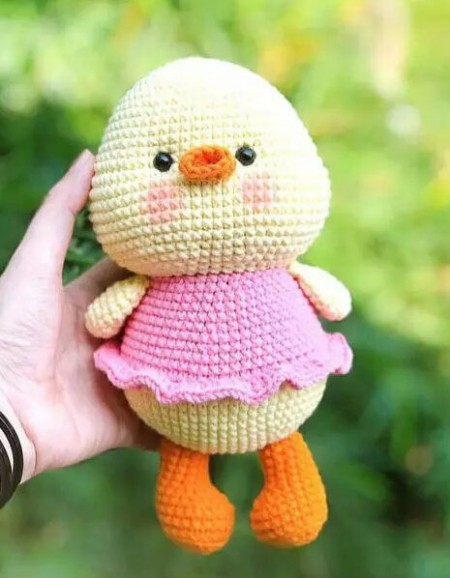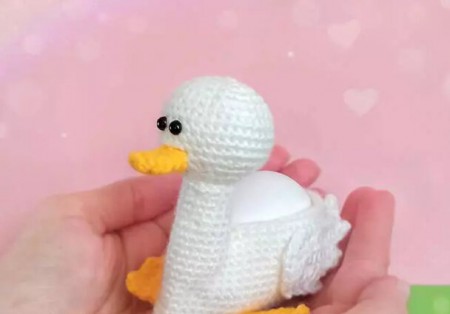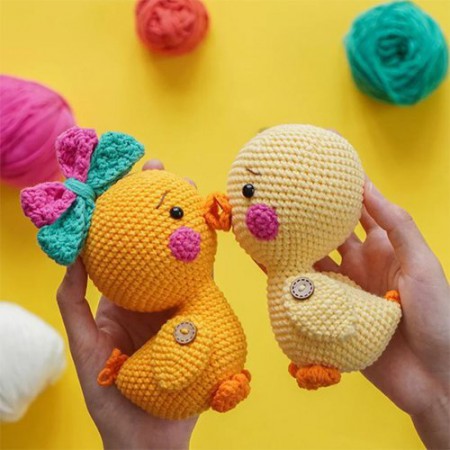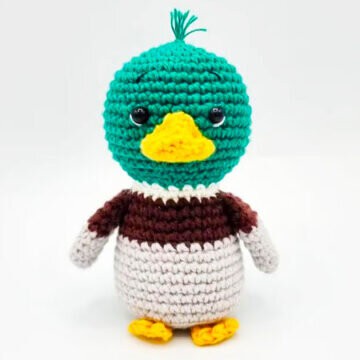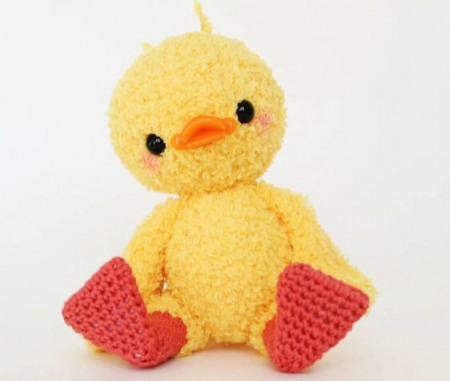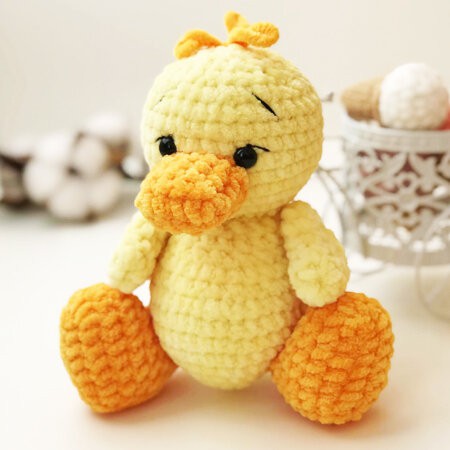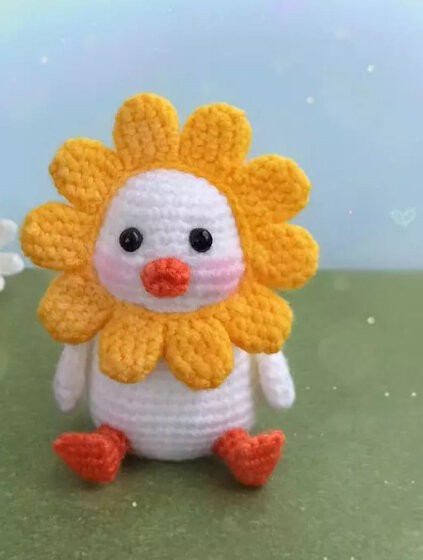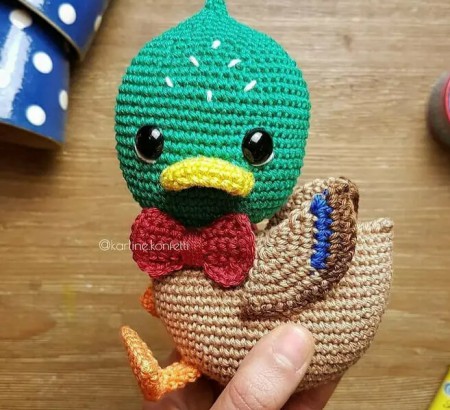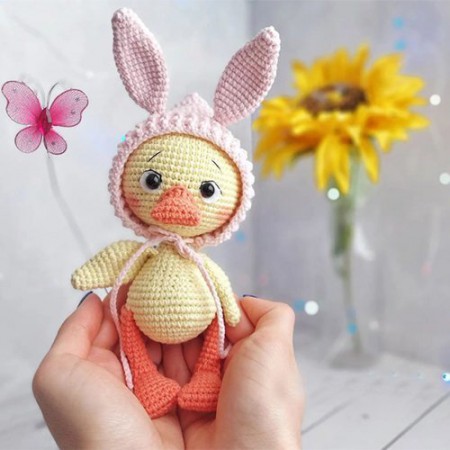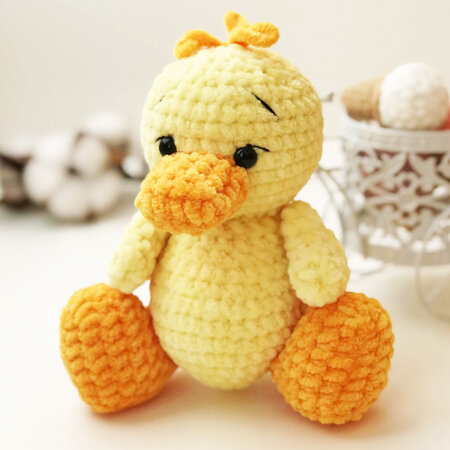
Toy Duck Amigurumi Free Pattern
Hello dear Amigurumi enthusiasts! Today I would like to share with you a free Amigurumi Duck pattern and construction instructions. Amigurumi has become a popular hobby in the world of craftsmanship, and in this article I will present you a great Amigurumi Duck design. Trust your imagination while doing amigurumi. And dare to create your own unique designs. Welcome to the Amigurumi world, enjoy fun handicraft projects.
Materials :
1. Plush yarn To your liking – 0.5 pcs of main yarn and
a little extra
2. YarnArtjeans semi-cotton yarn
black color for decoration
white color for foot yarn attachment
3. 4mm hook
4. The eyes are black on the safe Mount
7-8mm
5. Sewing pins
6. Filler
7. Scissors
8. Lighter (optional, I burn the eye and nose clip and the thread ends in plush)
9. Needle and strong thread to sew on the pieces
10. Marker to mark the beginning of the row
11. Good mood and desire to create
Abbreviations
(ml) (ch): Chain, Air stitch
(MR): Magic ring
(sc) (sc): single crochet
(3sc) (sc3tog): 3 sc in the same stitch
(inc) (inc): increase
(dim) ) (dec): decrease, decrease, decrease
(d-dc,dble.b) (tr): Double treble crochet
(M) (st): Stitch (pt) stitch
(dc) (dc): treble crochet
(dB) (hdc ): double crochet
(sl-st) (sl-st): slip stitch, small stitch
(FLO): work only in front loops
(BLO): work only in back loops
(lpn)(Bs): bobble stitch
(Fo ): Stop the thread.
(db / dbr) (dtr): Double treble crochet
(mct) (tch): chain stitches to turn
Wings:
1. 6 sc in MR
2-3. 6 sc
4. (1 sc, inc)*3 (9)
5. (2 sc, inc)*3 (12)
6. (1 sc, inc)*6 (18)
7. (1 sc, dec)* 6 (12)
8. (2 sc, dec)*3 (9)
9. (1 sc, dec)*3 (6)
Pull the hole, tie the thread and hide it in the wing.
Legs:
1. ch 7
2. Starting at the 2nd st from the hook, inc, 4 sc, 3 sc To finish the ch, along the second side of the chain 5 sc (14) 3. 2 inc
. 4 sc, 3 inc, 4 sc, inc (20)
4. 8 sc, (1 sc, inc)*3, 6 sc (23)
5. 23 sc
6. 7 sc, 5 dec, 6 sc (18)
7 7 sc, 3 dec, 5 sc (15)
8. (3 sc, dec)*3 (12)
9-10 12 sc
11. (dc, 4 sc)*2 (10)
12. 10 sc
13. 5 dim
Pull the hole, tie the thread and hide it in the leg.
Beak:
1. ch 5
2. Beg in second loop from hook, inc, 2 sc, 3 sc to finish ch, 3 sc (10)
3. 10 sc
4. (inc, 4 sc)*2 (12)
5. 1 sc, inc, 5 sc, inc. 4 sc (14)
6. 14
sc Tie and cut the yarn.
Corps + tête:
1.6 ms en MR
2. 6 augm (12)
3.11 ms, augm)*6 (18)
4. 1 ms, (2 ms, augm)*5, 1 ms (24)
5. (3 ms, augm)*6 (30)
6. 2 ms, inc. (4 ms, augm)*5, 2 ms (36)
7-9. 36 ms (3 rond)
10. 9 ms, (1 ms, dim)*6, 9 ms (30)
11. 30 ms
12. 9 ms, 6dim, 9 ms (24)
13. 24 ms
14. (2 ms, dim)*6 (18)
15. (1 ms, dim)*6 (12)
16. 12 augm (24)
We begin to crochet the head
17. (3 sc, inc)*6 (30)
18. 2 sc, inc. (4 sc, inc)*5, 2 sc (36)
19-24 36 sc (round 6)
Eyes Insert between 21 and 22 rows, feet distance from eyes 3 sc
25. 2 sc, dec, (4 sc, dec) *5, 2 sc (30)
26. (3 sc, dec)*6 (24)
27. 1 sc, dec, (2 sc, dec)*5, 1 sc (18)
28. (1 sc, dec) *6 (12)
29. 6 Sun (6)
Pull the hole, tie the wire and hide in the leg.
Assembly and design:
1. With a wire tie we fix the klya at the level of 2-3 rows from the head, On the wing there are 3 rows.
2. Tie the legs with a wire tie. On the lower body there are 6-7 rows, on the leg there are 2-3 rows.
3. Sew the beak, shape the eyes and eyebrows.
4. We crochet a crest
It's All Finished:
