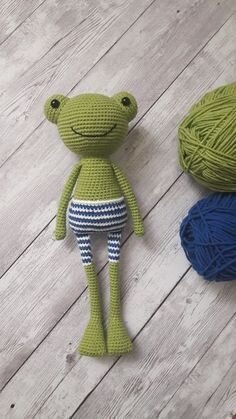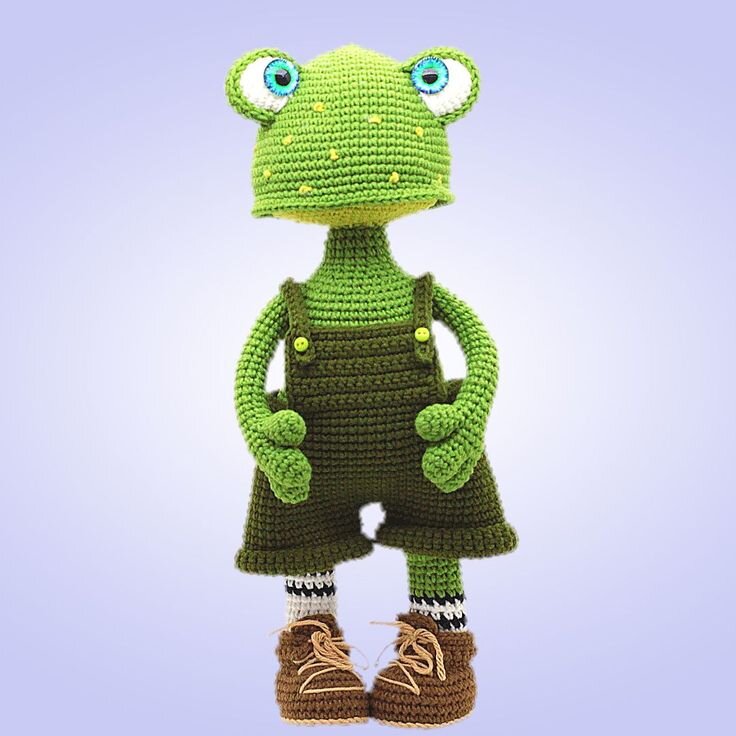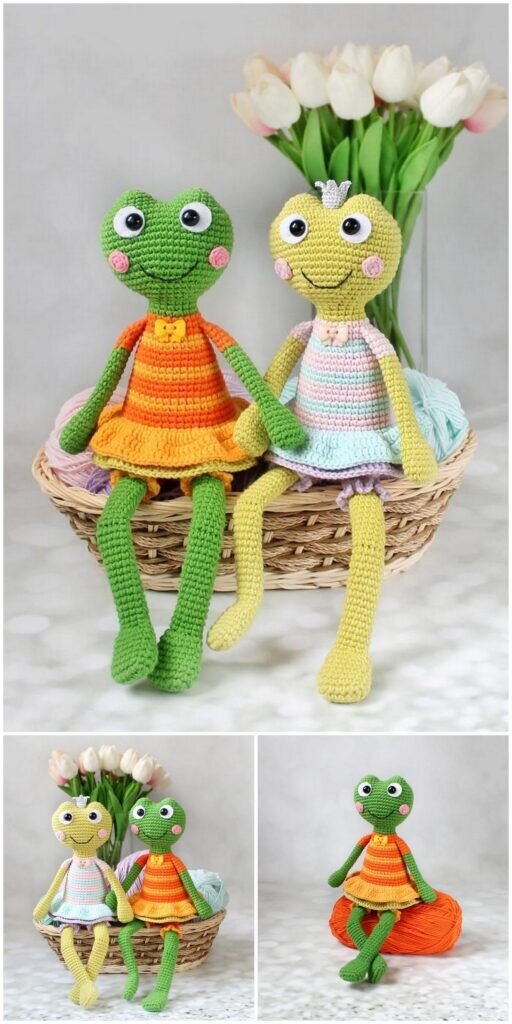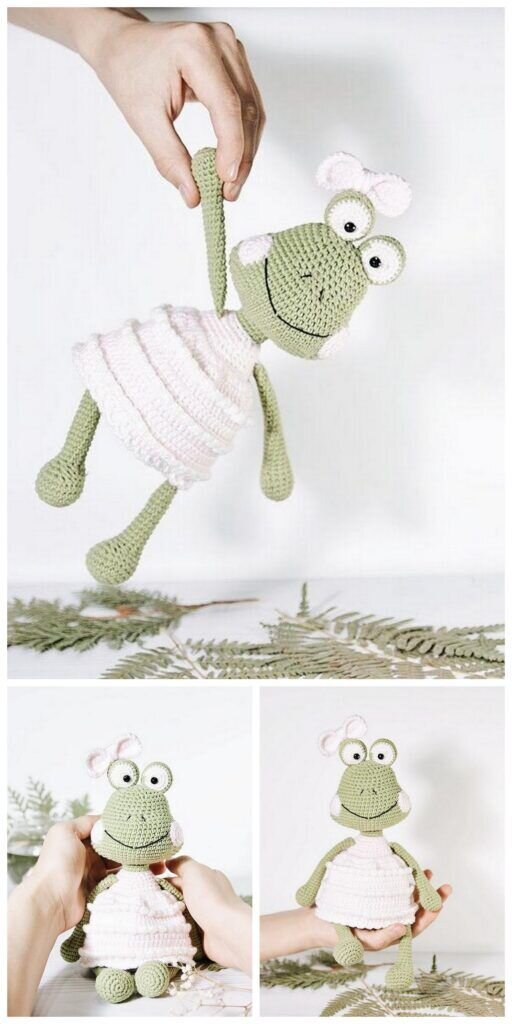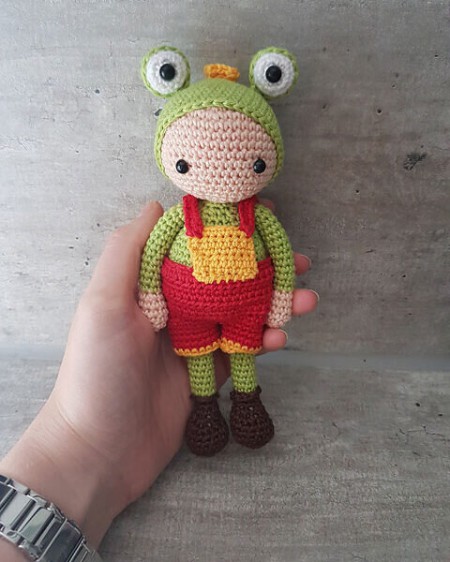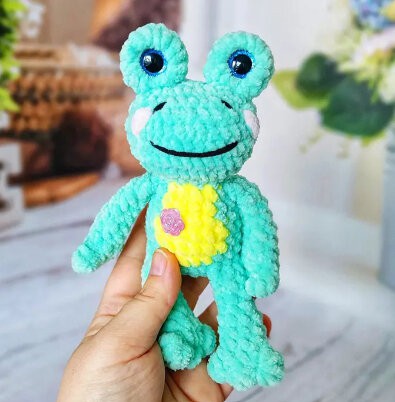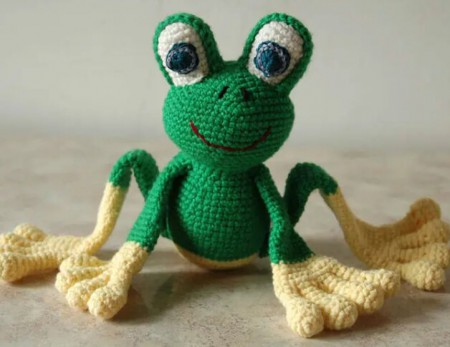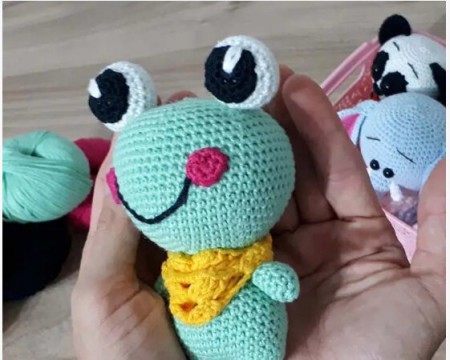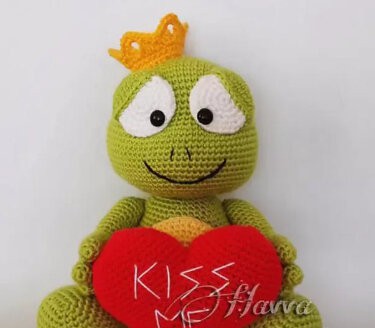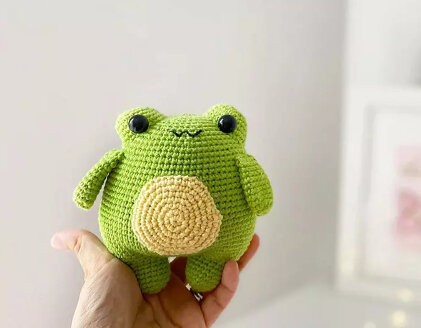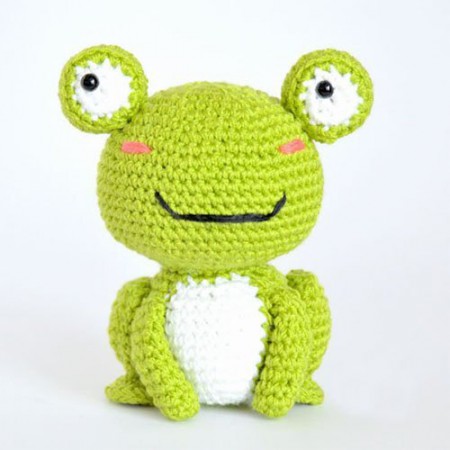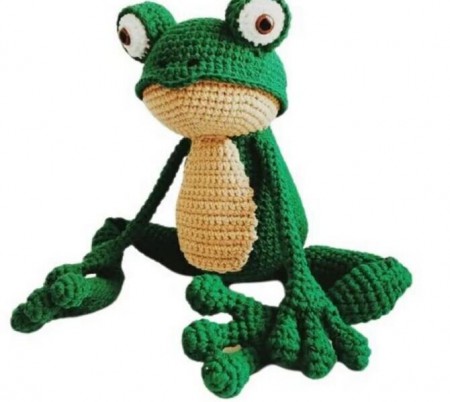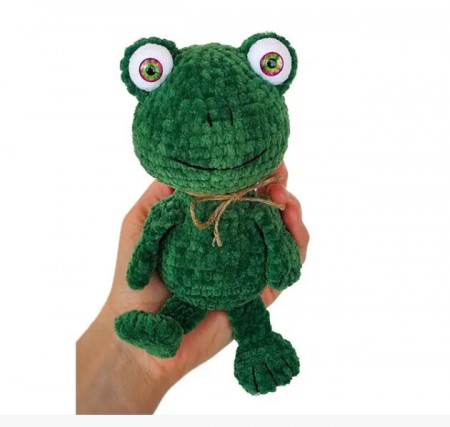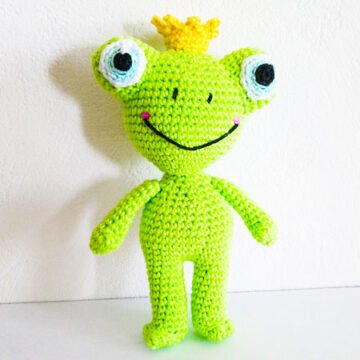
Toy Frog Amigurumi Free Pattern
Hello dear Amigurumi enthusiasts! Today I would like to share with you a free Amigurumi Frog pattern and construction instructions. Amigurumi has become a popular hobby in the world of craftsmanship, and in this article I will present you a great Amigurumi Frog design. Trust your imagination while doing amigurumi. And dare to create your own unique designs. Welcome to the Amigurumi world, enjoy fun handicraft projects.
Material
– Wire :
Green
Yellow, Black, White, Rose & Blue ( in small quantities )
– Hook 3.00 mm
( or any other hook size suitable for the size of the wire chosen )
– Tapestry needle
– Refund
– Pins
– Scissors
Abbreviations
R: rank
m: mesh
ml: mesh in the air
mc: cast mesh
ms: tight mesh
half br: half bridle
br: bridle
aug: increase ( = pick 2 tight meshes in the following mesh )
dim: decrease ( = fold down 2 tight meshes together )
BDU: in the Front Brin Only
BAU: in the rear Brine Only
AF: stop the wire
*…,…* x …: repeat « x » number of times the instructions between the asterisks
Specıal ıtem: bulle poınt
1. Throw, insert the hook into the mesh, throw, pull the wire through the mesh, throw, to pull the wire through the 2 loops on the hook.
You have just made a half closed flange, and there must be 2 loops on your hook.
2. In the same mesh, repeat the operation 2 times.
You must now have 4 loops on your hook.
3. Throw and pull the wire through the 4 loops left on the hook.
You have just produced a 3 flange bubble.
Bras
( do 2 in green )
R1: 4ms in a magic circle ( 4 )
R2: * aug * x4 ( 8 )
R3: * aug, ms * x4 ( 12 )
R4: 1 bubble point at 3br, 11ms ( 12 )
R5: * dim, 1ms * x4 ( 8 )
R6 – 13: 8ms ( 8 )
AF, leave a length of thread to sew. ( Note: make the arms first to fix them to the R22 of the body before picking the head. )
Pulp
( do 2 in green )
R1: 6ms in a magic circle ( 6 )
R2: * aug * x6 ( 12 )
R3: aug, 1ms, aug, [ 1 bubble point at 5br, 1ms ] x3, 1ms, aug, 41ms ( 15 )
R4: BAU 15 ms ( 15 )
R5: * dim, 3ms * x4 ( 12 )
R6 – 12: 12ms ( 12 )
– First leg: AF. Mark the 4th mesh of the row. c ° It is in this mesh that you will join the second leg.
– Second leg: do not stop the wire, continue with the body / head instructions.
Body / Head
( in green )
Ì Attach the legs :
R13: 2ml, join in the first leg with 1ms in the previously marked mesh, 11ms, 2ms in the chain, 12ms ( 28 )
R14: 28ms ( 28 )
R15: 9ms, aug, 11ms, aug, 6ms ( 30 )
Paste the legs
R16: 30ms ( 30 )
R17: * aug, 4ms * x6 ( 36 )
R18 – 19: 36ms ( 36 )
R20: * dim, 4ms * x6 ( 30 )
R21 – 22: 30ms ( 30 )
R23: * dim, 3ms * x6 ( 24 )
R24: 24ms ( 24 )
R25: * dim, 2ms * x6 ( 18 )
R26: 18ms ( 18 )
Start stuffing the body and continue as you go
R27: * dim, 1ms * x6 ( 12 )
R28: 12ms ( 12 )
Now is a good time to sew the arms
Align the upper arms with the body’s R22, pin and sew them.
R29: BDU * aug, 1ms * x6 ( 18 )
R30: * aug, 2ms * x6 ( 24 )
R31: 24ms ( 24 )
R32: * aug, 3ms * x6 ( 30 )
R33: * aug, 4ms * x6 ( 36 )
R34: * aug, 3ms * x9 ( 45 )
R35- 43: 45ms ( 45 )
R44: * dim, 3ms * x9 ( 36 )
R45: * dim, 4ms * x6 ( 30 )
R46: * dim, 3ms * x6 ( 24 )
In pink, embroider the cheeks on the R36, leaving 12m in between. In black, with black, embroider the mouth, then embroider the nostrils on the R40, spaced 4m apart.
R47: * dim, 2ms * x6 ( 18 )
R48: * dim, 1ms * x6 ( 12 )
R49: close with a tapestry needle
Eyes p1
( do 2 in green )
R1: 4ml, then leaving in the opposite direction from the second mesh of the hook: aug, 1ms, aug, 1ms.
Insert the rank marker here
R2: * aug * x6 ( 12 )
R3: * aug, 1ms * x6 ( 18 )
R4 – 7: 18ms ( 18 )
AF, leave a length of thread to sew.
Eyes p2
( do 2 with black, blue and white )
Start with black
R1: 6ms in a magic circle ( 6 )
Change for blue
R2: * 2mc in the following mesh, 1mc * x3 ( 9 )
R3: * aug, 2ms * x3 ( 12 )
Change for white
R4: 18mc ( 18 )
AF, leave a length of thread to sew.
Embroider the brightness of the eyes in white and sew them on part 1. Pin Part 1 on each side of the head between R38 & 45, start sewing and stuffing before you finish, a few points from the end.
Crown
( in yellow )
R1: 15ml, join in the first mesh with 1mc
R2 – 4: 15 ms ( 15 )
R5: * 3ml, 1mc in the 2nd m from the hook, 1demie br in the next, 2ms * x7, 3ml, 1mc in the 2nd m from the hook, 1 demie br in the next, 1ms.
AF, leave a length of thread to sew.
It's All Finished:
