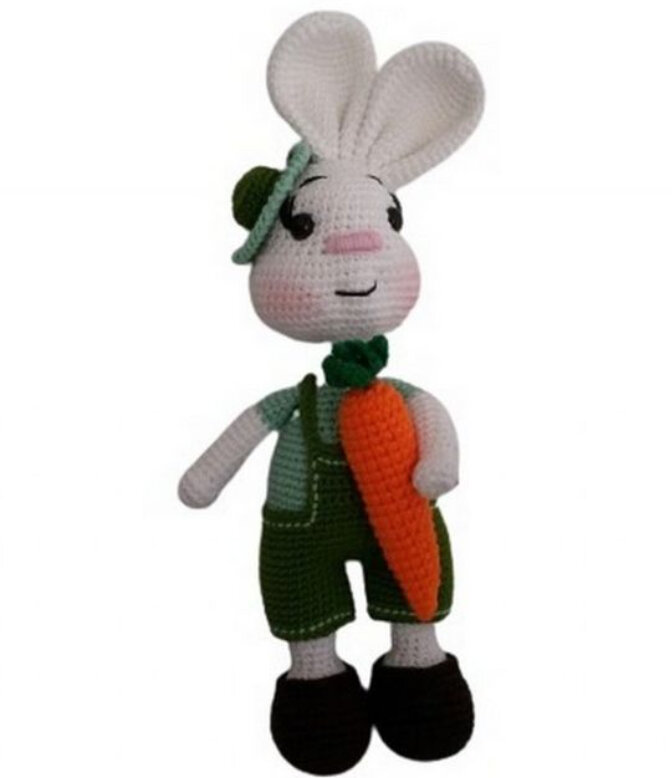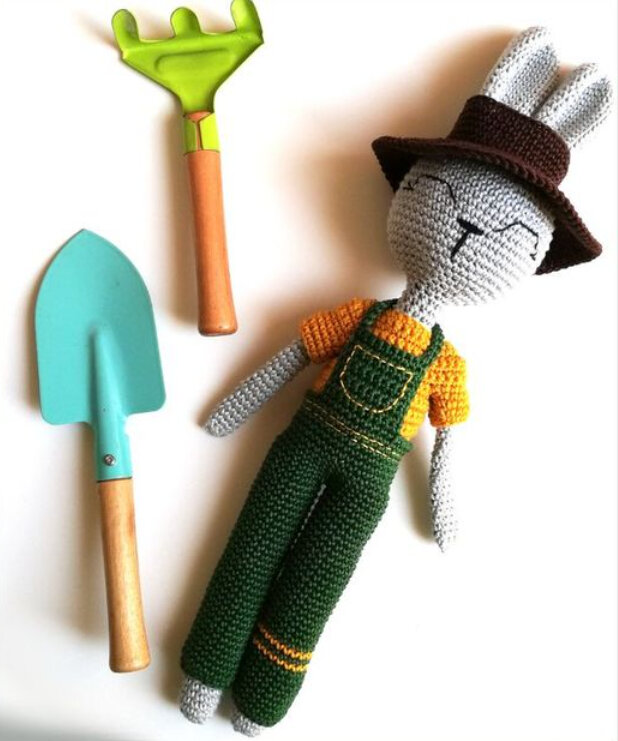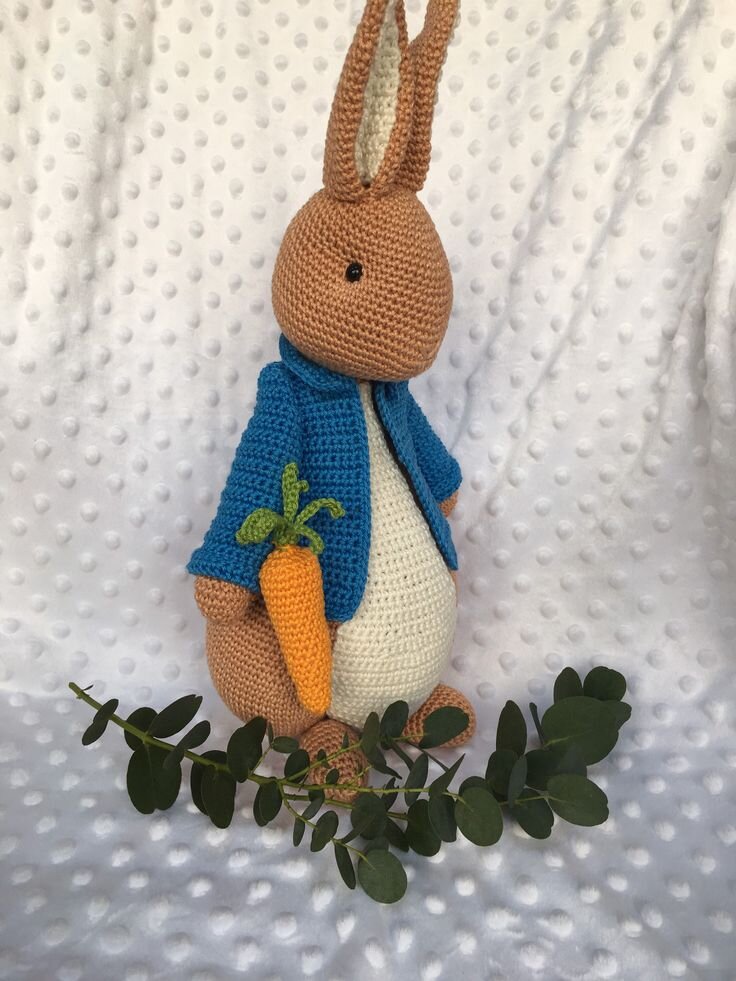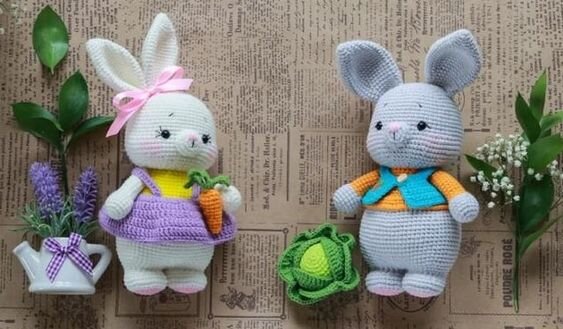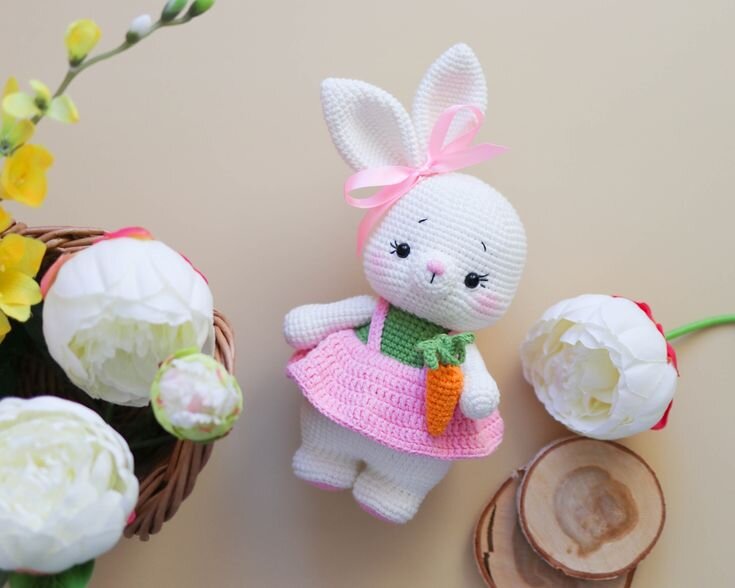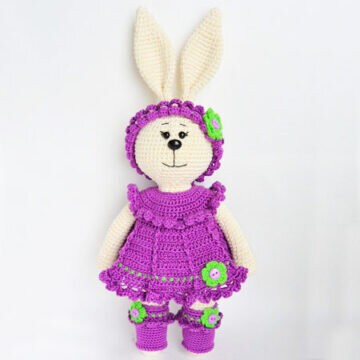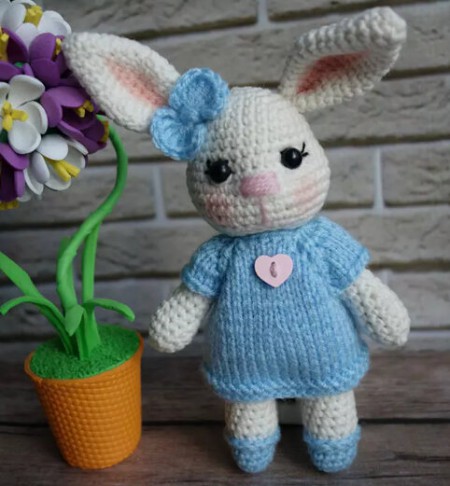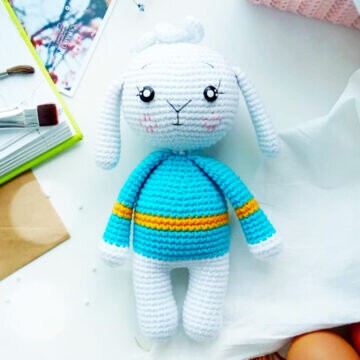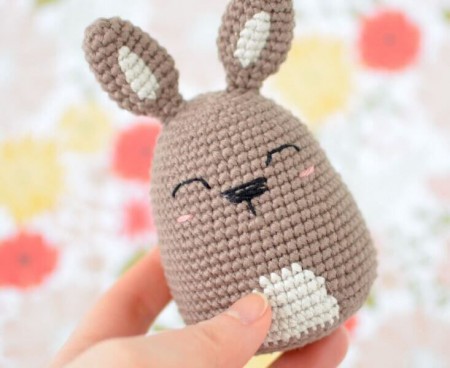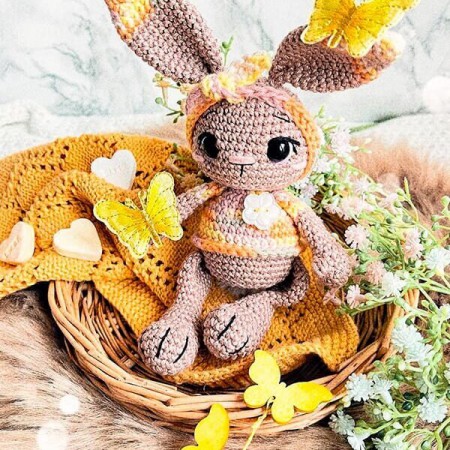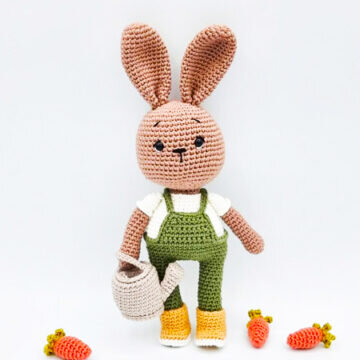
Toy Gardener Rabbit Free Pattern
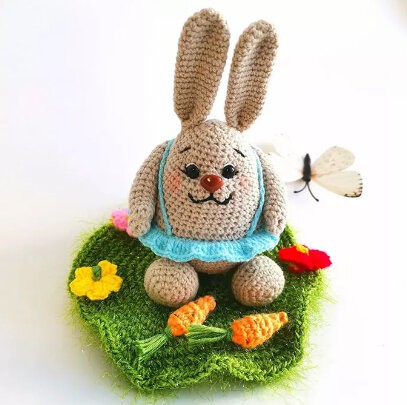
Hello dear Amigurumi enthusiasts! Today I would like to share with you a free Amigurumi Bunny pattern and construction instructions. Amigurumi has become a popular hobby in the world of craftsmanship, and in this article I will present you a great Amigurumi Bunny design. Trust your imagination while doing amigurumi. And dare to create your own unique designs. Welcome to the Amigurumi world, enjoy fun handicraft projects.
Material
• Color code of the wire; Ricorumi 001, Ricorumi 055, Ricorumi 052, Ricorumi 071, Ricorumi 077, Ricorumi 048, Ricorumi 004, Ricorumi 069
• Hook: 3 mm, 2.75 mm
• 7 mm safety eyes. You may need to use smaller / larger eyes, depending on the size of the hook / thread.
• Wool needle
• Black embroidery thread
• Fiberfill for filling
• Scissors
• Glue gun
Indicative colors, don’t hesitate to give free rein to your imagination
Abbreviations
( ms ) / ( sc ): greenhouse mesh
( bo ): popcorn point
( ml ) / ( ch ): Chainette, Air mesh
( MR ): Magic ring
( dim ) / ( dec ): decrease, decrease, decrease
( augm ) / ( inc ): increase
( M ) / ( st ): Point ( pt ) mesh
( FLO ): work only in the front loops
( BLO ): work only in rear loops
( d-br, dble.b ) / ( tr ): Double flange
( br ) / ( dc ): flange
( dB ) / ( hdc ): half flange
( mc ) / ( sl-st ): casting mesh, small mesh
( db / dbr ) ( dtr ): Double flange
( mct ) / ( tch ): chain meshes to rotate
( 3msm ) / ( sc3tog ): 3 ms in the same mesh
( F.o. ): Stop the wire.
Legs and Body
Legs ( x2 )
Start with the brown color
Rnd 1. MR, 6ms [ 6 ]
Rnd 2. ( augm ) * [ 12 ]
Rnd 3-8. 12ms [ 12 ]
In row 9, take the green thread of the overalls and continue with this color.
Rnd 9-20. 12ms [ 12 ]
Fill firmly. F.o. the match go. Cross the second leg in the same way, but after Rnd 20 do not cut the wire. Keep the point marker in one place.
Body
Rnd 21. continue 6ms on the second stage.
Make a ml 6 and join the first leg with 1 ms, 11 ms on the remaining meshes of the first leg, 6 ms ( in ml 6 ), 6 ms on the second leg [ 36 ]
The beginning of the turn is on the right side of the body
Rnd 22. 6ms, 6ms on the other side of the ch, 5ms, augm, 17ms, augm [ 38 ]
Rnd 23. 6ms, ( 1ms, augm ) x 3, 26ms [ 41 ]
Rnd 24. 41ms [ 41 ]
Rnd 25. 6ms, ( augm, 2ms ) x 3, 26ms [ 44 ]
Rnd 26-27. 44ms [ 44 ]
Rnd 28. FLO- 44ms [ 44 ]
F.o. green thread. The remaining BLO will be used in the next Rnd. Take the white thread of the t-shirt on the 1st BLO mesh of rank 27 and continue with this color.
Rnd 29. BLO – 44ms [ 44 ]
Rnd 30. 44ms [ 44 ]
Rnd 31. ( dim, 20ms ) * [ 42 ]
Rnd 32. 42ms [ 42 ]
Rnd 33. 10ms, ( dim, 2ms ) x 2, 24ms [ 40 ]
Rnd 34. ( dim, 18ms ) * [ 38 ]
Rnd 35. 38ms [ 38 ]
Fill in firmly and continue to fill as you work.
Rnd 36. ( dim, 17ms ) * [ 36 ]
Rnd 37. ( dim, 4ms ) * [ 30 ]
Rnd 38. 30ms [ 30 ]
Rnd 39. ( dim, 3ms ) * [ 24 ]
Rnd 40. 24ms [ 24 ]
In row 41, take the brown thread of the skin and continue with this color.
Rnd 41. BLO- ( dim, 2ms ) * [ 18 ]
Rnd 42. 18ms [ 18 ]
F.o..
Fill your head to the body. In FLO of Rnd 40, take the thread of the t-shirt and pick 24 mc.
Optional: with brown thread, make a pompom for the tail.
Bich
Take the green thread in the 8th mesh of Rnd 28. You will pick 11 ms in the middle of the front of the body; if it is not in the middle, move the starting point.
Row 1. 11ms [ 11 ] ml 1, turn
Row 2-3. 11ms [ 11 ] ml 1, turn
Row 4. dim, 7ms, dim [ 9 ] ml 1, turn
Row 5. ms [ 9 ] ml 1, turn
Row 6. dim, 5ms, dim [ 7 ] ml 1, turn
Row 7. 6ms, augm [ 8 ].
Do not turn, continue to pick a border all around the overalls, as follows: 6ms ( along the rows ), 1ms in the 11th ms of Rang 1, 13ms around the body, 21 ml, 20ms along the ml ( 1st strap ), 6ms on the body, 21 ml, 20ms along the ml ( 2nd garter ), 13ms around the body, 1ms in the 1m ms of Rang 1, 6ms along the upper part of the combination ( along the rows ), 1ms in the 1st ms of Rang 7
F.o. and leave thread to sew the straps at the corners of the overalls. The suspenders are crossed in the back. Adjust the length of the chains if necessary.
Arm ( x2 )
Start with the brown color
Rnd 1. MR, 6ms [ 6 ]
Rnd 2. ( augm ) * [ 12 ]
Rnd 3-5. 12ms [ 12 ]
Rnd 6. ( 4ms, dim ) * [ 10 ]
Rnd 7-15. 10ms [ 10 ]
In row 16, take the thread of the t-shirt and continue with this color.
Rnd 16. 10ms [ 10 ]
Rnd 17. BLO- 10ms [ 10 ]
Rnd 18-20. 10ms [ 10 ]
Fold and hook 5 ms on both sides to close. In FLO of Rnd 16, hand on top: take the thread of the t-shirt and pick 10ms. F.o. and leave a long wire for assembly. Sew the arms on the body between Rnd 41 and 42.
Head
In brown
Rnd 1. MR, 6ms [ 6 ]
Rnd 2. ( augm ) * [ 12 ]
Rnd 3. ( 1ms, augm ) * [ 18 ]
Rnd 4. ( 2ms, augm ) * [ 24 ]
Rnd 5. ( 3ms, augm ) * [ 30 ]
Rnd 6. ( 2ms, augm, 2ms ) * [ 36 ]
Rnd 7. ( 5ms, augm ) * [ 42 ]
Rnd 8. 42ms [ 42 ]
Rnd 9. ( 3ms, augm, 3ms ) * [ 48 ]
Rnd 10-15. 48ms [ 48 ]
Rnd 16. ( 7ms, augm ) * [ 54 ]
Rnd 17-21. 54ms [ 54 ]
Rnd 22. ( 4ms, dim ) * [ 45 ]
Rnd 23. ( 3ms, dim ) * [ 36 ]
Rnd 24. ( 2ms, dim, 2ms ) * [ 30 ]
Rnd 25. ( 3ms, dim ) * [ 24 ]
Rnd 26. ( 2ms, dim ) * [ 18 ]
F.o. Insert the 7 mm safety eyes between turns 13 and 14 with 6 points apart.
Embroider muzzle, eyelashes and eyebrows with black thread.
Ears ( x2 )
In brown
Rnd 1. MR, 6ms [ 6 ]
Rnd 2. ( augm ) * [ 12 ]
Rnd 3. ( 1ms, augm ) * [ 18 ]
Rnd 4. 18ms [ 18 ]
Rnd 5. ( 5ms, augm ) * [ 21 ]
Rnd 6-7. 21ms [ 21 ]
Rnd 8. ( 6ms, augm ) * [ 24 ]
Rnd 9-11. 24ms [ 24 ]
Rnd 12. ( 10ms, dim ) * [ 22 ]
Rnd 13-14. 22ms [ 22 ]
Rnd 15. ( 9ms, dim ) * [ 20 ]
Rnd 16. ( 8ms, dim ) * [ 18 ]
Rnd 17-18. 18ms [ 18 ]
Rnd 19. ( 7ms, dim ) * [ 16 ]
Rnd 20. 16ms [ 16 ]
Rnd 21. ( 6ms, dim ) * [ 14 ]
F.o. and leave a long thread for sewing. Bend your ear in half and sew both sides together. Sew the ears on the top of the head between rows 4 and 5 to 5 meshes apart.
Shoes ( x2 )
In yellow
Make a ml 6.
Cross around the ml. Start in the 2nd mesh from the hook.
Rnd 1. augm, 3ms, 4ms in the last mesh, 3ms on the other side of the ml, augm [ 14 ]
Rnd 2. 2 augm, 3ms, 4 augm, 3ms, 2 augm [ 22 ]
Rnd 3. 2 augm, 8ms, augm, 1ms, augm, 8ms, augm [ 27 ]
Rnd 4. BLO- 27ms [ 27 ]
Rnd 5. 9ms, 2 dim, 1ms, 2 dim, 9ms [ 23 ]
Rnd 6. 8ms, 5 dim, 5ms [ 18 ]
Rnd 7-10. 18ms [ 18 ]
Rnd 11. 18 mc [ 18 ]
F.o. and hide the wire. Take the white thread in FLO of rank 3 ( opening of the shoe in front of you ) and hook 27 ms.
Shoulder bag
Make a 5 ml. Stick around the ml. Start in the 2nd mesh from the hook.
Rnd 1. 3ms, 3ms in the last mesh, 2ms, augm [ 10 ]
Rnd 2. augm, 2ms, 3 augm, 2ms, 2 augm [ 16 ]
Rnd 3. 1ms, augm, 2ms, ( 1ms, augm ) x 3, 2ms, ( 1ms, augm ) x 2 [ 22 ]
Rnd 4. 2ms, augm, 2ms, ( 2ms, augm ) x 3, 2ms, ( 2ms, augm ) x 2 [ 28 ]
Rnd 5. 3ms, augm, 2ms, [ 3ms, augm ) x 3, 2ms, ( 3ms, augm ) x 3 [ 34 ]
Rnd 6-10. 34ms [ 34 ]
Rnd 11. ( 1 ml, skip 1ms, 1ms in the next point ) * [ 34 ]
At the end of the Rnd, make 1 ml 44, attach to the other side of the bag with 1 mc.
F.o. and hide the wire.
Carrots
With a 2.75mm hook
Start in orange
Rnd 1. MR, 6ms [ 6 ]
Rnd 2. 6ms [ 6 ]
Rnd 3. ( 1ms, augm ) * [ 9 ]
Rnd 4. 9ms [ 9 ]
Rnd 5. ( 2ms, augm ) * [ 12 ]
Rnd 6-9. 12ms [ 12 ]
Rnd 10. ( dim ) * [ 6 ]
Take the green thread and hook in FLO for the next Rnd. The remaining BLO will be used to close with orange thread.
Rnd 11. FLO- ( 4 ml, crochet along the ml: 1 ms, 2 mc; 1 mc in the following mesh ) x 6
F.o. and hide the wire. Cut the orange wire and leave a tail to close, using BLO from Rnd 10.
Watering can
With a 2.75 mm hook
Make a 5 ml. Stick around the ml.
Start in the 2nd mesh from the hook.
Rnd 1. 3ms, 3ms in the last mesh, 2ms, augm [ 10 ]
Rnd 2. augm, 2ms, 3 augm, 2ms, 2 augm [ 16 ]
Rnd 3. 1ms, augm, 2ms, ( 1ms, augm ) x 3, 2ms, ( 1ms, augm ) x 2 [ 22 ]
Rnd 4. 2ms, augm, 2ms, ( 2ms, augm ) x 3, 2ms, ( 2ms, augm ) x 2 [ 28 ]
Rnd 5. BLO- 28ms [ 28 ]
Rnd 6-13. 28ms [ 28 ]
Rnd 14. BLO- 2ms, dim, 2ms, ( 2ms, dim ) x 3, 2ms, ( 2ms, dim ) x 2 [ 22 ]
Rnd 15. 1ms, dim, 2ms, ( 1ms, dim ) x 3, 2ms, ( 1ms, dim ) x 2 [ 16 ]
F.o. and hide the wire. In FLO of rank 13, take the same color of wire and pick: 13 mc, make 25 ml, attach with 1 mc on the other side, between rows 5 and 6 ( surface hook ), then pick 24 mc in the ml, pick 1 mc in the next FLO of Rnd 13, finish the Rnd with 14 mc.
F.o. and hide the wire. In FLO of Rnd 3, from bottom to top, hook 22 ms.
Watering can neck
Make 12 ml, join the 1st mesh of ml with 1 mc
Rnd 1. 13ms [ 12 ]
Rnd 2. BLO- 12ms [ 12 ]
Rnd 3. ( dim, 1ms ) x 3, dim, 1ms [ 8 ]
Rnd 4. dim, 6ms [ 7 ]
Rnd 5-7. 7ms [ 7 ]
F.o., leaving thread to sew to the box.
It's All Finished:
