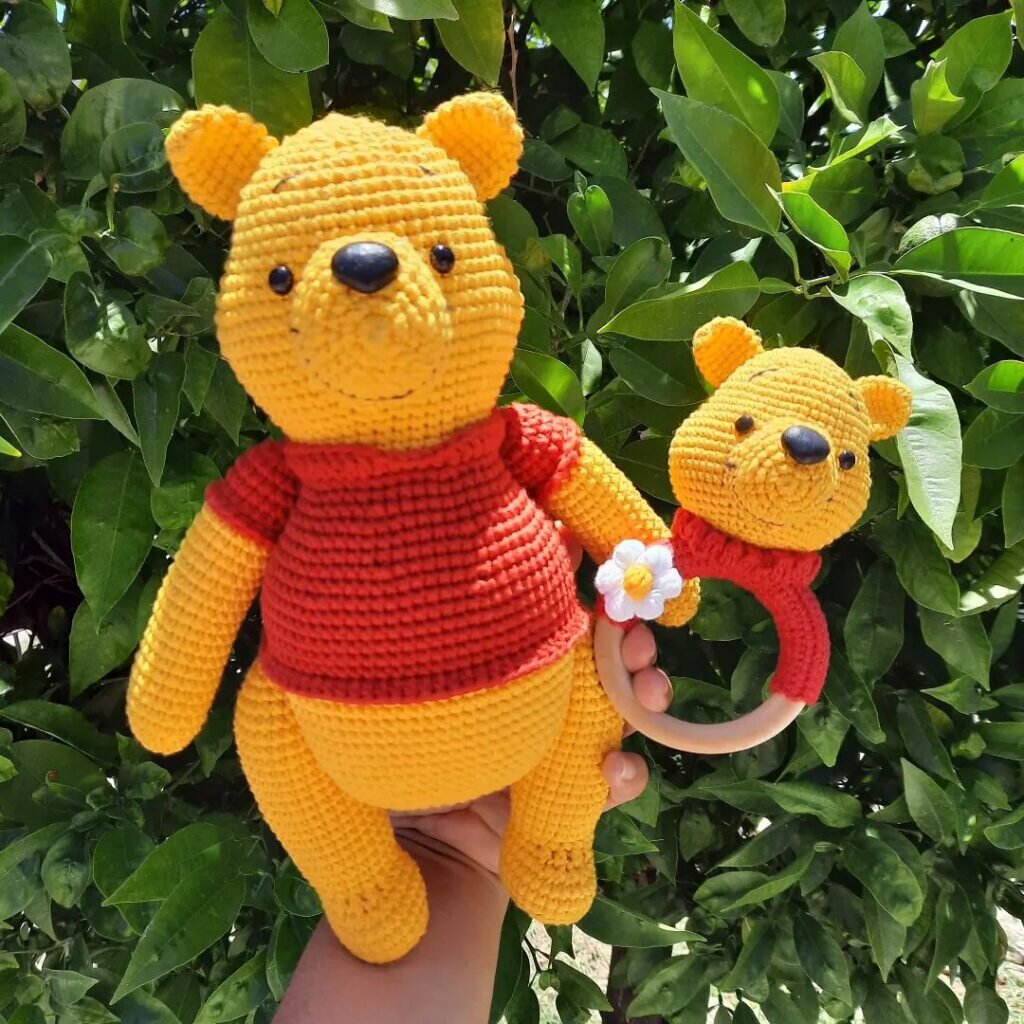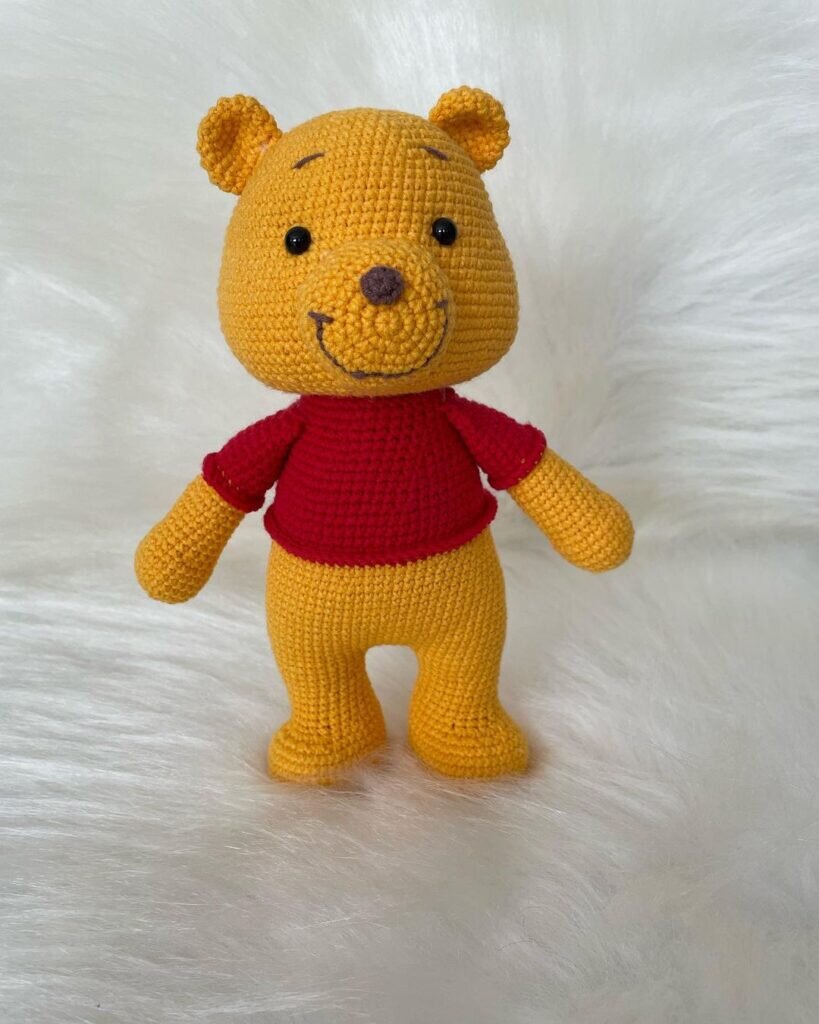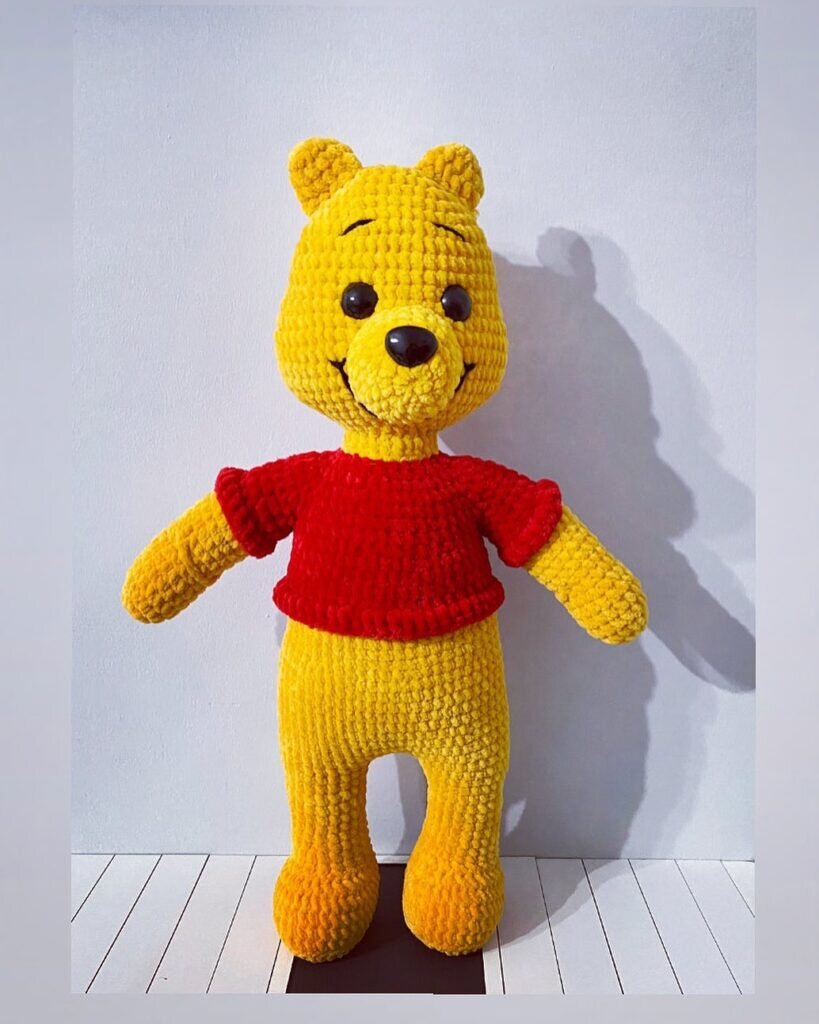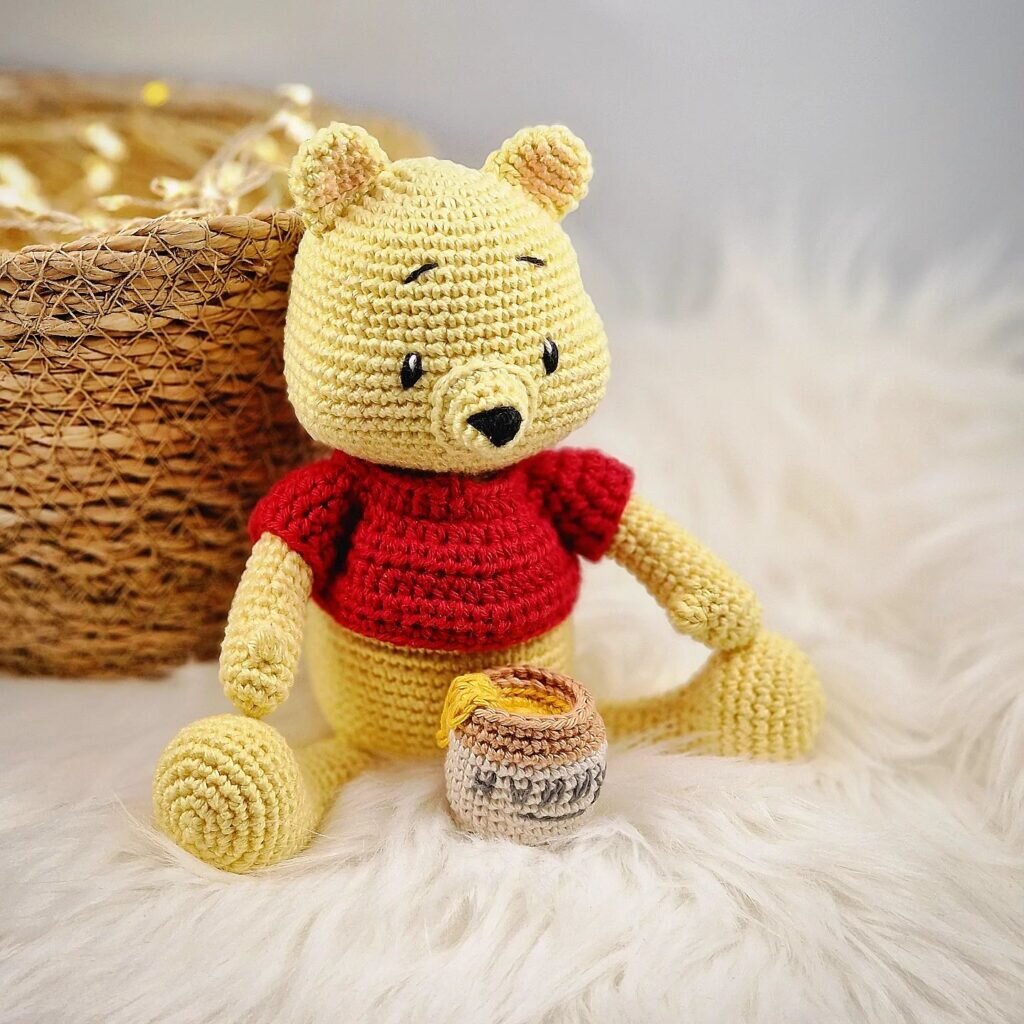
Toy Winnie the Pooh Amigurumi Free Pattern
Hello dear Amigurumi enthusiasts! Today I would like to share with you a free Amigurumi Free Pattern pattern and construction instructions. Amigurumi has become a popular hobby in the world of craftsmanship, and in this article I will present you a great Amigurumi Free Pattern design. Trust your imagination while doing amigurumi. And dare to create your own unique designs. Welcome to the Amigurumi world, enjoy fun handicraft projects.
Materials
1. Sports film ( 50g / 160m ):
• Dark yellow ( Yarnart jeans 35 )
• Bright red ( jeans Yarnart 90 )
2. Black thread to embroider the eyebrows and muzzle
3. 5mm safety eyes
4. 2mm hook
5. Filling ( polyester fiber )
Abbreviations
(sc)/(sc): Single crochet
(BO) Hazelnut stitch
(ml)/(ch): Chain, Air stitch
(MR): Magic ring
(dim)/(dec): decrease, decrease, decrease
(augm)/(inc): increase
(M)/(st): Stitch (pt) stitch
(FLO): work only in front loops
(BLO): work only in back loops
(d-br, dble.b)/(tr): Double treble crochet
(br)/(dc): treble crochet (dB)/(hdc): half treble crochet (sc )/(sl-st): slip stitch, small stitch (db / dbr) (dtr): Double treble crochet (
mct)/( tch): chain stitches to turn (3msm)/(sc3tog): 3 sc in the same stitch (Fo): Fasten the yarn. (3 dc tog): 3 treble crochets together
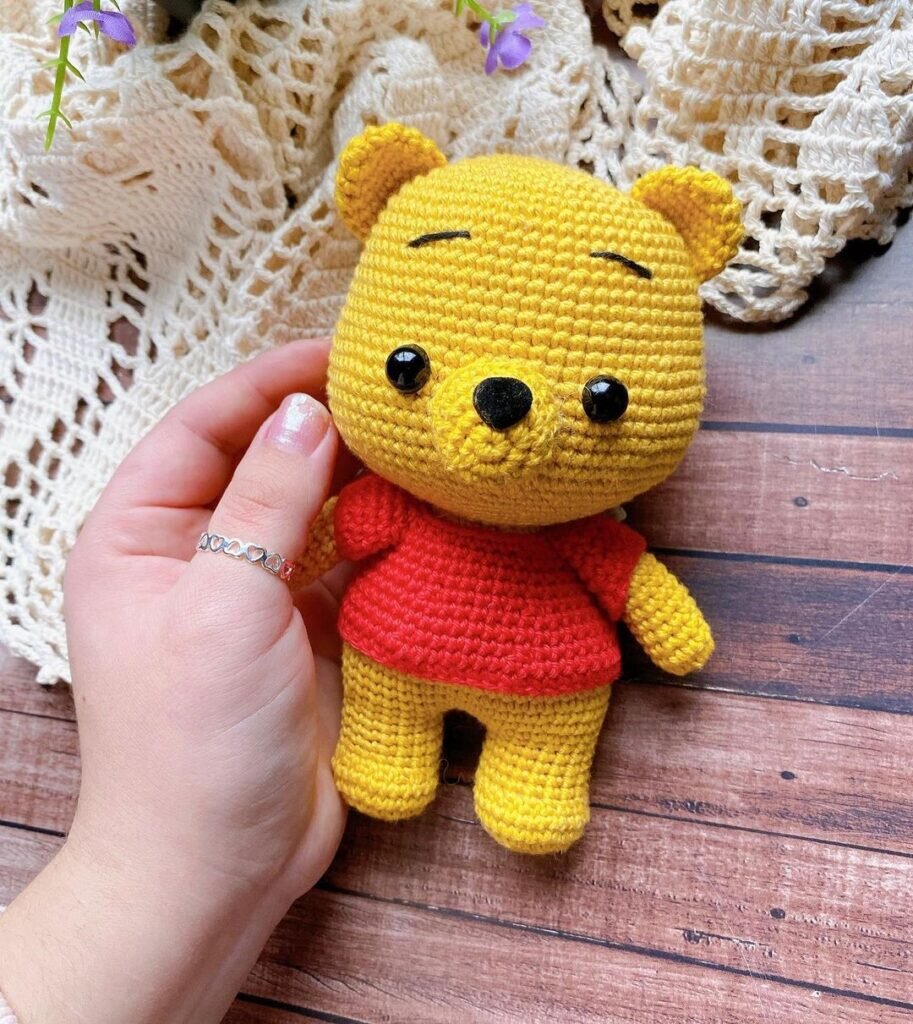
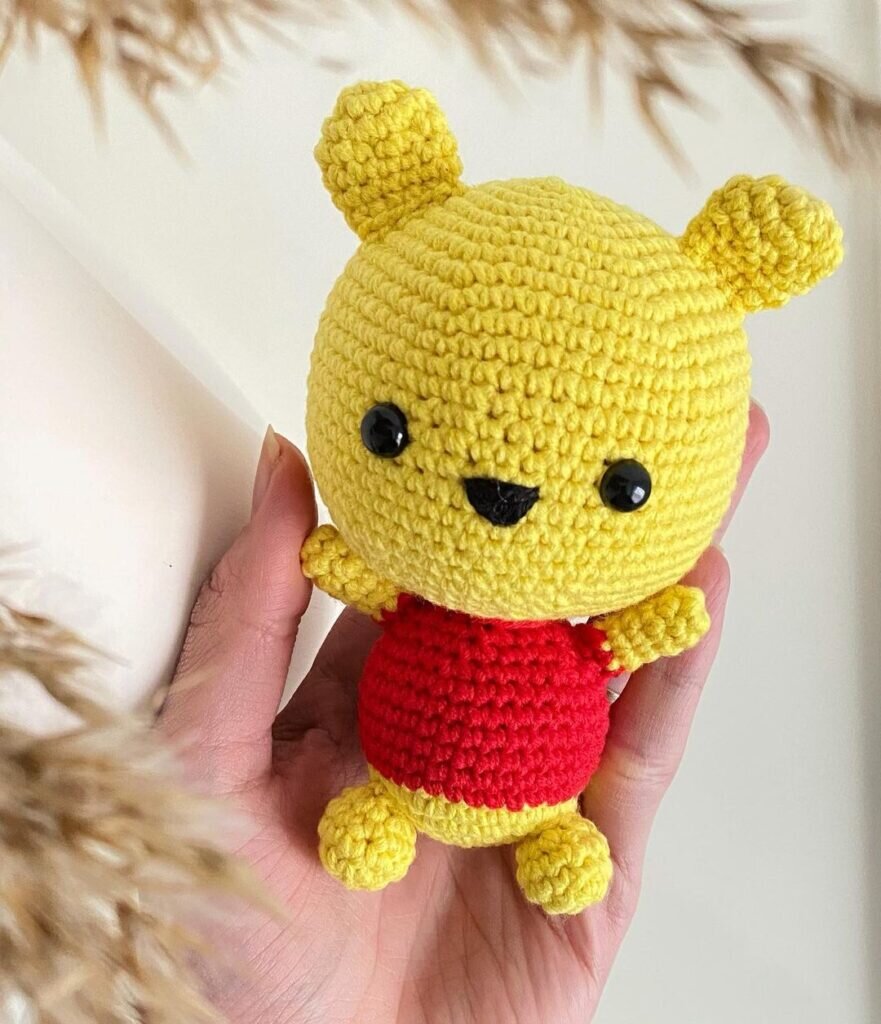
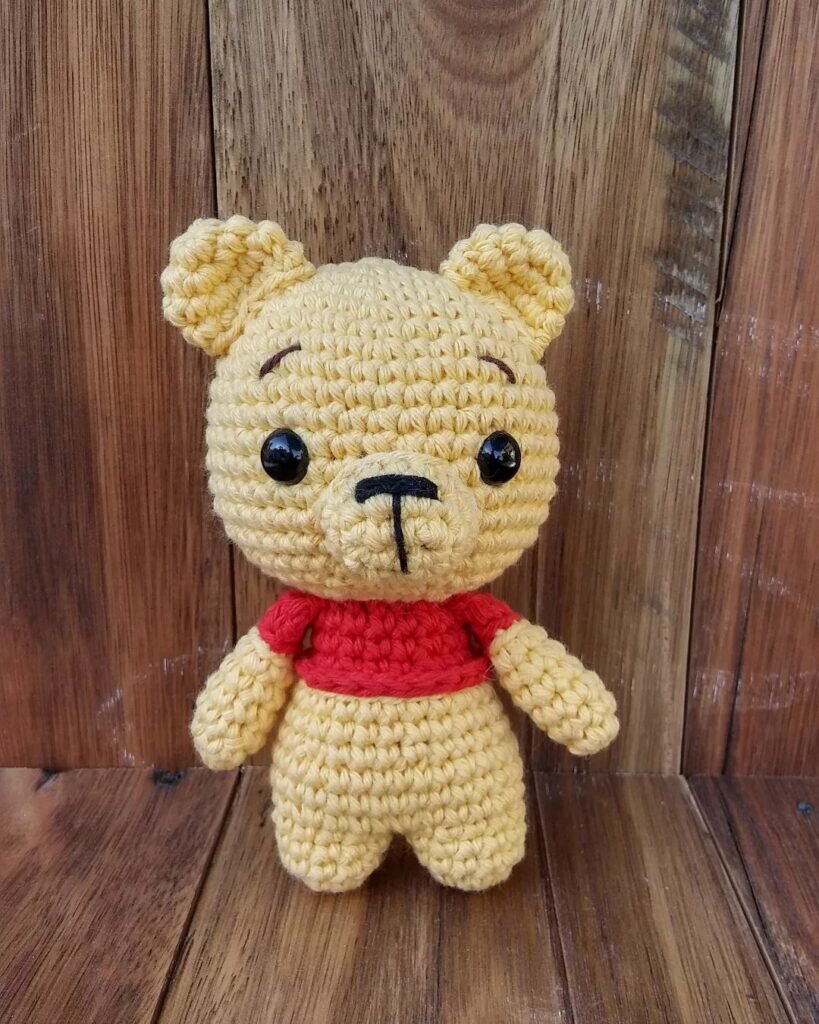
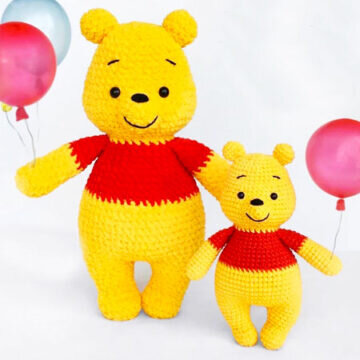
• If you use these materials, the finished toy measures approximately 15 to 17 cm.
• The level of difficulty of the model is easy to medium.
Arm ( make 2 )
Start picking with the yellow thread.
Fill only 2/3 of the arm.
Rnd 1. 6 ms in MR ( 6 )
Rnd 2. 6 augm ( 12 )
Rnd 3-11. 12 ms ( 9 rows )
Change the wire in red color :
Rnd 12-15. 12 ms ( 4 rows )
Rnd 16. ( 2ms, dim ) * 3 ( 9 )
Rnd 17. Make only 3 ms, fold your arm in half and pick 4 ms on both sides.
F.o. and cut the wire, leaving a tail for sewing.
Sew your arms to your body in turn 21.
Legs ( make 2 )
Stick with yellow thread. Fill as you go.
Rnd 1. 6 ms in MR ( 6 )
Rnd 2. 6 augm ( 12 )
Rnd 3. ( ms, augm ) * 6 ( 18 )
Rnd 4. 18 ms
Rnd 5. 5 ms, 4 dim, 5 ms ( 14 )
Rnd 6. 5 ms, 2 dim, 5 ms ( 12 )
Rnd 7. 12 ms
Rnd 8. ( 3ms, augm ) * 3 ( 15 )
Rnd 9. 15 ms
Rnd 10. ( 4ms, augm ) * 3 ( 18 )
Rnd 11. For the left leg: pick only 13 ms. F.o and cut the wire.
Rnd 11. For the right leg: 18 ms. Do not cut the wire, we will continue with the body.
Body
Rnd 1. Cross another 6 ms on the right leg, make 3 ml, join the left leg ( continue from the place where you stopped picking the leg ) and pick 18 ms on it.
Continue to pick:
3 ms on the ml: 18 ms on the right leg: 3 ms on the ml: put the marker here ( 42 )
Rnd 2. 18 ms, 3 augm, 18 ms, 3 augm ( 48 )
Rnd 3. 18 ms, ( ms, augm ) * 3, 18 ms, ( ms, augm ) * 3 ( 54 )
Rnd 4-11. 54 ms ( 8 rows )
Rnd 12. ( 7ms, dim ) * 6 ( 48 )
Change the thread in red color:
Rnd 13. 48 ms
Rnd 14. 3 ms, dim, ( 6 ms, dim ) * 5, 3 ms ( 42 )
Rnd 15. 42 ms
Rnd 16. ( 5ms, dim ) * 6 ( 36 )
Rnd 17. 36 ms
Rnd 18. 2 ms, dim, ( 4ms, dim ) * 5, 2 ms ( 30 )
Rnd 19-20. 30 ms ( 2 rows )
Rnd 21. ( 3ms, dim ) * 6 ( 24 )
Change the wire in yellow color:
Rnd 22. 24 ms
Rnd 23. ( 6ms, dim ) * 3 ( 21 )
Firmly fill the body, especially in the neck.
Do not cut the wire, we will continue with the head :
Head
Continue to pick with the color yellow.
Fill as you go.
Rnd 1. 21 augm ( 42 )
Rnd 2. ( 5ms, augm ) * 7 ( 49 )
Rnd 3. 3 ms, augm, ( 6ms, augm ) * 6, 3ms ( 56 )
Rnd 4-6. 56 ms ( 3 rows )
Rnd 7. ( 5ms, dim ) * 8 ( 48 )
Rnd 8. 48 sc
Rnd 9. 3 ms, dim, ( 6ms, dim ) * 5, 3ms ( 42 )
Rnd 10. 42 ms
Rnd 11. ( 5ms, dim ) * 6 ( 36 )
Insert the safety eyes between towers 8 and 9 with 7 ms between them. There must be 6 ms visible.
Rnd 12-15. 36 ms ( 4 rows )
Rnd 16. 2 ms, dim, ( 4ms, dim ) * 5, 2ms ( 30 )
Rnd 17. ( 3ms, dim ) * 6 ( 24 )
Rnd 18. ms, dim, ( 2ms, dim ) * 5, ms ( 18 )
Rnd 19. ( ms, dim ) * 6 ( 12 )
Rnd 20. 6 dim ( 6 )
Make sure the head is full.
Close the opening and hide the wire inside.
Muzzle
Stick with yellow thread. Fill in a little.
Rnd 1. 6 ms in MR ( 6 )
Rnd 2. 6 augm ( 12 )
Rnd 3. ( ms, augm ) * 6 ( 18 )
Rnd 4. 18 ms
Make an mc, stop and cut the wire, leaving a long tail for sewing.
Sew the muzzle at the head in laps 3 to 8.
Using the black thread embroider the nose and mouth on the muzzle.
Embrace the eyebrows in tower 13.
Ears ( make 2 )
Stick with yellow thread.
Rnd 1. 6 ms in MR ( 6 )
Rnd 2. 6 augm ( 12 )
Rnd 3. ( 3ms, augm ) * 3 ( 15 )
Rnd 4. ( 3ms, dim ) * 3 ( 12 )
Rnd 5. ( ms, dim ) * 4 ( 8 )
Make an mc, stop and cut the wire, leaving a tail for sewing.
Do not fill the ears, sew them on the head at towers 16-18.
It's All Finished:
